doscher.com
Home
About
Sign in
Subscribe
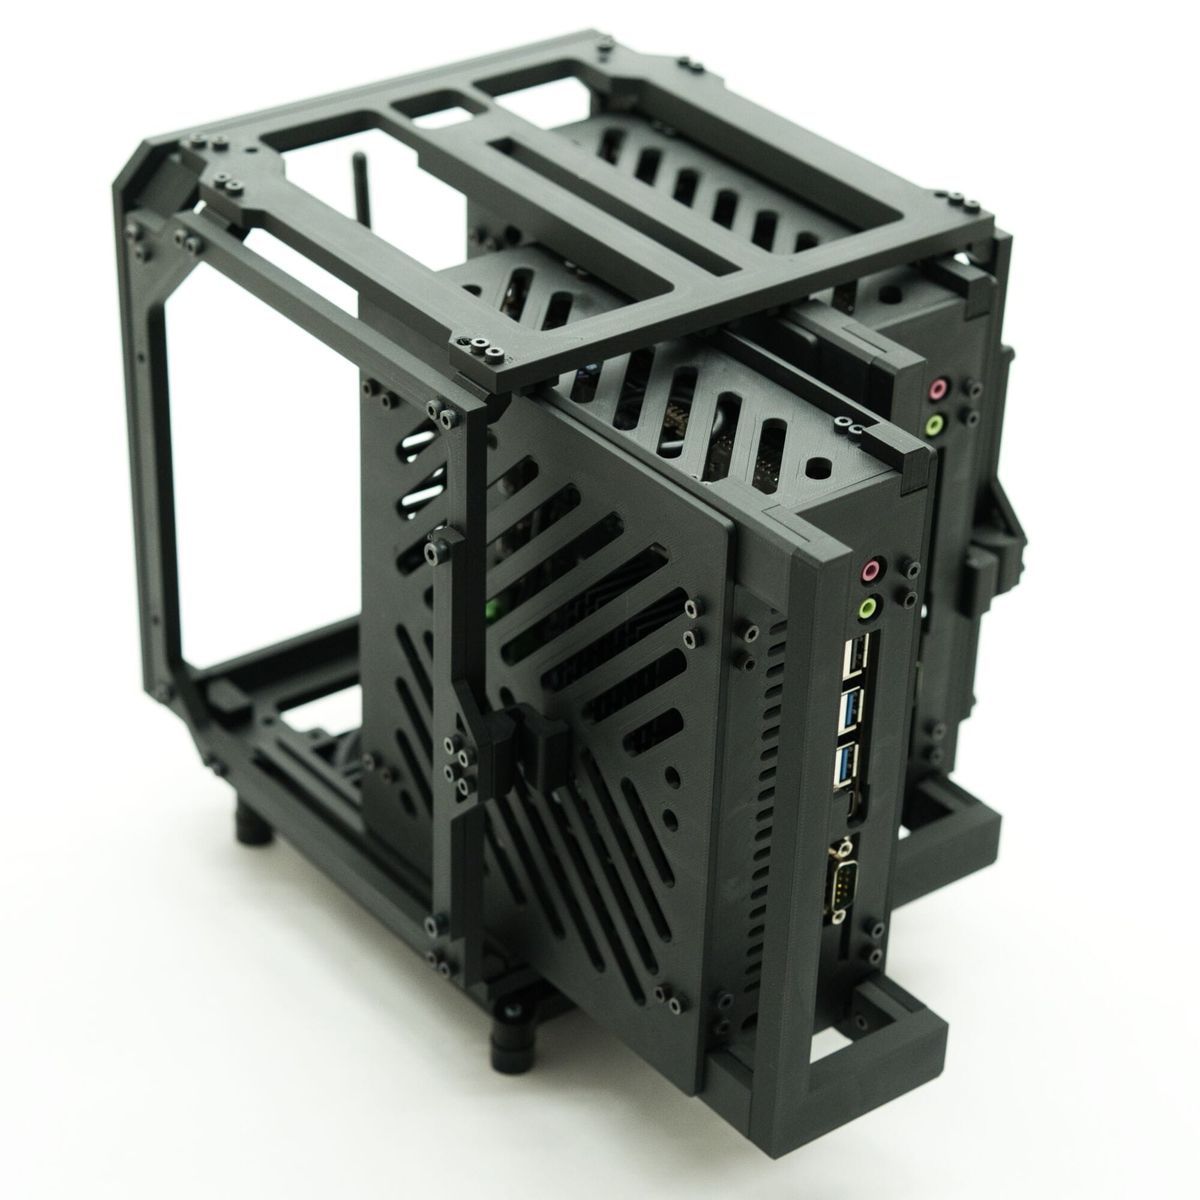
Cube Frame - A Modular, 3D Printed ITX Enclosure & Frame System