First, Do No Arm - The Display Dock PC
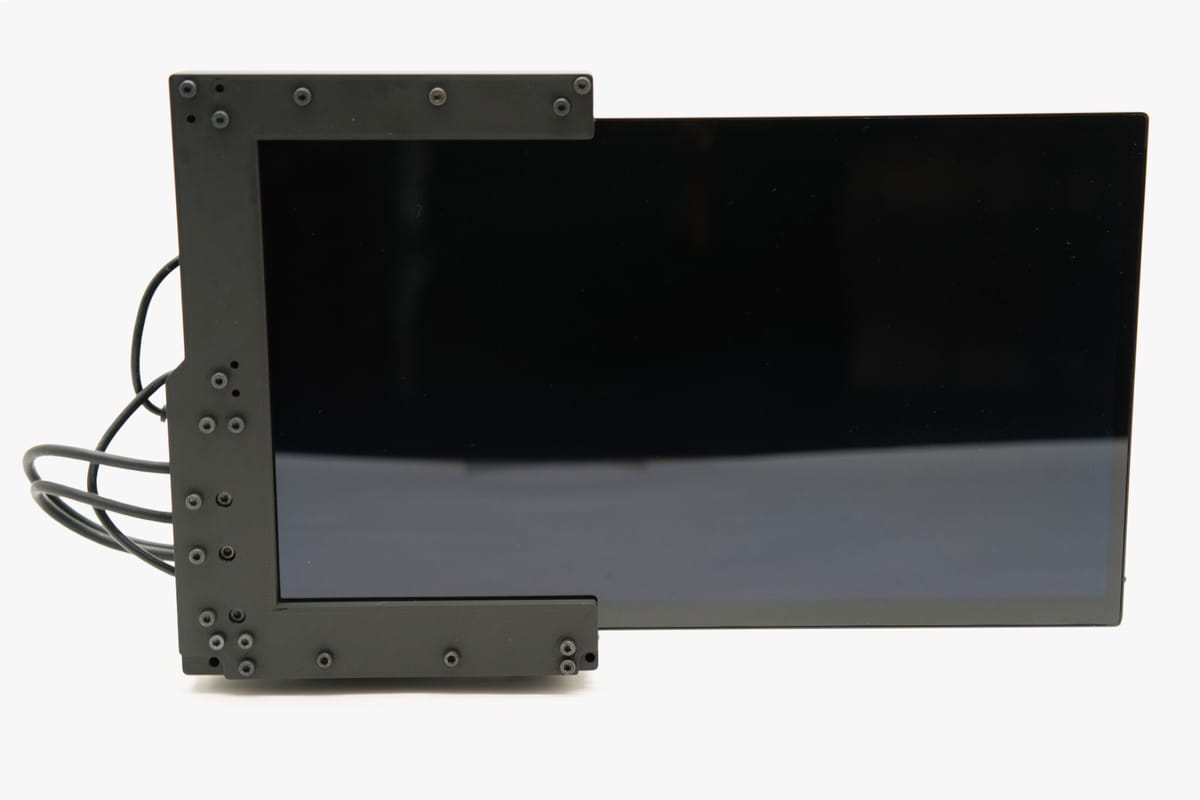
Thank you for subscribing to the newsletter! If you're reading this directly on the web, you can also get this delivered to your inbox- no ads or spam. As my last major build for the year, I'm happy to look back and see the builds supported by my paid patrons. Your paid subscriptions get you access to my STL or CAD files depending on level, and all the models are released under Creative Commons - Attribution Noncommercial, which is what it sounds like- just provide attribution and under personal use only.
Links in this article may contain affiliate links, which support me as a creator to make more projects to share.
Look Ma, No Arm!
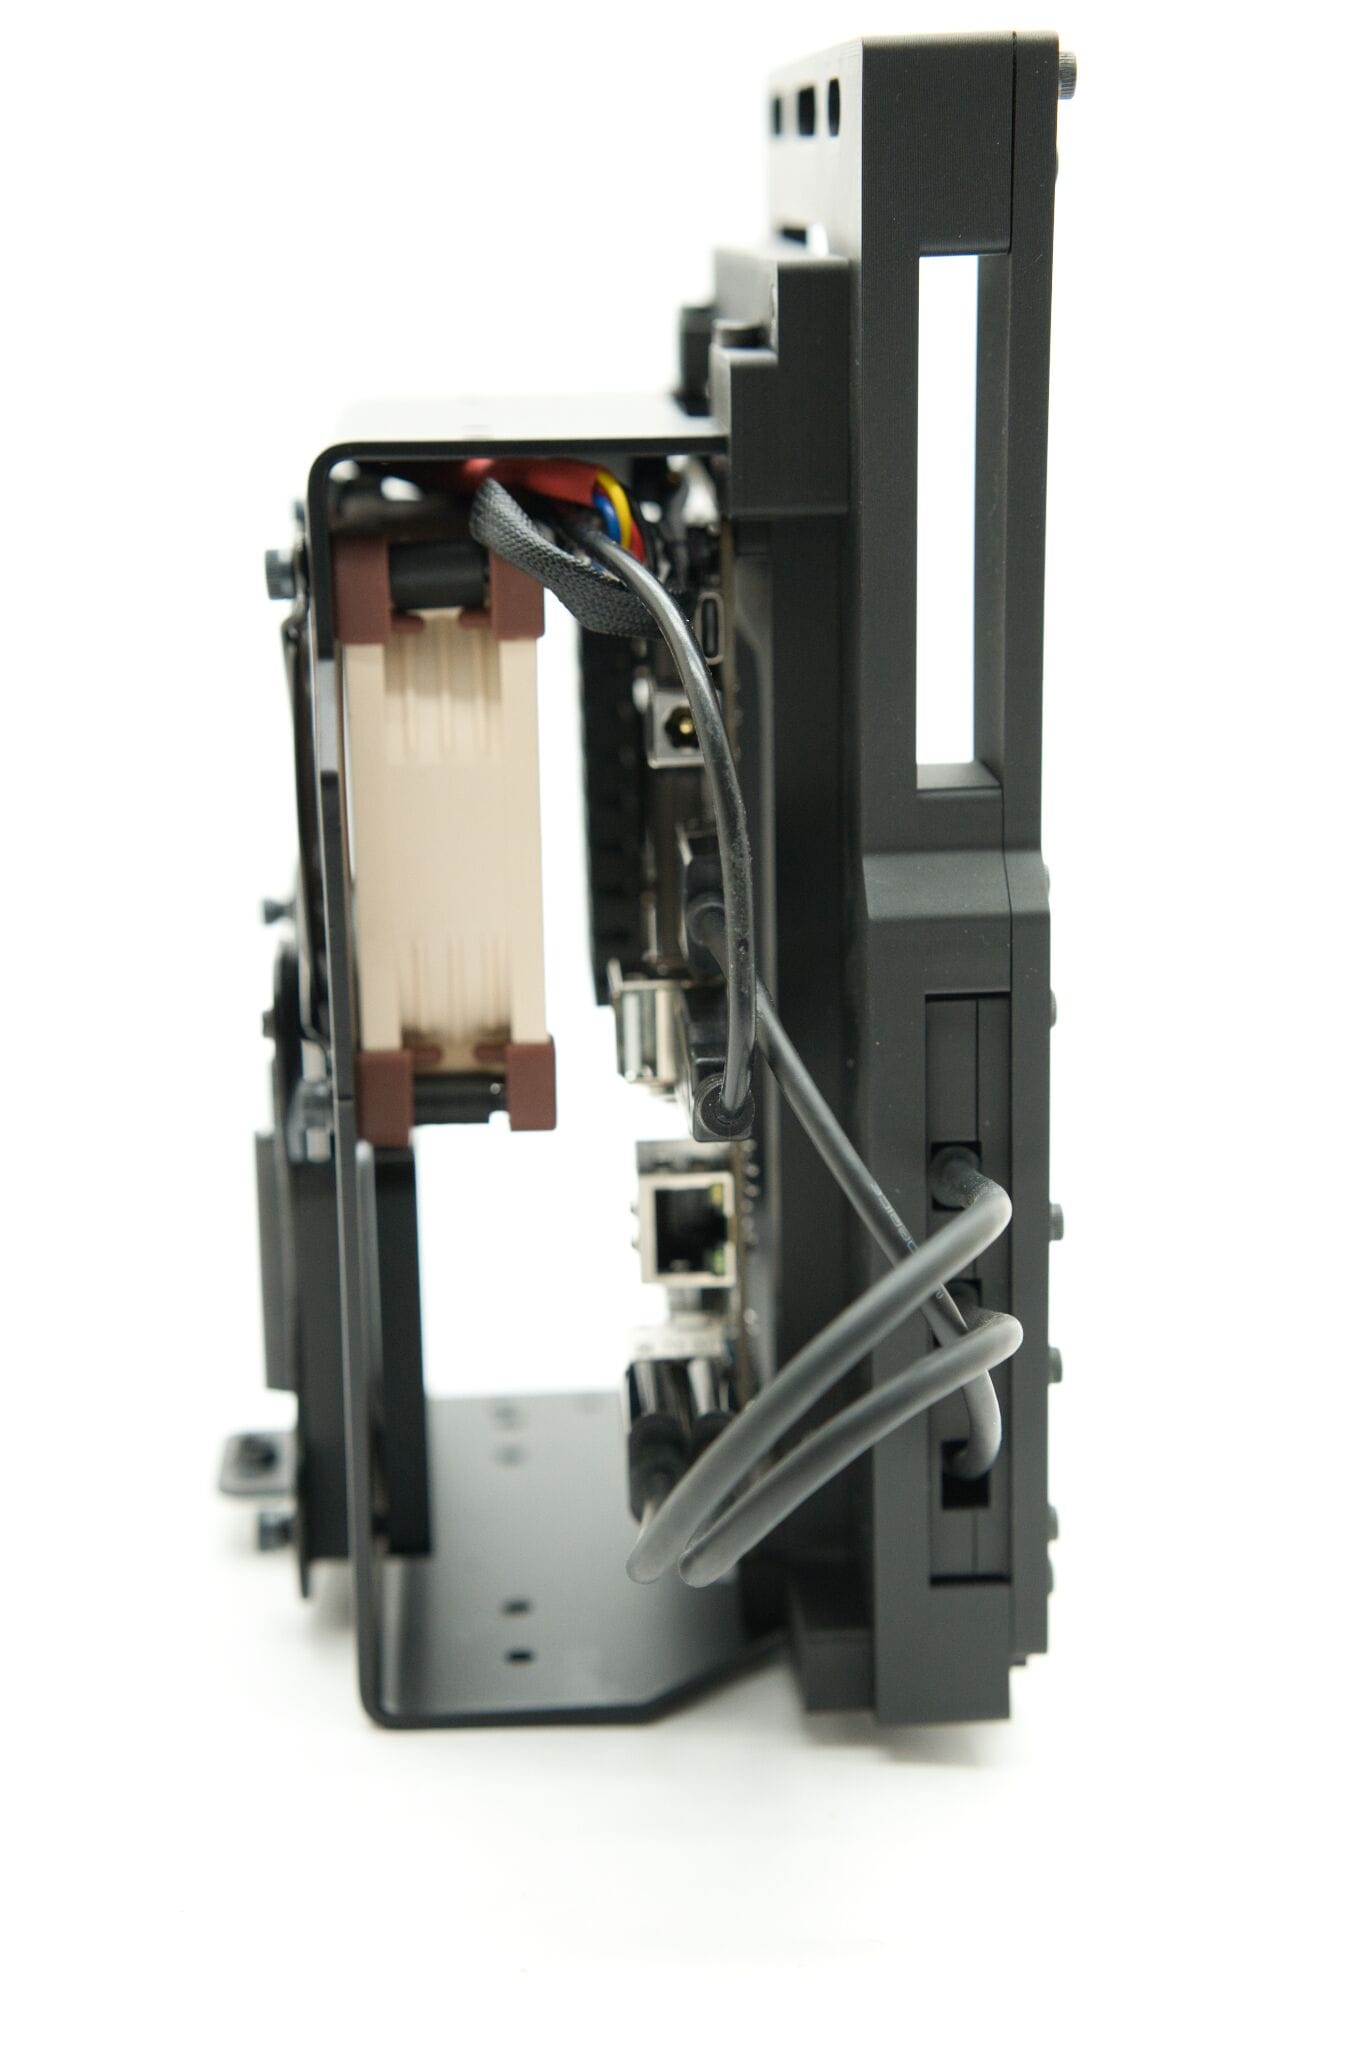
While this build has roots in my previous ARM Terminals (Feb 2024, Dec 2023, 2020), this one not only gives up the use of the monitor arm, but also drops the ARM processor family. While the Raspberry Pi is a capable platform, the abundant use of cables, hats, and other parts puts it on equal budget to many Intel N100 platforms. Going x86 also has many other smaller benefits, such as enjoying full native support under Linux for a variety of packages, not to mention all the encoder support included in the N100 line.
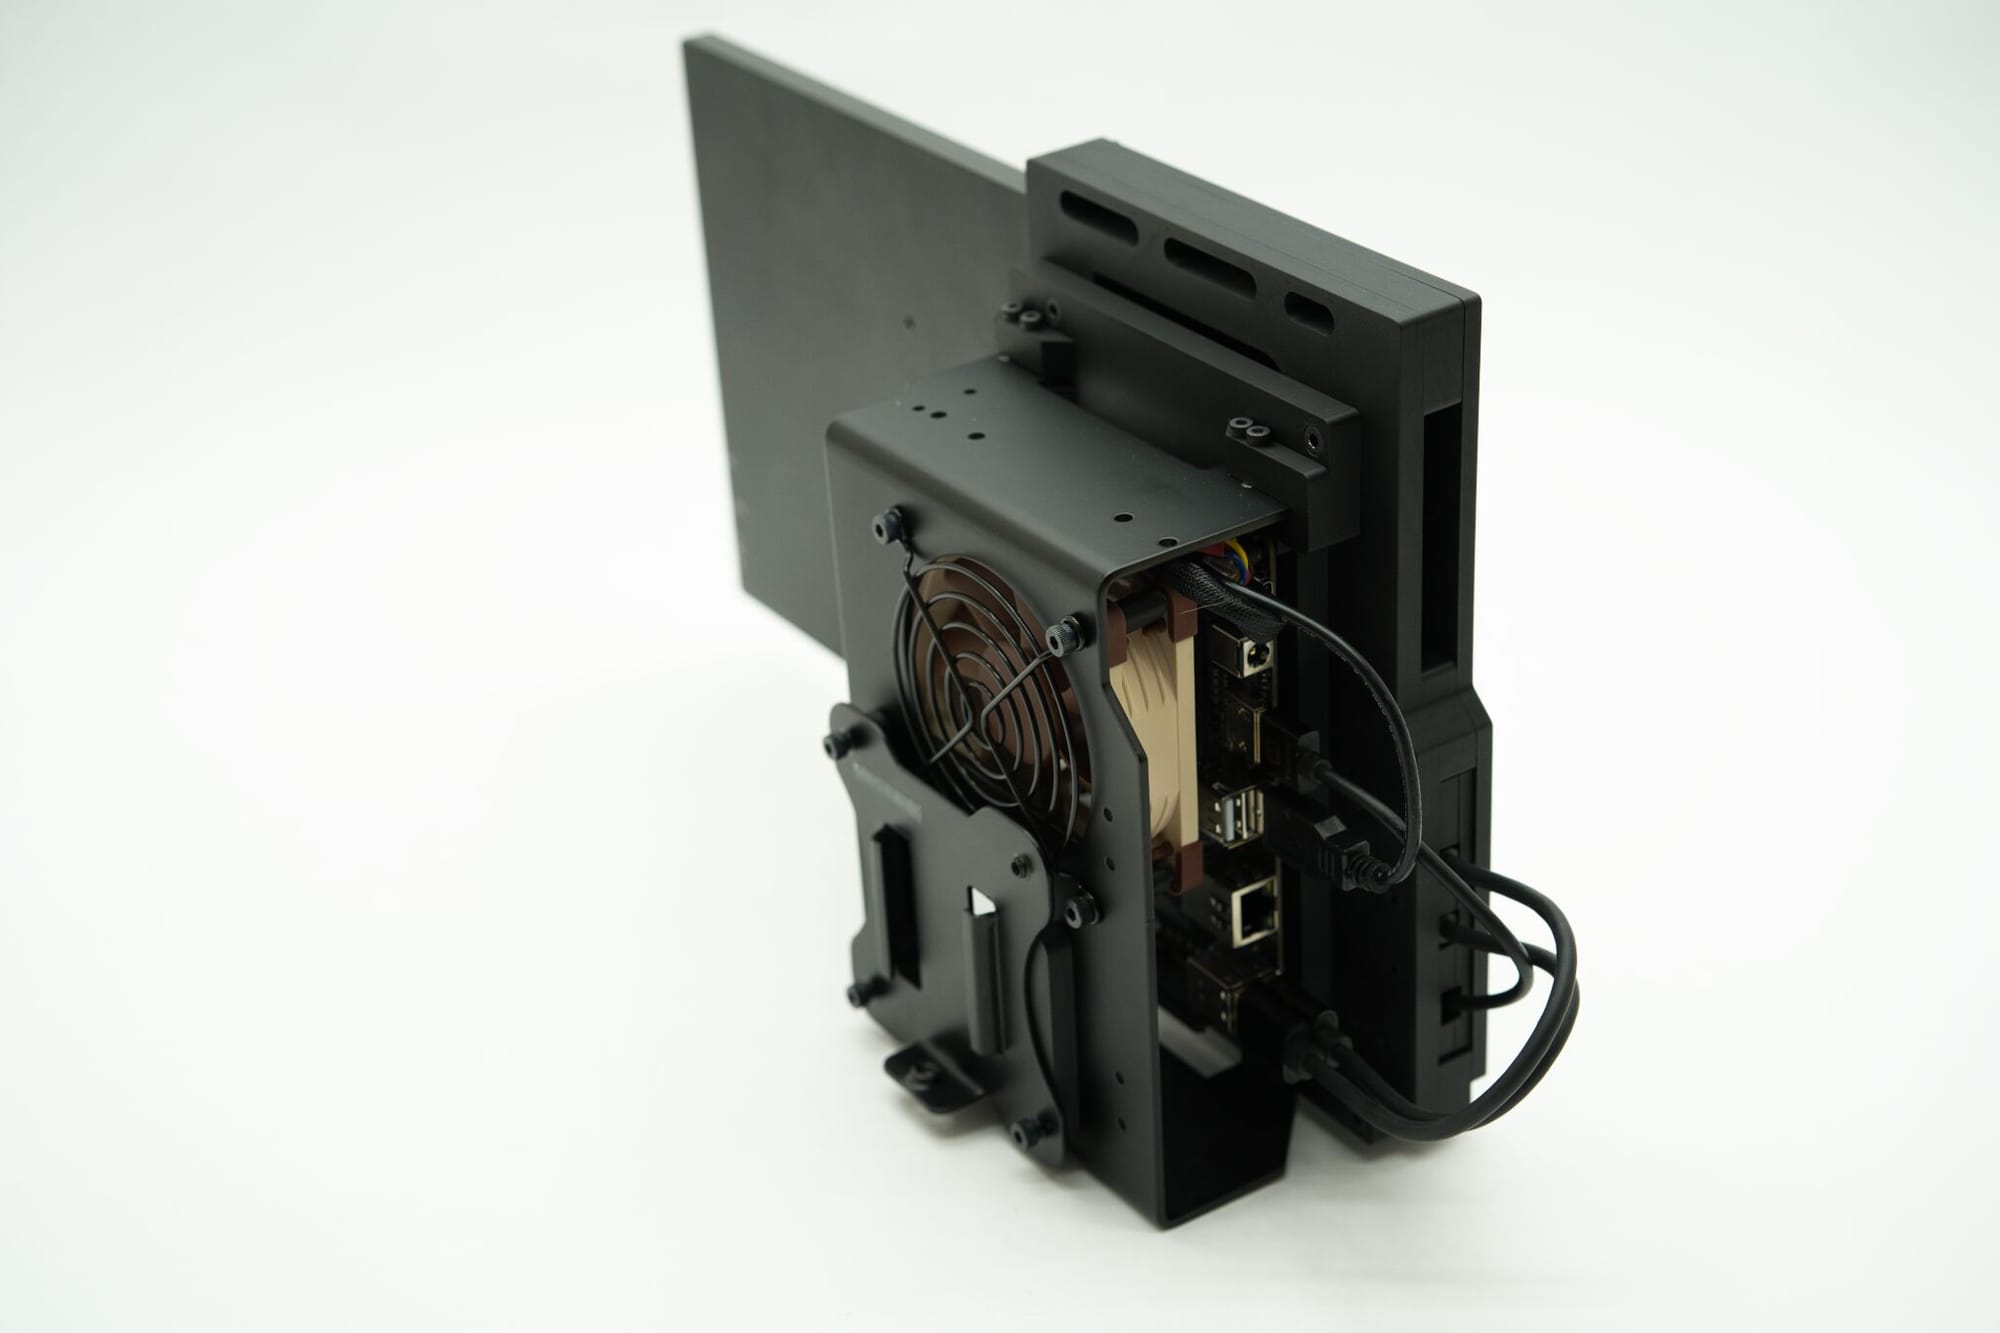
Additionally, my specific use case for this build doesn't need an arm, it's needs to occupy a specific spot between my desk and my lab's rack (more on this next month). I still use a VESA mount in the back, specifically using the 100mmx100mm spec. I'm using the VIVO "height adjustable VESA adapter" which essentially is a ratcheting up/down VESA bracket (link). I mount it upside down so that the thumbscrew is on the bottom, so it never falls on the floor, which would be horrific. In real world usage, this means the bracket that mounts to the rack doesn't have to be in the perfect spot, and I can ratchet it all the way to the top, then drop it down and ratchet back up to the right height. The single thumbscrew lets me disconnect it from the bracket, then just power/keyboard and Ethernet get unplugged to completely disconnect it.
Removable Monitor
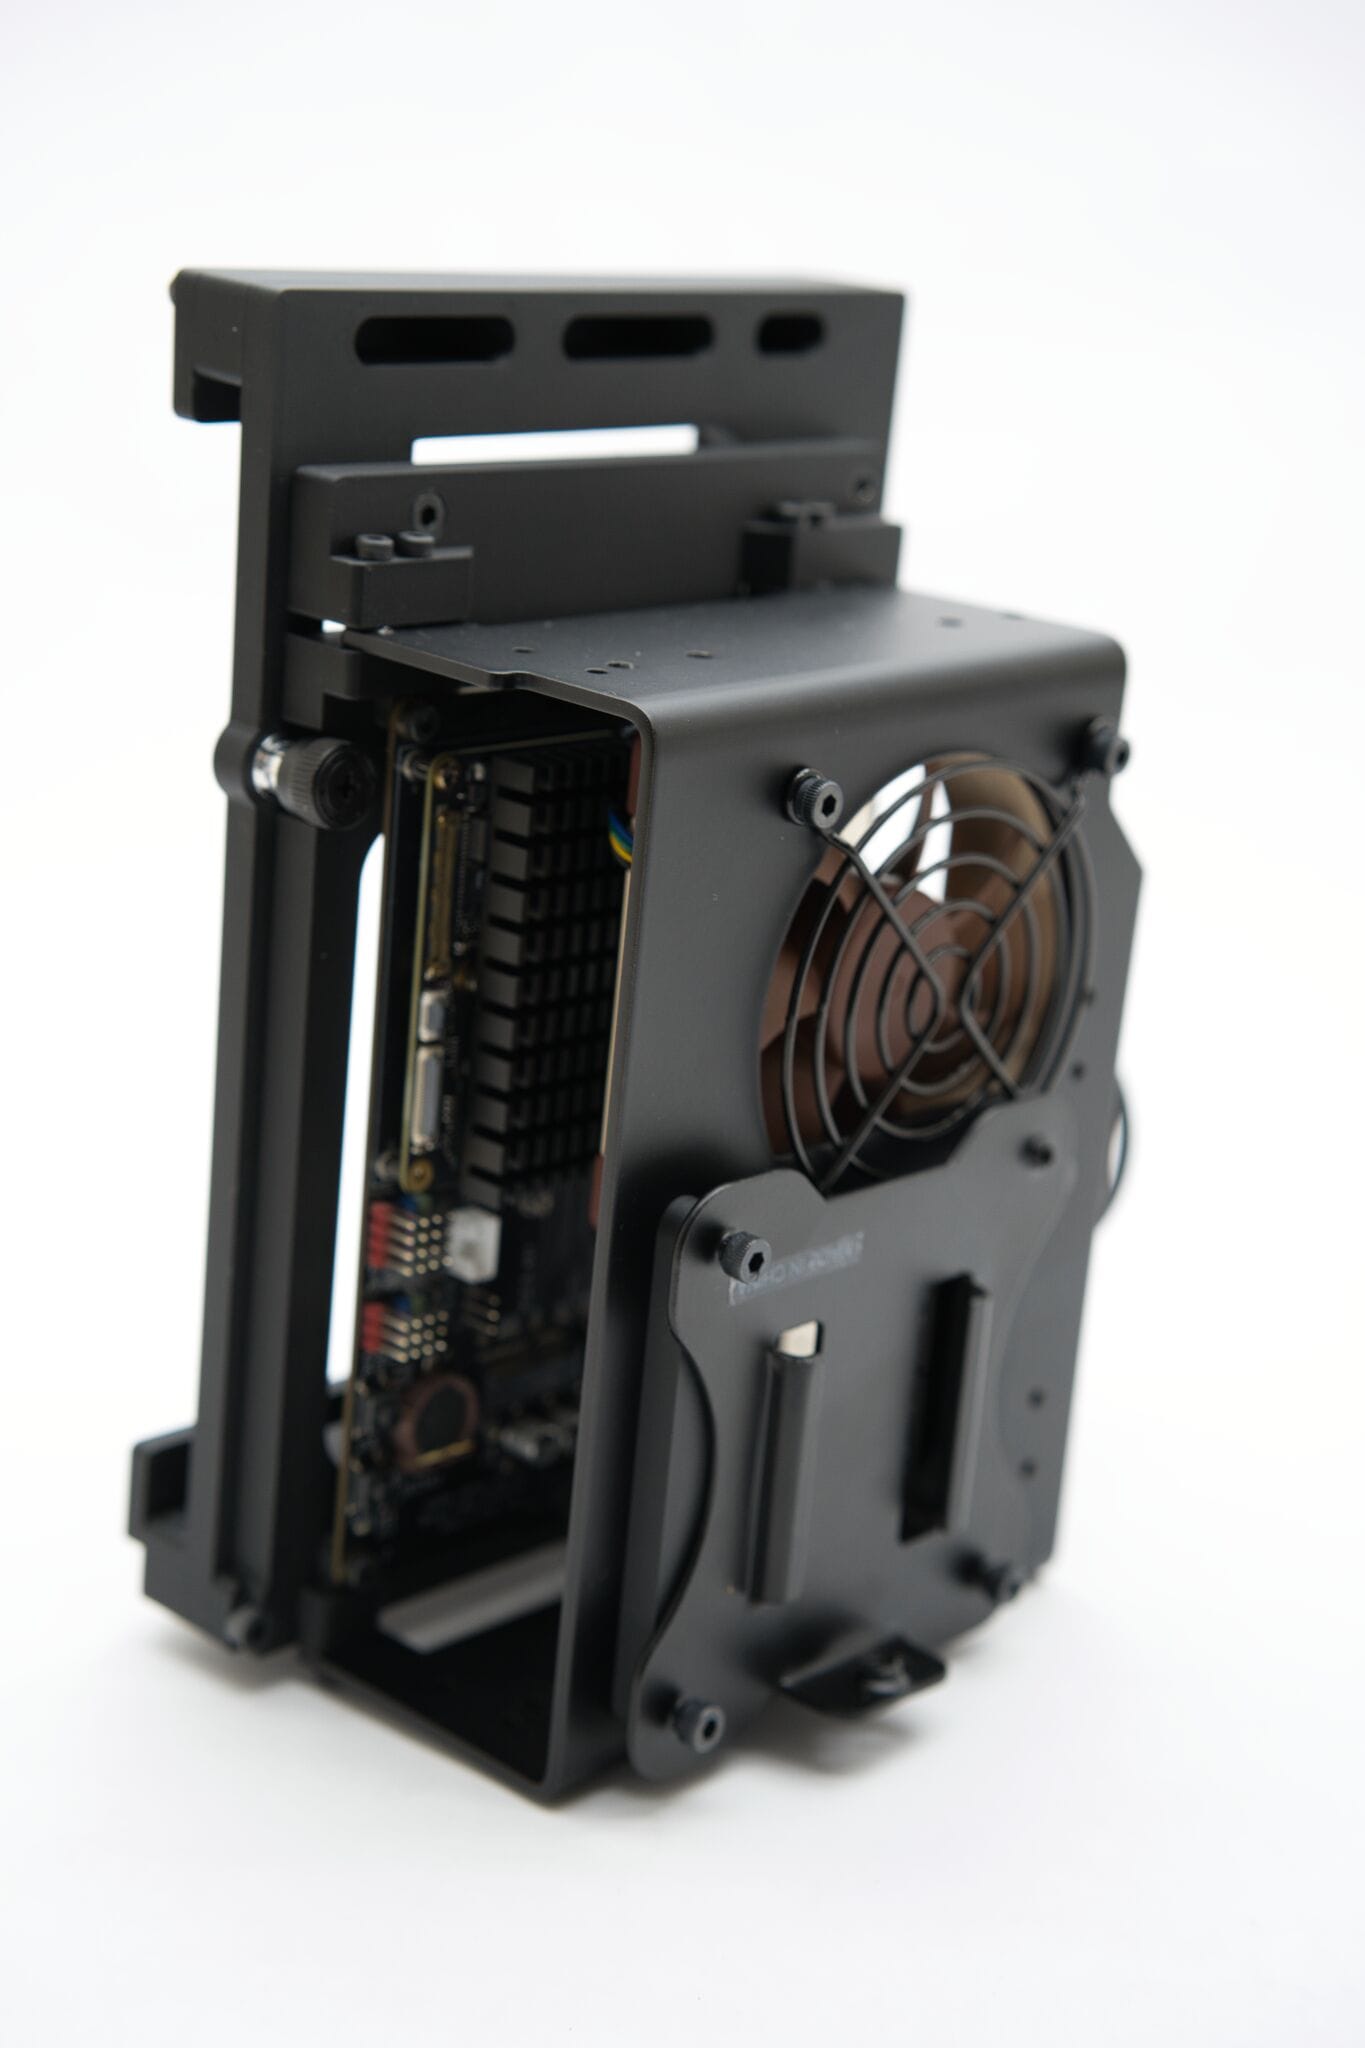
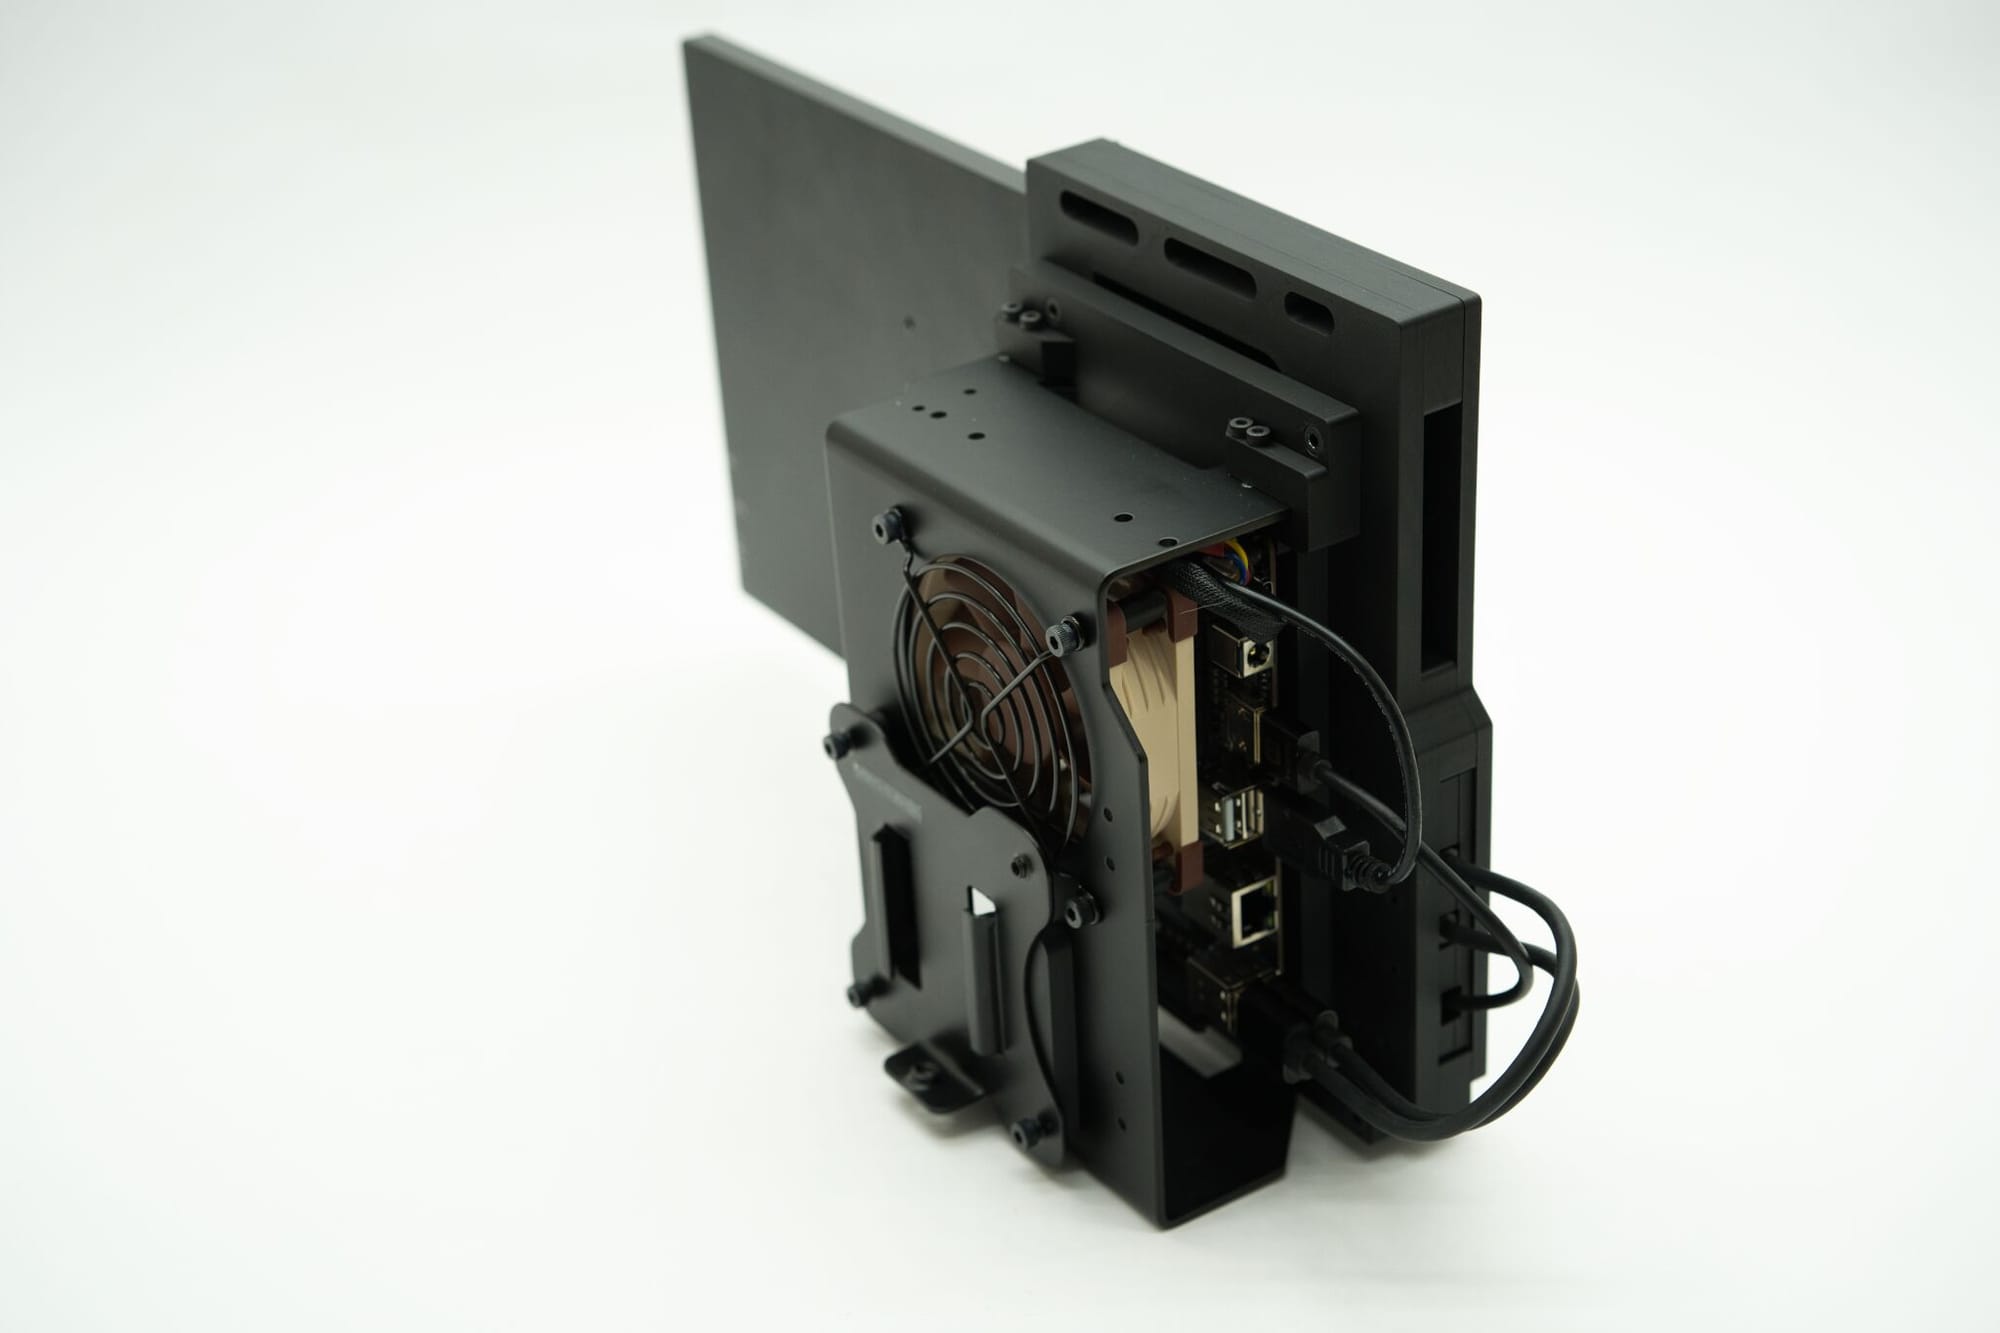
The real star of the show is the dock- which is essentially a cartridge-style connector for the 13" AMOLED Waveshare Display (link) which I have used in a number of projects already, and plan to keep re-using. This premise is simple- there is a two part dock frame itself with a top/bottom that the monitor slides into, then a smaller two-part sandwich that holds the two USB-C connectors for power and touch input, as well as HDMI. You can see them below in my bracket made for my dual N100 build from last month, which is the same form factor but a slightly different hole pattern to line up with the N100 cube.
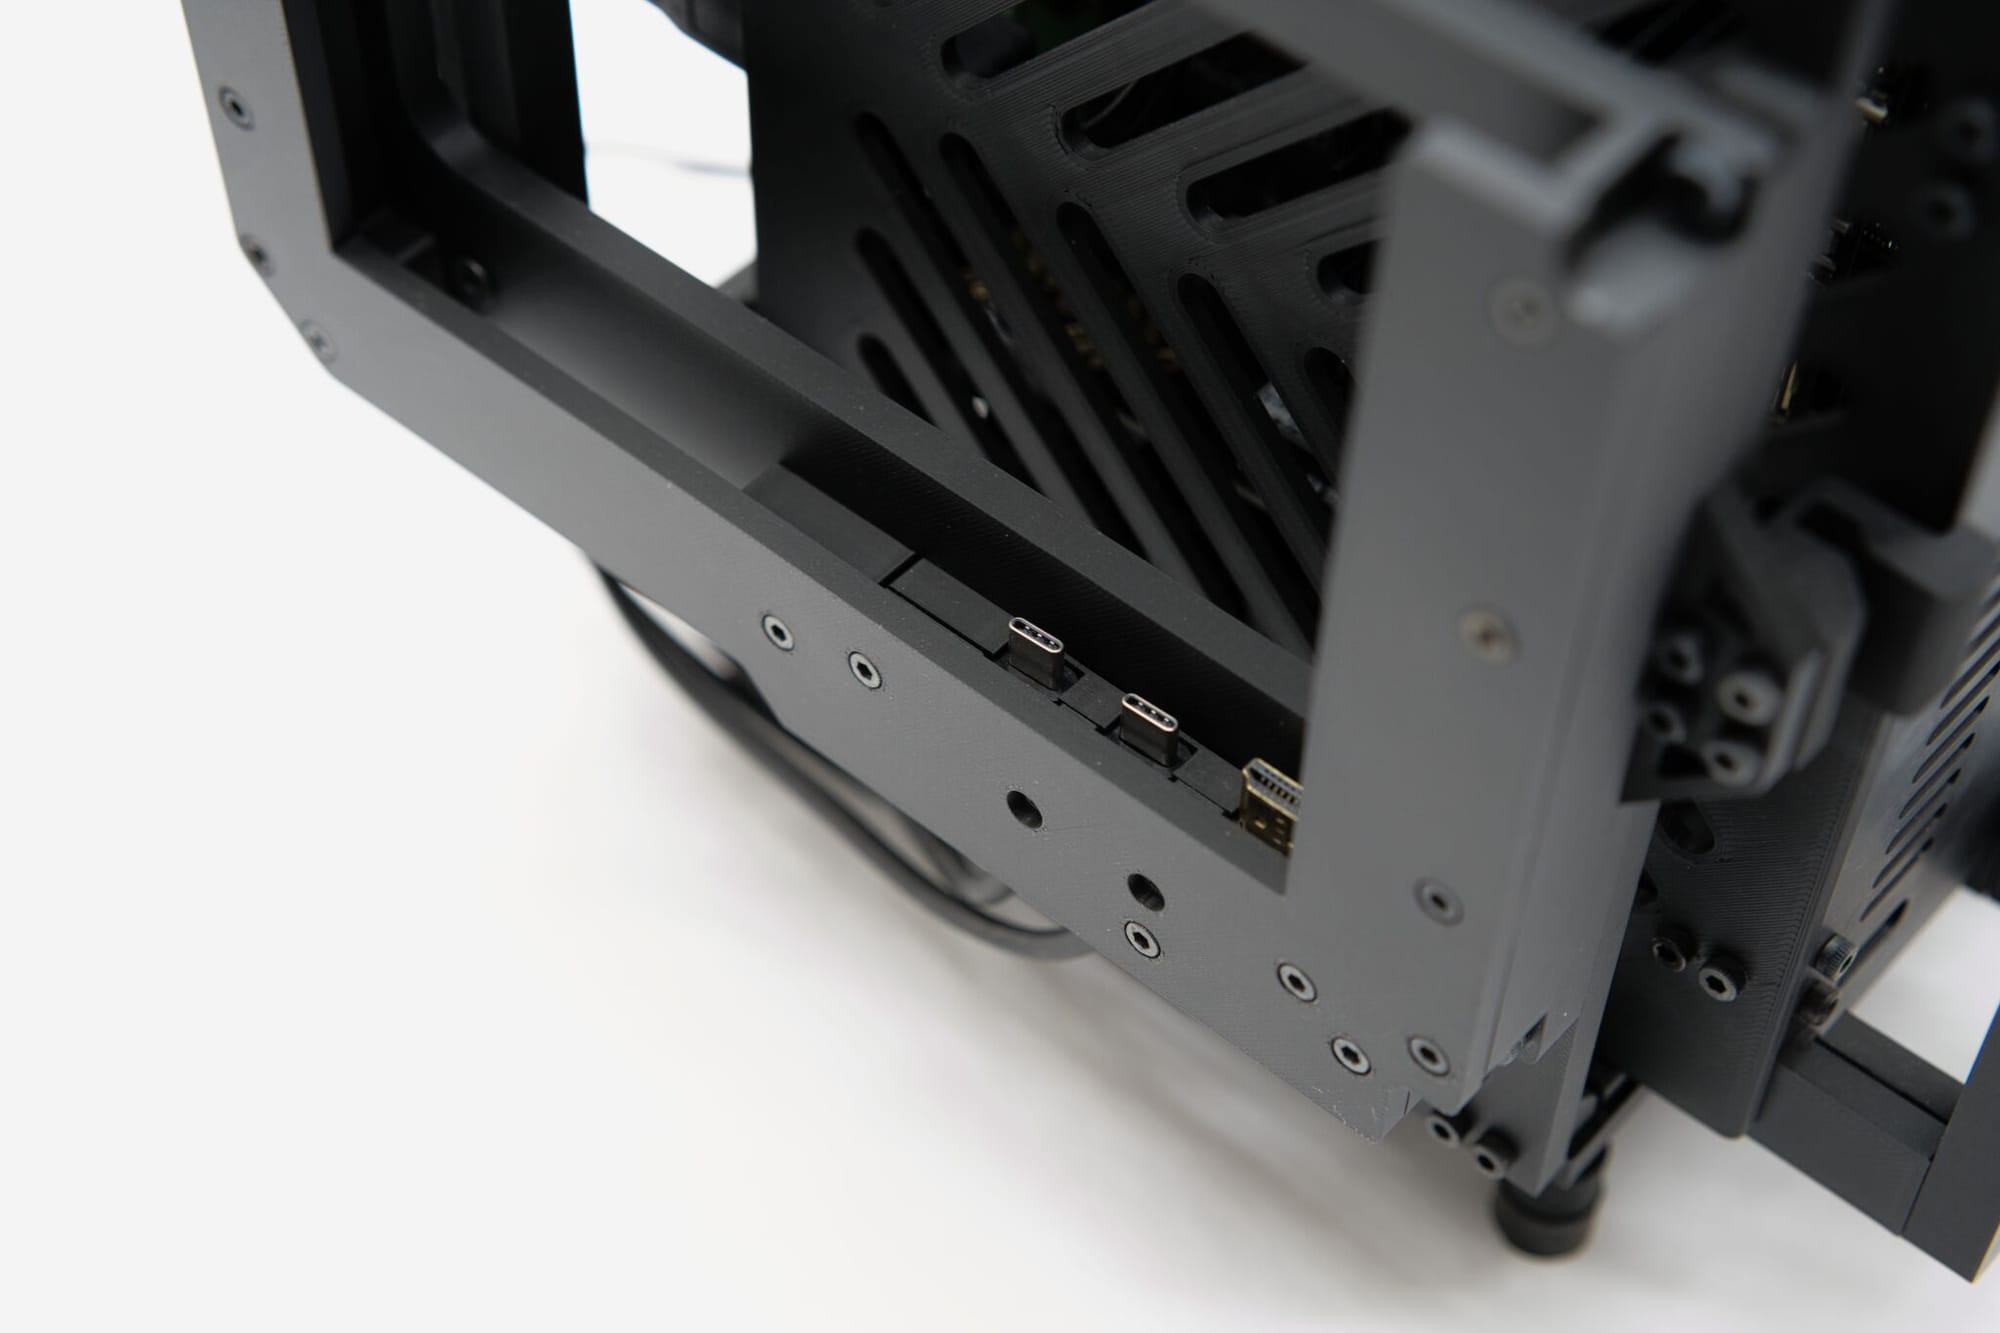
The spacing of these can be tricky, so I made them a separate module for easier prototyping as well as easier modding if your printer has different tolerances. The monitor slides in with a pretty satisfying mini-thud, but lacks a nice "click" because there's no latch hardware on the monitor itself- so I have a retained m4 thumbscrew on the back to keep it from sliding out on its own.
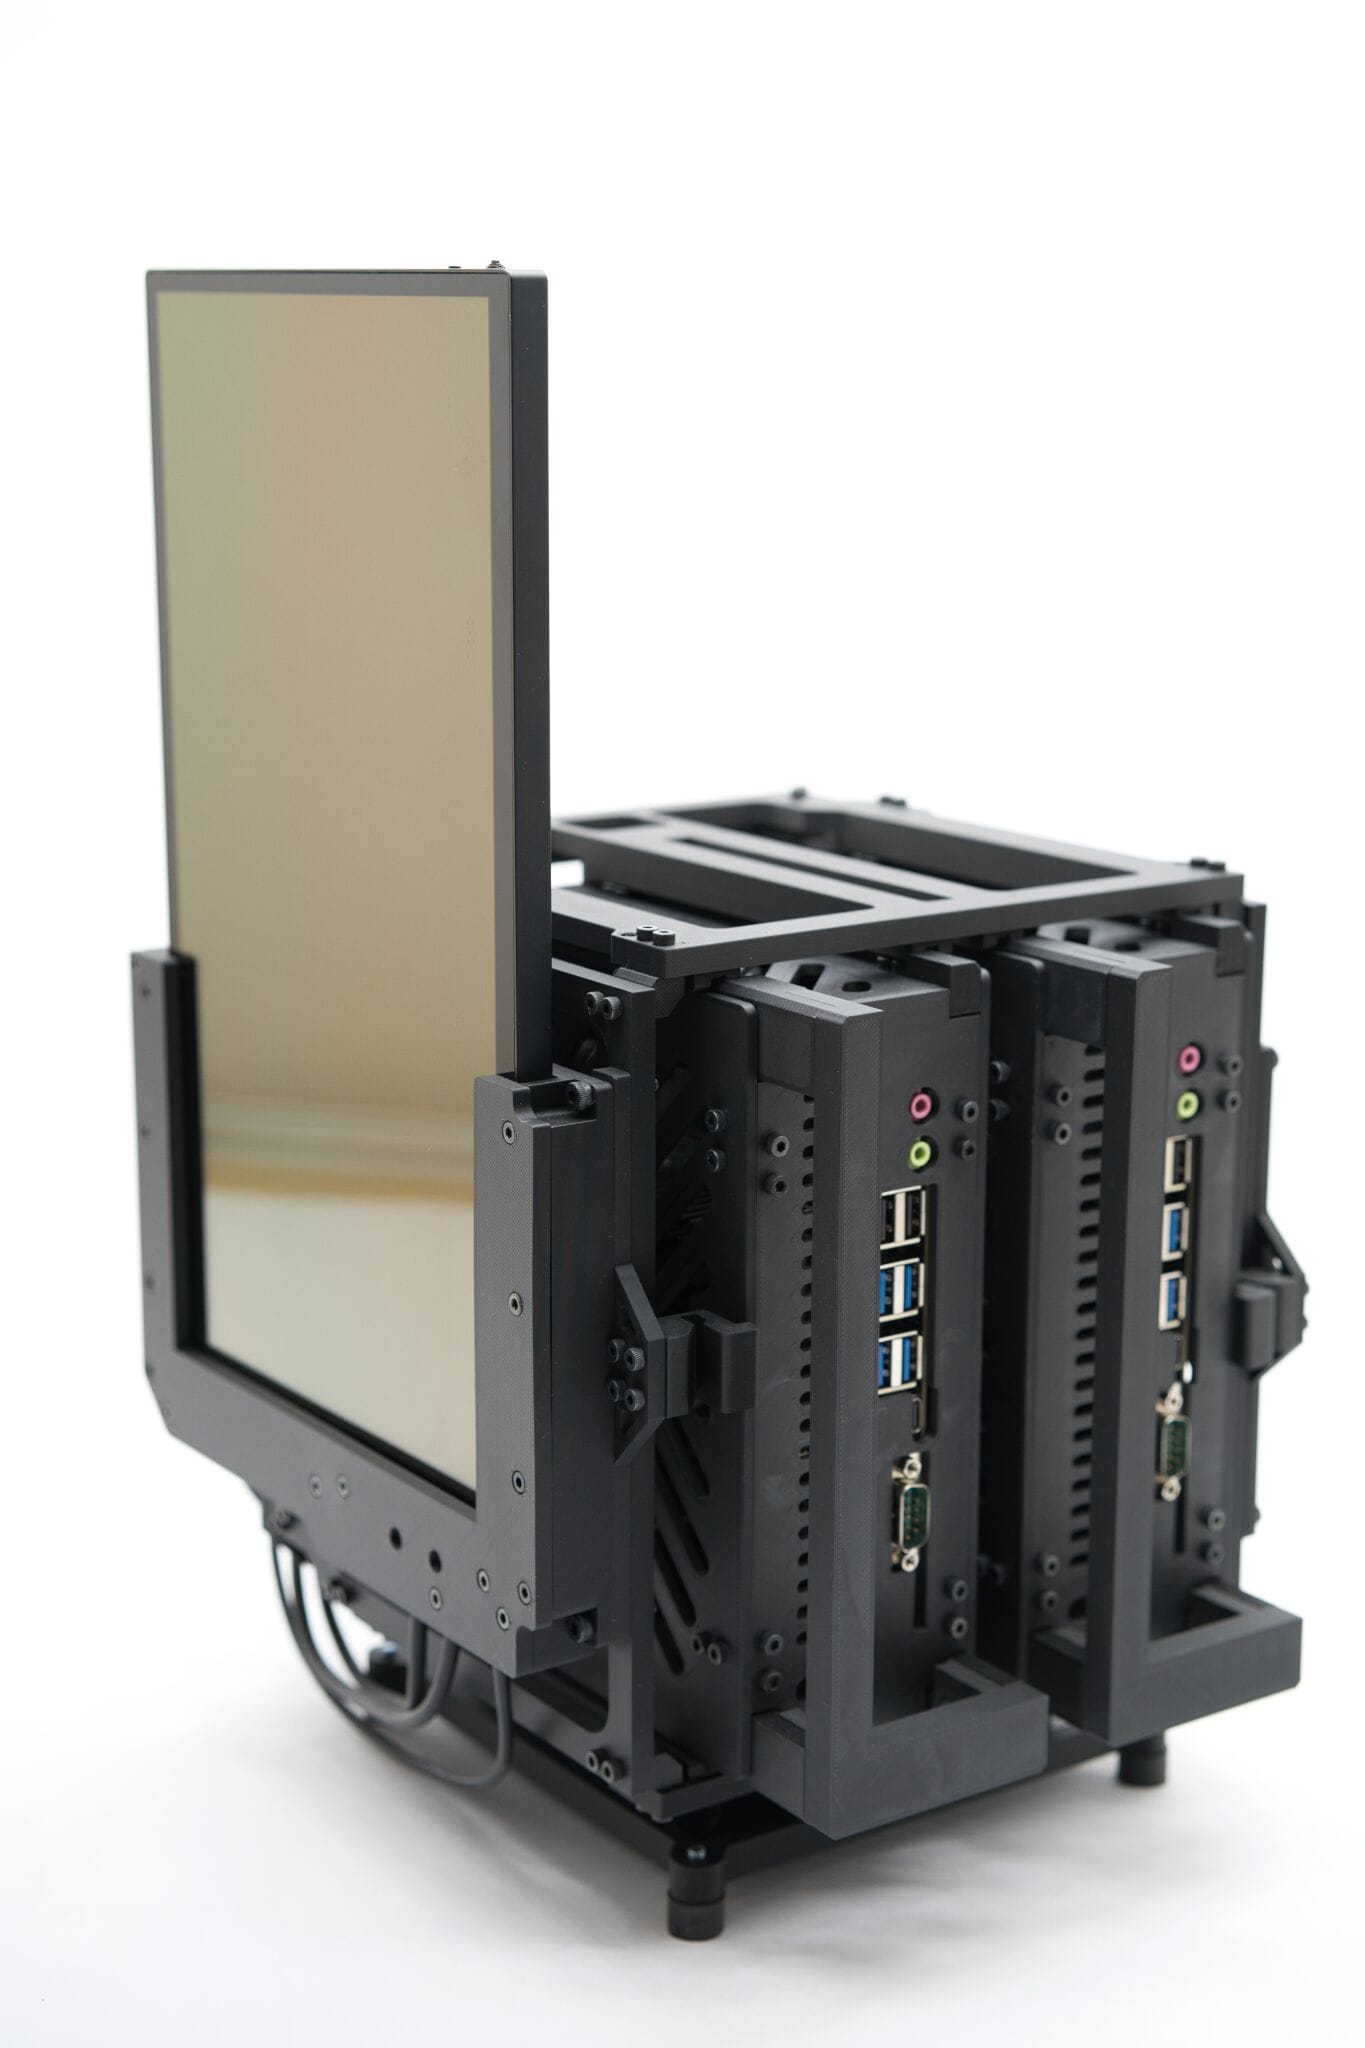
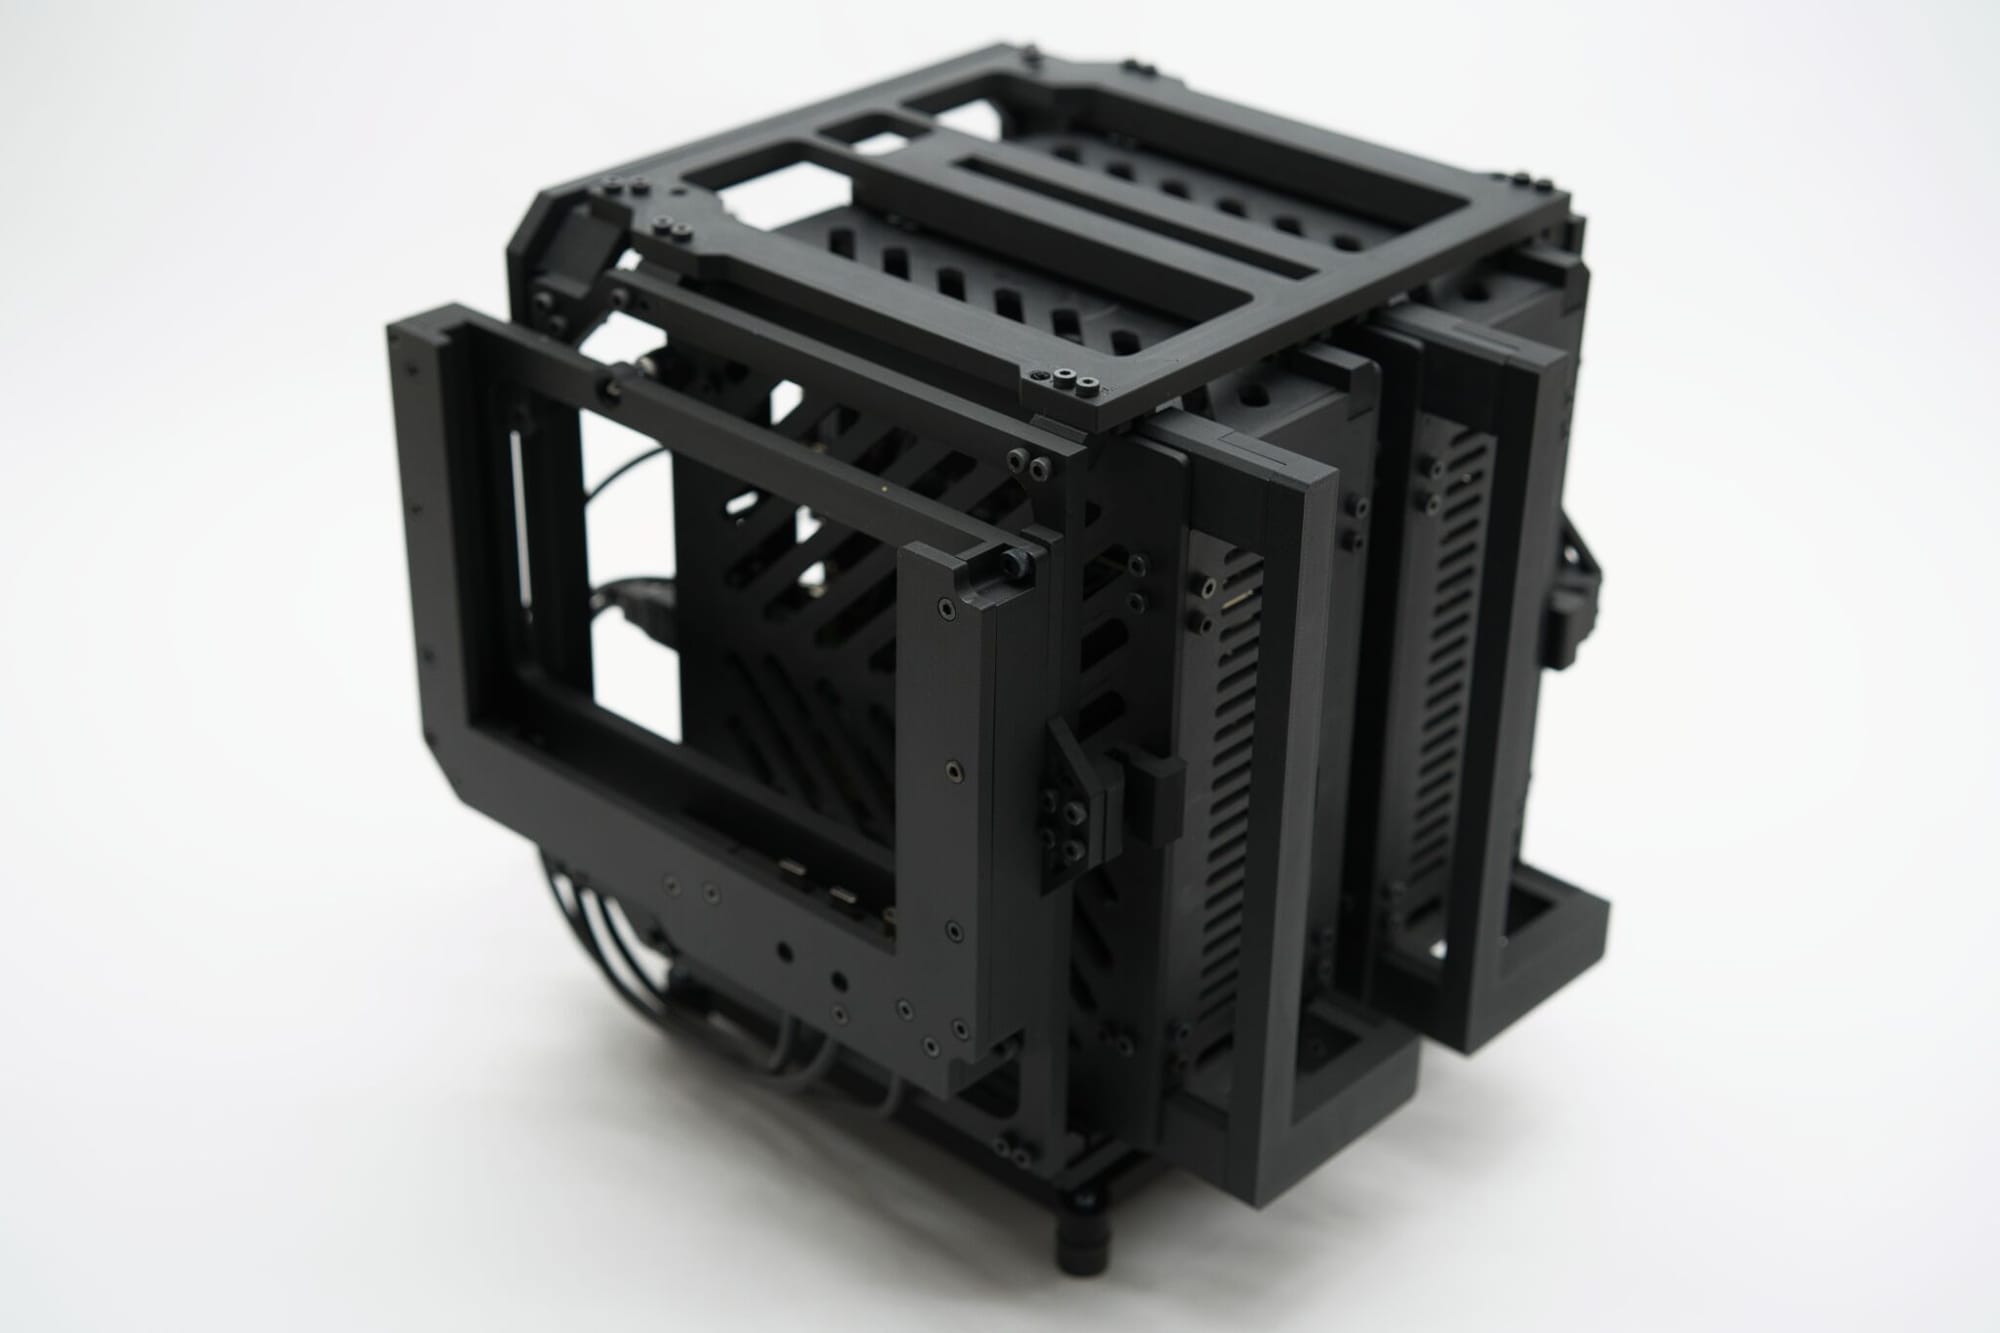
This is a big deal for my personal use case- the display also works with the dock for my dual N100 server cage from last month (link) so I can slot the display in there as needed. Here's a quick photo of what that looks like with the monitor installed and with just the bracket. This means that I can reuse the same nice display on multiple projects without any tear-downs. It also means it's easy to reuse this design in future projects.
Every time there's a comment about screws I like to add more.
Adventures in Metal Forming
I really began my sharing of projects back in 2017 or so when I got a chance to attend some of Jimmy Diresta's maker sessions. The first was an axe class that was mostly a lesson in wood shaping, handle design, and axe head refurbishing, but it was a small tight knit group that a few of us snuck away for and got some lessons in leather working from Taylor Forrest- many of those design principles still make their way into my high tech designs today. The second class was full–on blacksmithing where the original back7 logo and site concept was developed. All of this is to say that metalwork no longer seems to fearsome after giving it a try.
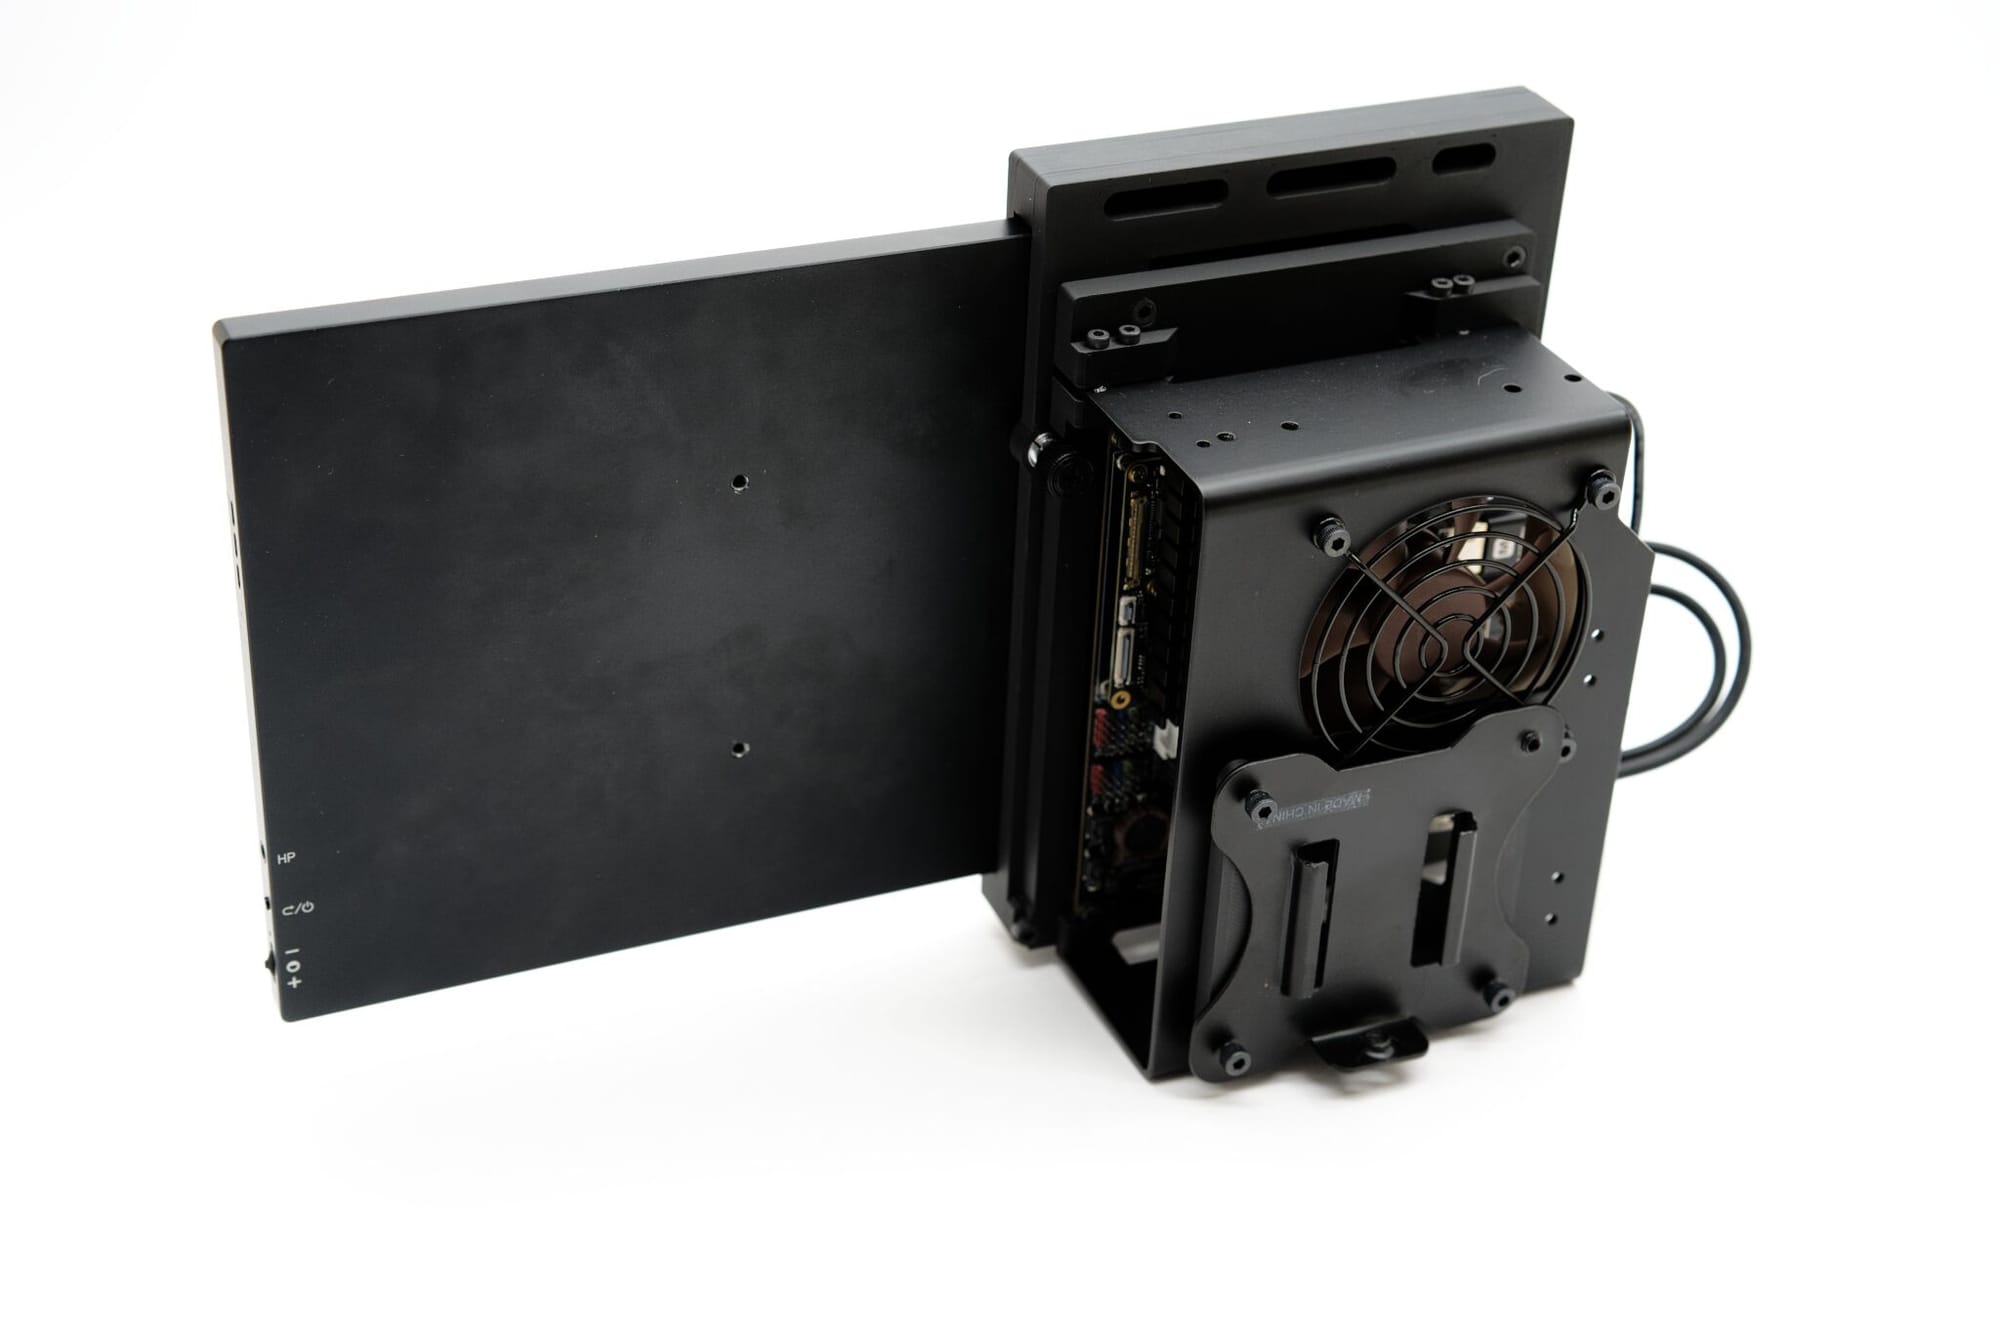
This project uses 3D files for the display dock, as well as the adapter plate for the DR Robot N100 dev board (link), but for the attachment to the VESA bracket I am using a single bent and powder coated piece of steel. That part was $73 with shipping, but that includes all the finishing and the part that showed looks amazing. The design file is included in both CAD and STL subscriptions, since it's pretty tough to edit otherwise- that includes both the DXF for sending to your fabricator as well as the Fusion 360 file for the metal part if you want to play around with sheet metal fabrication.
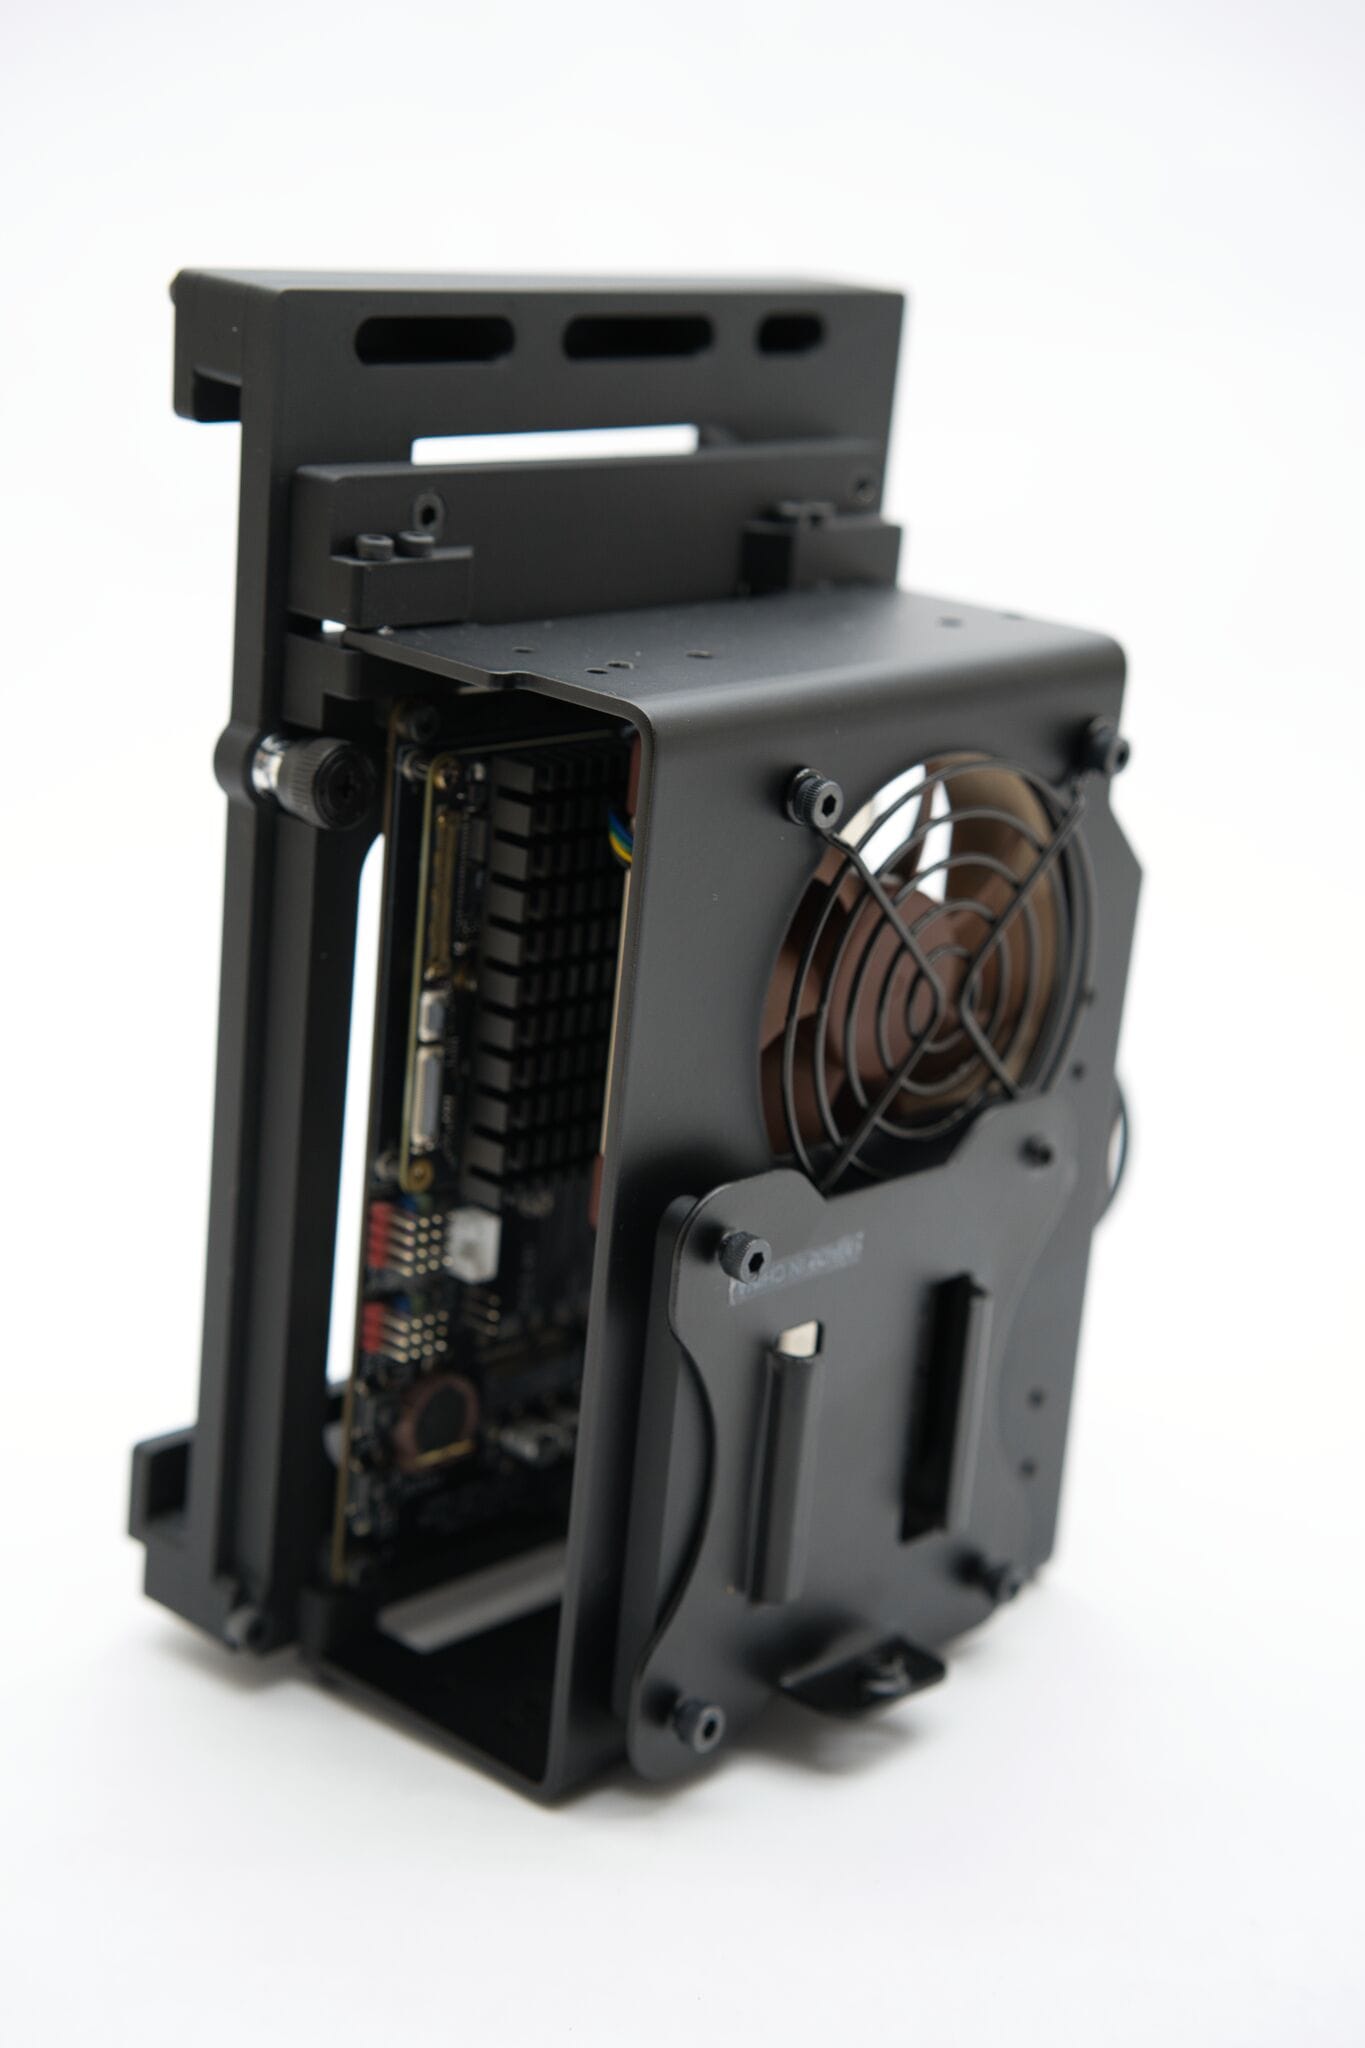
I left many M5 and M3 holes in the part for future handles, wire guides, or mods- as well as the M4 holes for the VESA mount, but they are not threaded. I use a simple PLA part on the opposite side to act as a nut, and given it's not going to be re-connected I am pretty confident in the choice. I also have room for an 80mm fan, and the metal part has the right amount of clearance for the low profile N100 heatsink. I used some 3d-printed, teardrop-shaped nuts to attach the M4 screws to the fan- these weird little parts act as a small handle to help get them between the top and bottom holes for each fan corner, but also keep them from spinning in place when using an electric screwdriver.
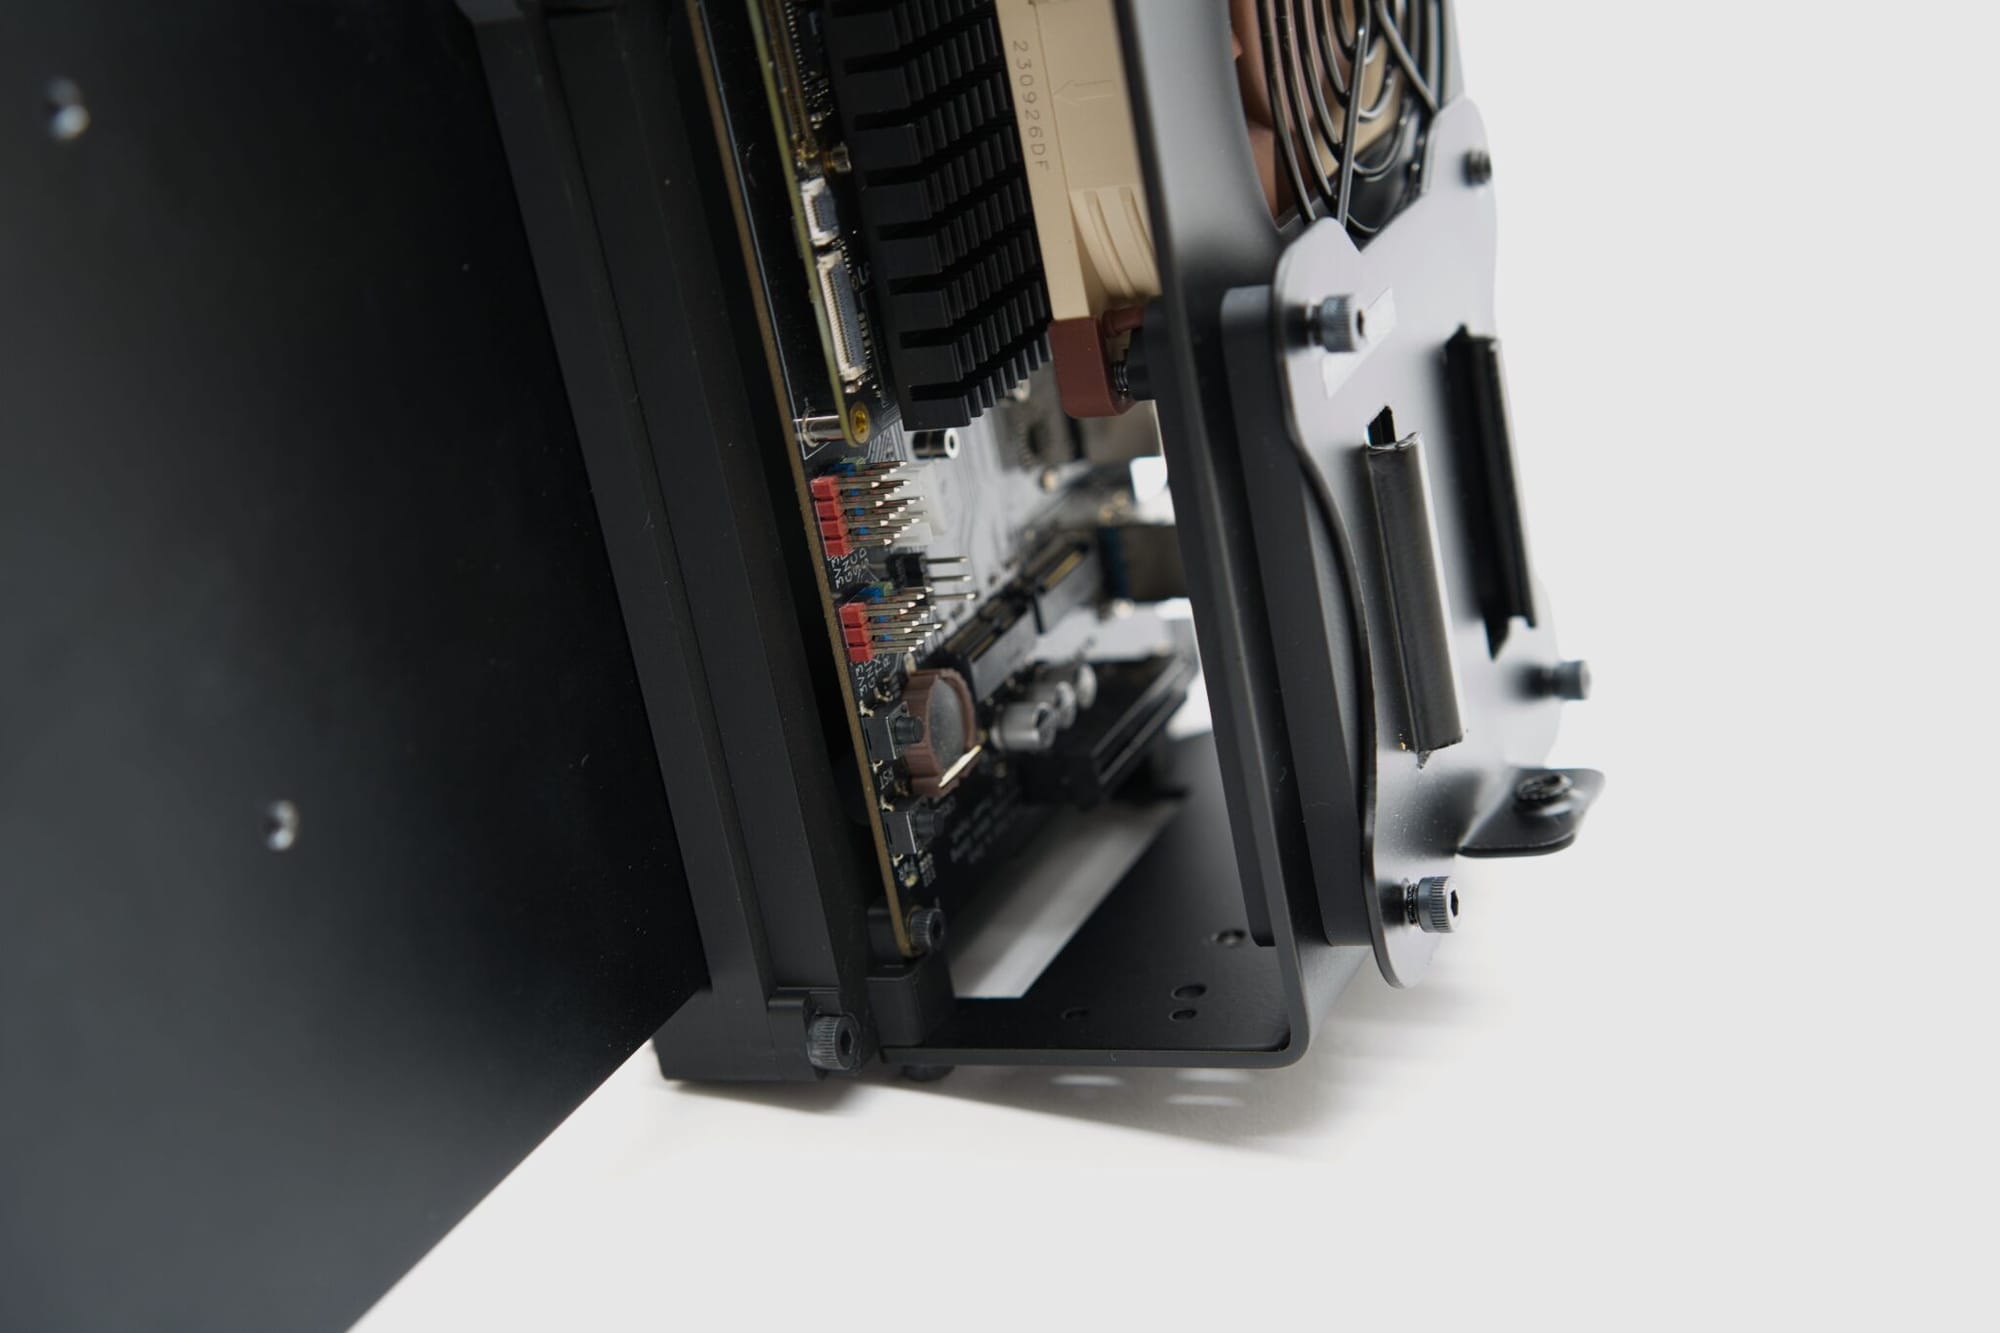
I used one of my spare fan guards from the SDR project (link). There's some overlap between the fan's holes and the VESA mount, so the VESA mount is only held on with three screws- but the fan guard could easily be cut if you want to retain all four VESA screws.
Parts List
- N100 Processor board with 8GB RAM - DFRobot
- N100 Small Dev motherboard - DFRobot
- Thin Passive Heatsink - DFRobot
- AMOLED 2K 2560x1440 13" Display - Amazon
- (For Display Dock PC) Short 6 inch USBC Cables for the Display Dock - Amazon
- (For Display Dock PC) Short 6 inch HDMI Cable for the Display Dock - Amazon
- (For Cube Frame) Short 12 inch USBC Cables for the Display Dock - Amazon
- (For Cube Frame) Short 18 inch HDMI Cable for the Display Dock - Amazon
- Captive Screw to keep the Display in the dock - McMaster Carr
- 80mm Noctua Fan - Amazon
- Fan speed reducer - Amazon
- Fan Grill - Amazon
- VESA Bracket - Amazon
- M4x20 Screws for Fan & VESA Mount - McMaster Carr, Amazon
- M3x14 Screws for Display Dock - McMaster Carr, Amazon
- Matte Black PLA - Bambu Labs, Amazon
- Hoto Electric Screwdriver - Amazon
- Paid, Open Source CAD files (Recommended for heavy modification) - doscher.com
- Paid, Open Source STL files (Easiest for just 3D printing) - doscher.com
- Recommended reading for angry commenters - Amazon
Comments ()