Mobile Media Bot

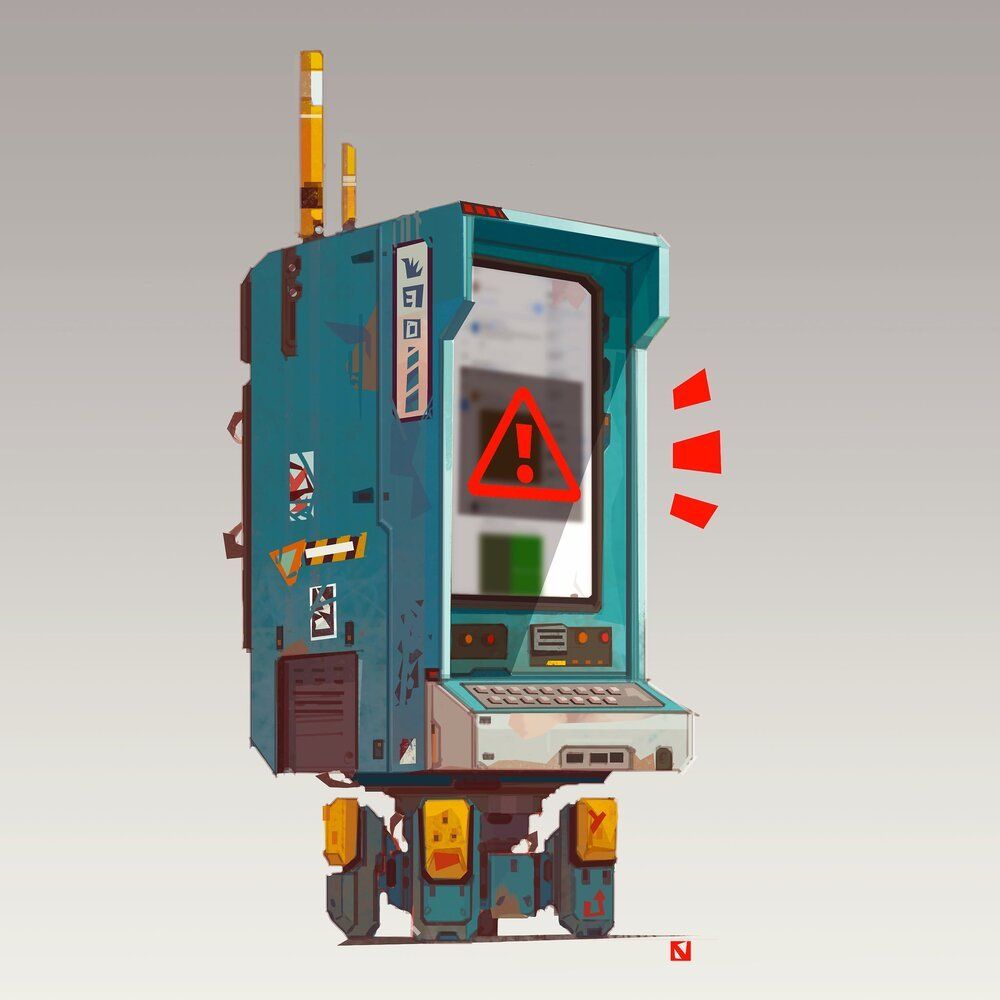
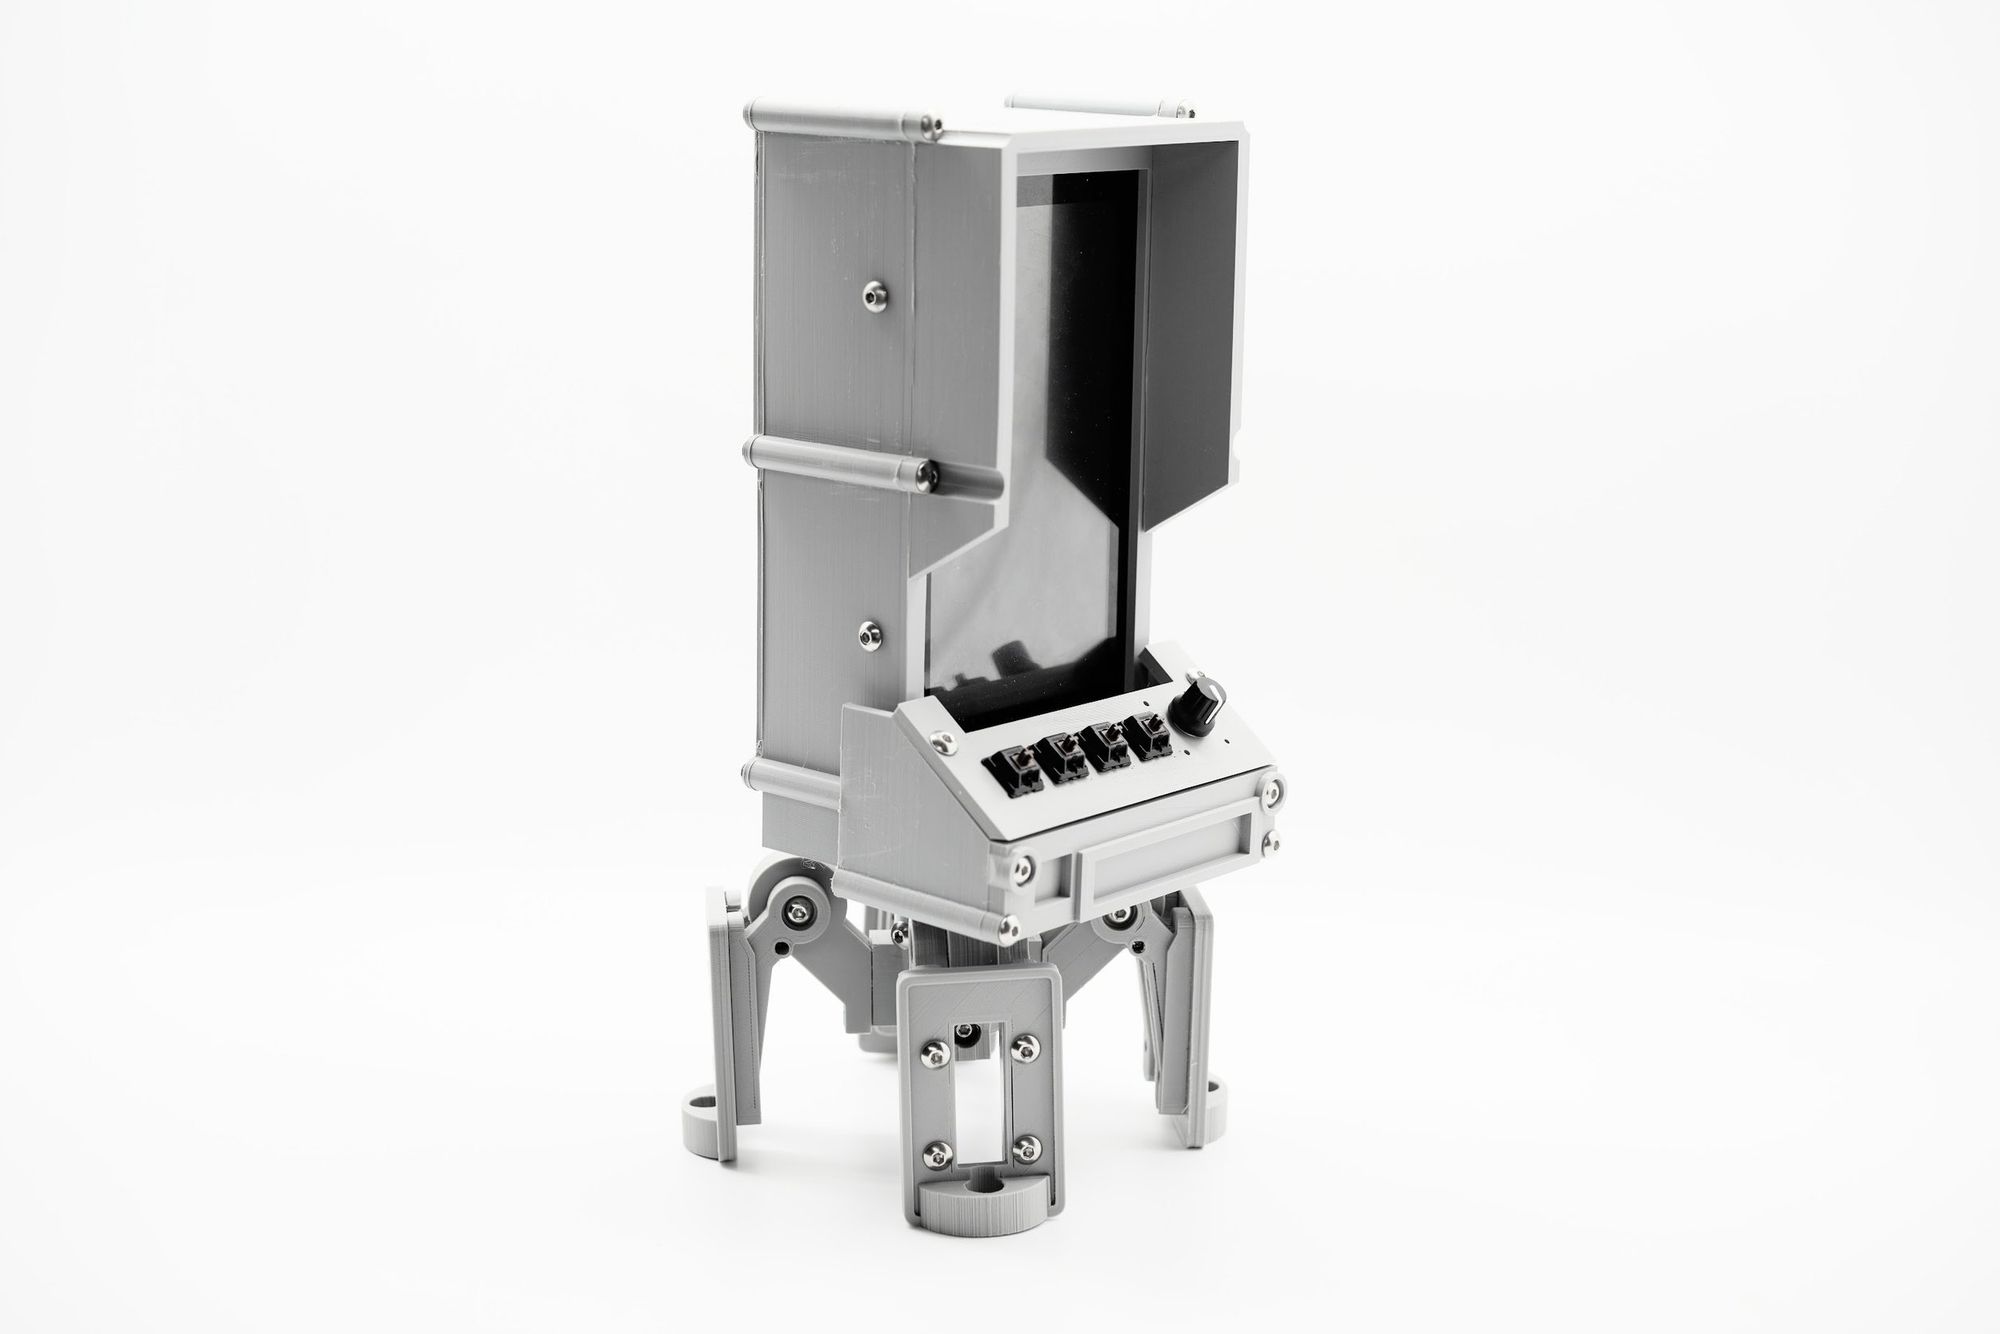
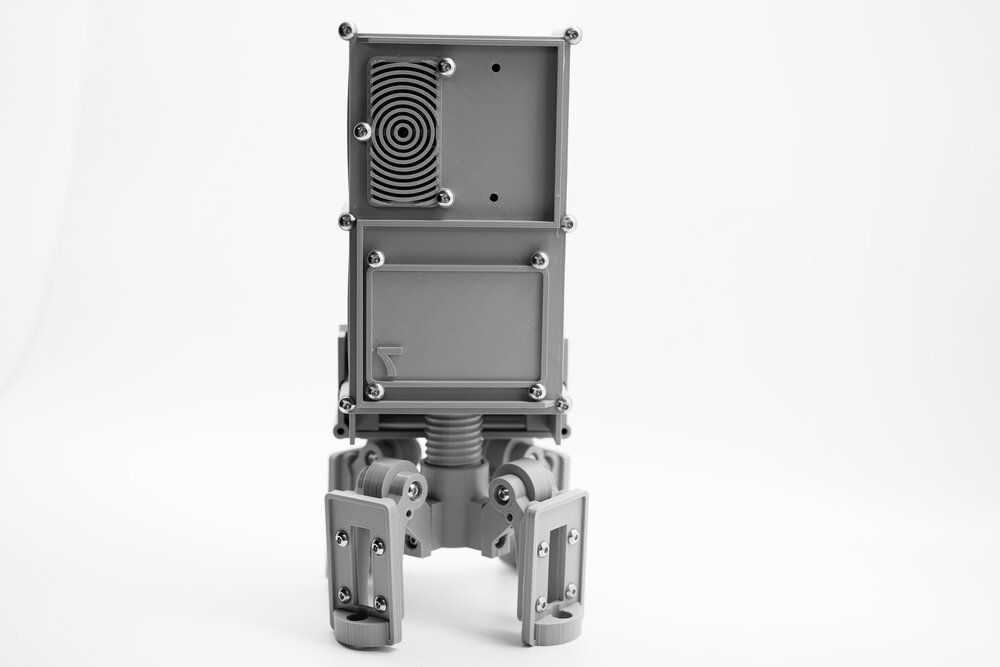
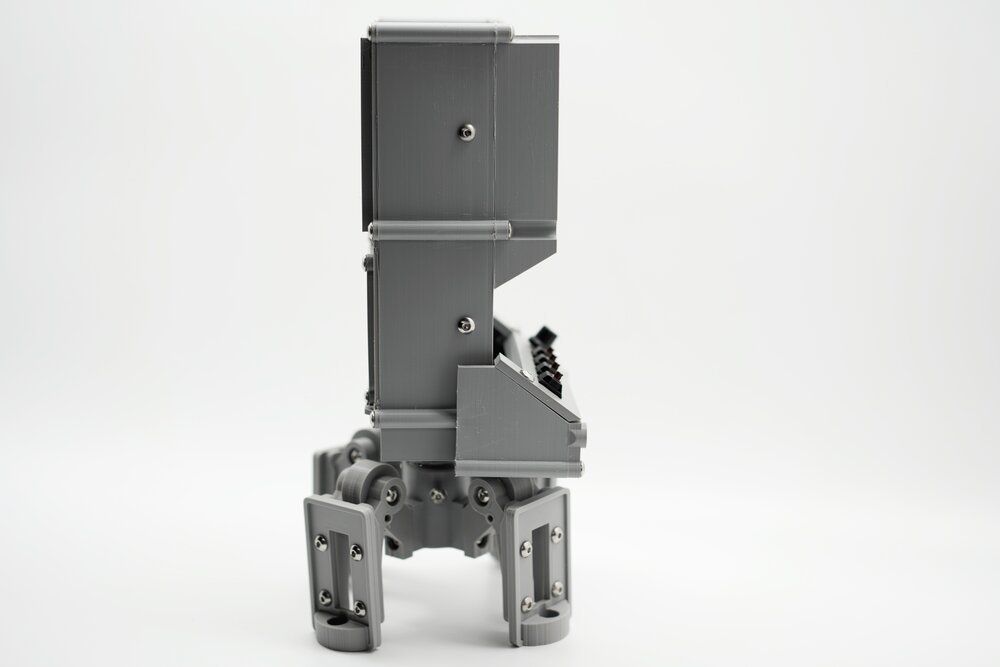
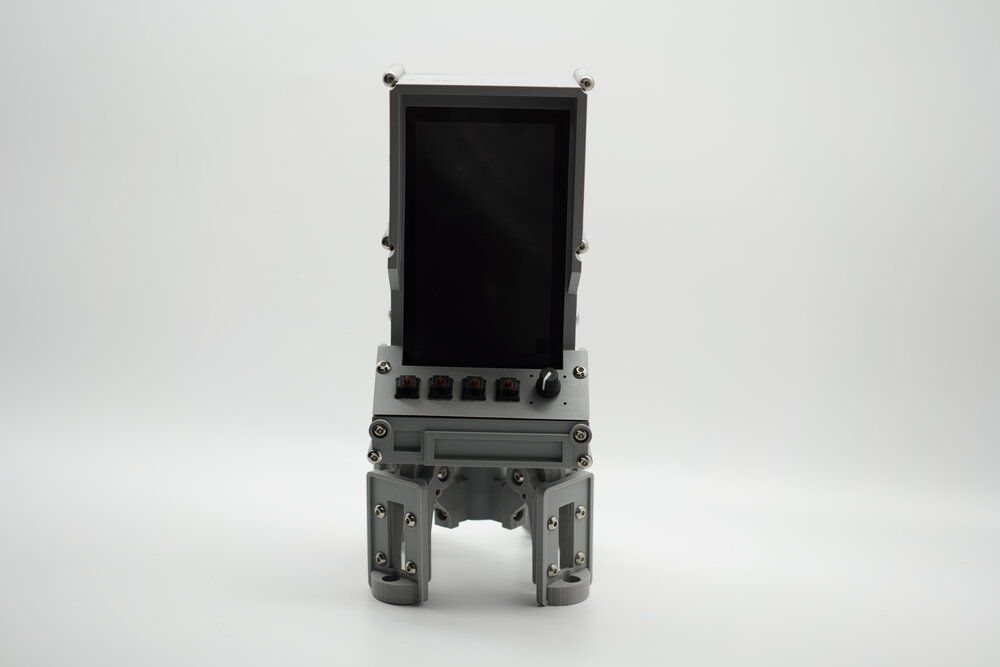
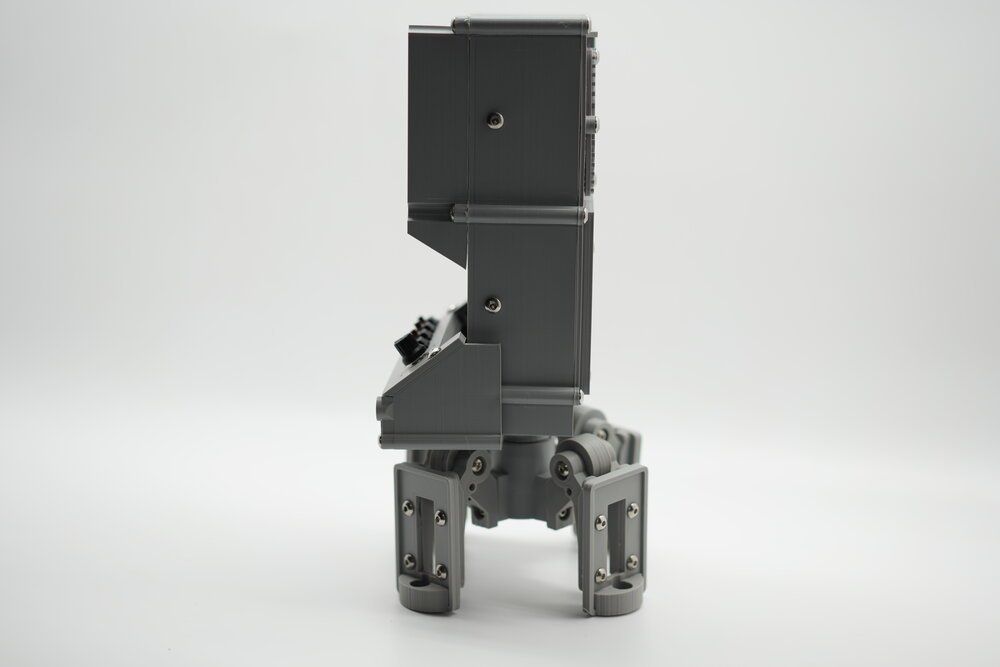
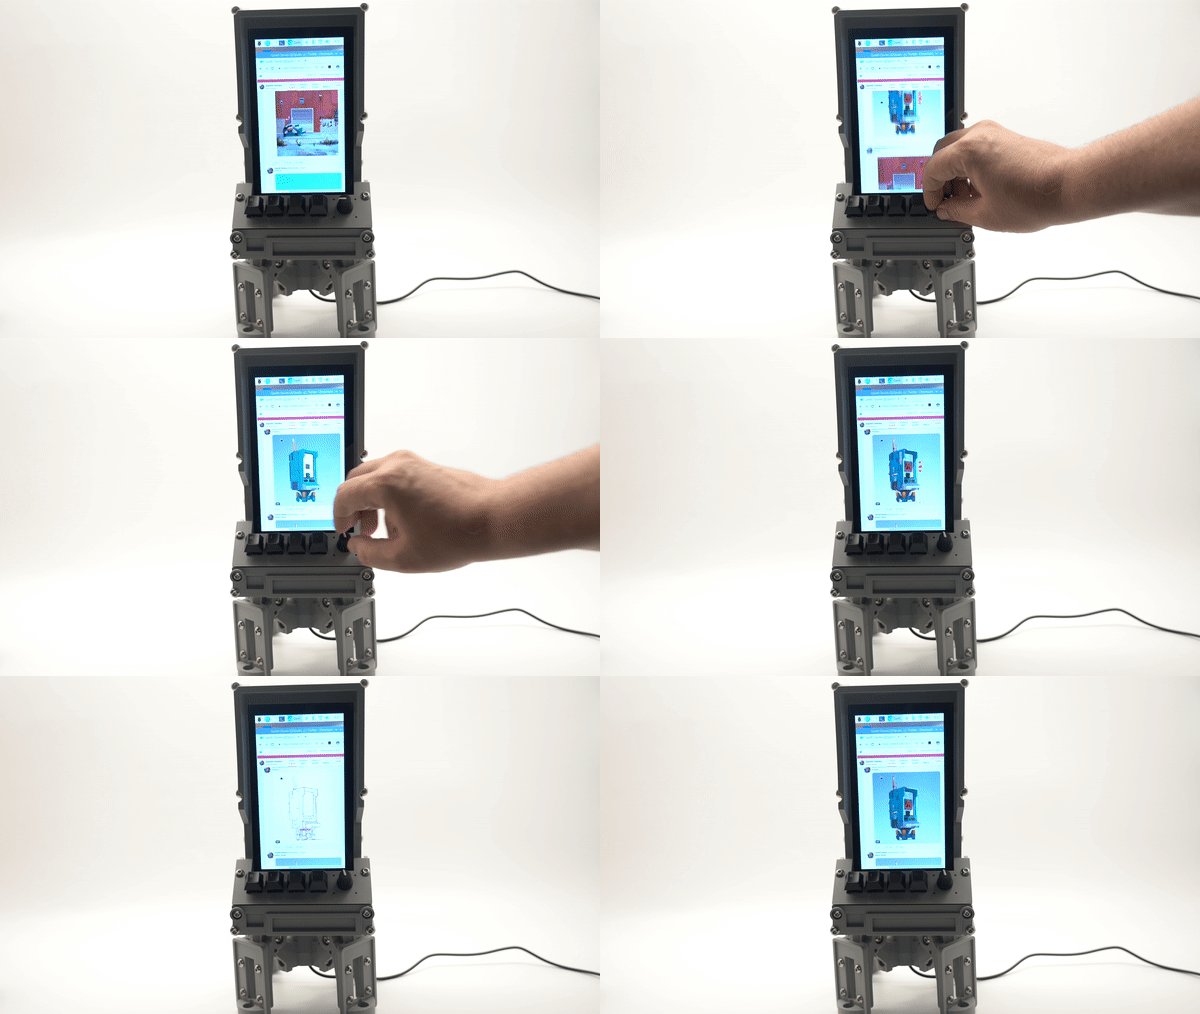
“Mobile Media” is a concept sketch by Gareth Davies. I spent the month of September making it a real thing.
OK, let’s get a few things out of the way- finding concept artists on Twitter is one of my favorite uses for that platform. The artists post fully formed products for sale, sketches that took them all week(end), or sometimes just a quick scribble. It’s a fun way to see the bleeding edge of science fiction that isn’t tied to a major studio or AAA video game. I also decided early on that I simply couldn’t afford to make the legs from Gareth’s sketch work. Servos, gears, and other solutions like a hexapod were simply beyond my budget for this build. Instead, I modeled the legs in a way that are fairly easy to print but are still plenty strong enough to work.
Here’s Gareth Davies’ original sketch that inspired me- be sure to check him out on Instagram and Twitter. Good stuff for sure.
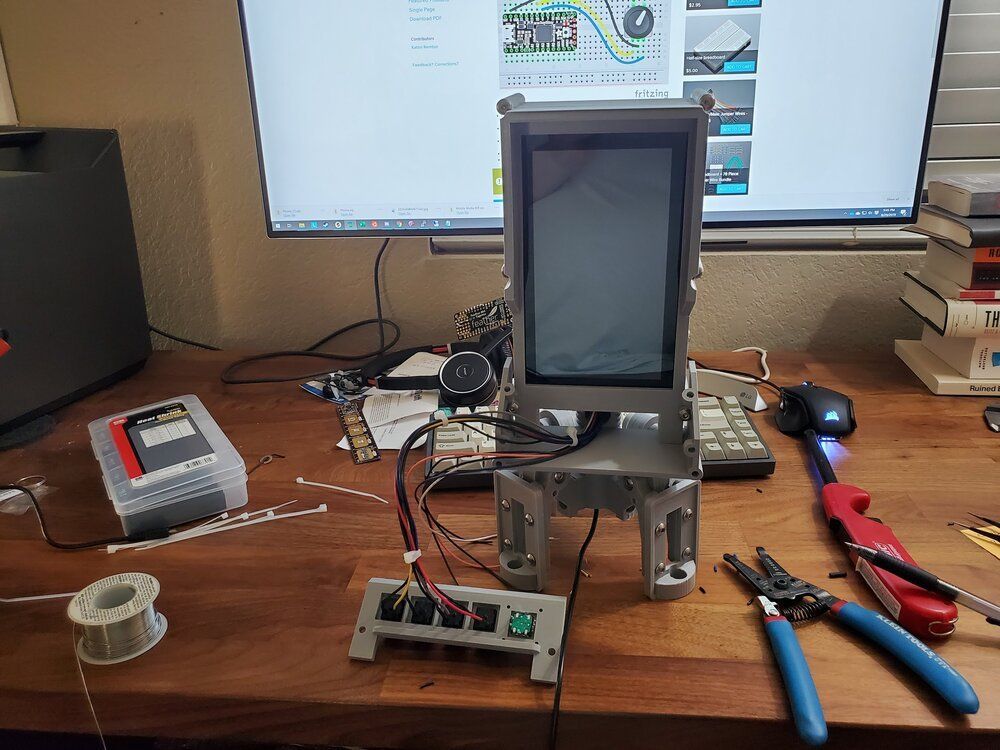
Here’s my build log:
The parts list is pretty easy for this one- I used PLA, although I really find PETG easier to work with on my Prusa MK3. I also had issues mid project, so by the time I was done I had taken the leap and upgraded it to a MK3S. I find it harder with my setup to print PLA now, but PETG is buttery smooth. My next project will be PETG for sure. Anyway, here’s the parts:
- Raspberry Pi Official 7” Touchscreen
- Raspberry Pi Model 3B+ (a Pi 4 would probably melt this project)
- Power Supply
- 2KG of Hatchbox Grey PLA
- Adafruit Rotary Encoder
- Bag of Cherry MX Browns
- Adafruit M4 Express running CircuitPython HID
- M2.5 Screws to lock the legs
- M5 Screws for everything else
- Thingiverse files
- Editable files on Tinkercad
- Basic Code on Github
I would really recommend whatever Pi you have lying around, but don’t go with one too slow- you’ll need the desktop interface to make the concept work.
From there, it’s about printing the parts- each one is designed for minimal supports. I had issues with warping in some places, but I also printed most with 5 walls on the printer, so I could sand it pretty easily. This part came out OK, but it’s nearly the size of my print bed. This meant that despite printing in an enclosure, I still had warping issues since the temperature was cooler at the corners. This fix? Sacrificial parts! Those little pac-man shaped parts along with a generous brim helped minimize the print lifting off the bed.
From there it was mostly boring and slightly tedious printing of the legs- which were smaller and a little easier to print, but because I had four or eight of each part, any defects showed up pretty clearly. We’ll skip that part, but it did take a week or so to get the legs right. This helped reinforce my decision to skip functional, motorized legs.
The part below did need some supports for the rings where screws mount, but I didn’t really have any trouble with them.
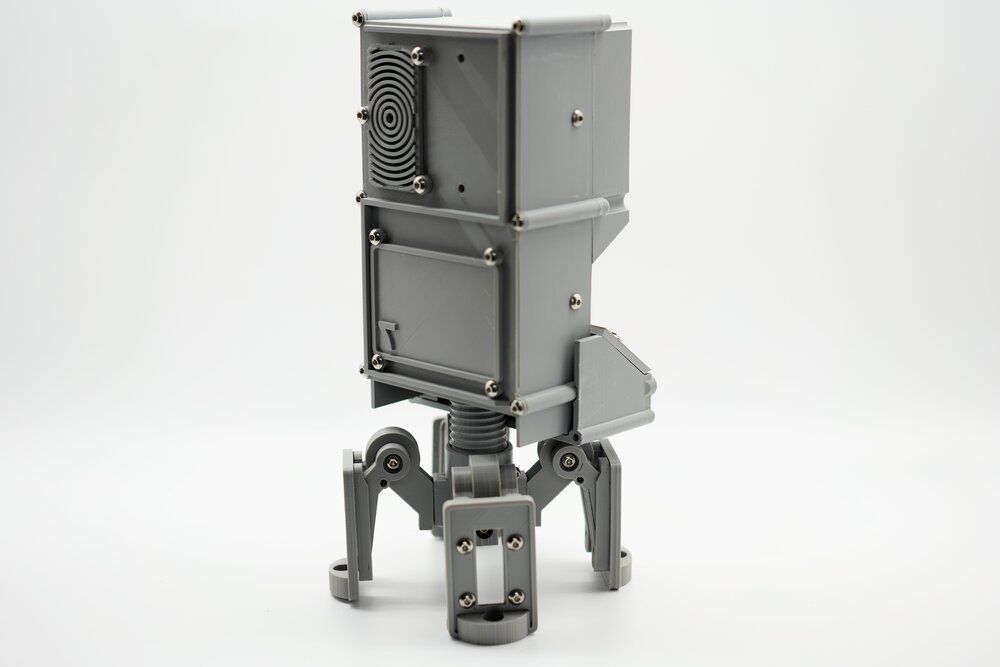
The wiring and coding of the buttons wasn’t too hard- the center column has holes to route the cables- the only cable that ends up showing is the power cable that comes out the bottom. A big shout-out to Lady Ada and Phil Torrone- their constant innovating and tinkering is also a huge source of inspiration for me.
Comments ()