Recovery Kit 2024 Update

Thank you to all the patrons supporting my work! It goes a long way in helping offset the hardware and fabrication costs for these videos.
I've been playing around with different follow-ups to the original Recovery Kit back in 2019. I had made the build before I knew what a cyberdeck was, and before the lockdowns and pandemic was anywhere to be seen. I built the Recovery Kit (RK) as part art project, part science fiction prop, and part custom computer. I learned many design and manufacturing concepts from that build, and it was actually fairly labor intensive to build. But it got picked up by Hackaday, The Verge, and Uncrate, among many other sites.
I wanted the follow up deck to be better- and what that meant has changed over the last few years. Better first meant cheaper and easier to build. Many people were surprised to find out that building a complete scratch built computer could cost over $1,000 USD until you started to look into component costs- not to mention labor. By my estimate, the original took about 80 hours of labor between all the fabrication and assembly, including all the soldering.
So now I'm working on what I am calling the "Recovery Kit 2024" or RK 2024 for short right now. It will not be cheaper! I aim for it to be better in just about every other way- bigger display, faster disk, larger capacity, easier to work on, more durable, and it will be bigger! I am still using a Pelican case, and as of now I have no plans to drill holes in it.
This isn't a public post- this is for supporters only, and it's to thank you for your support this far. I still don't do ads, I don't do sponsored posts, and I don't do paid placement- but I do eek out a bit from the Amazon referrals, and those do help- thank you. So without any more delay, here's what I have so far:
Case
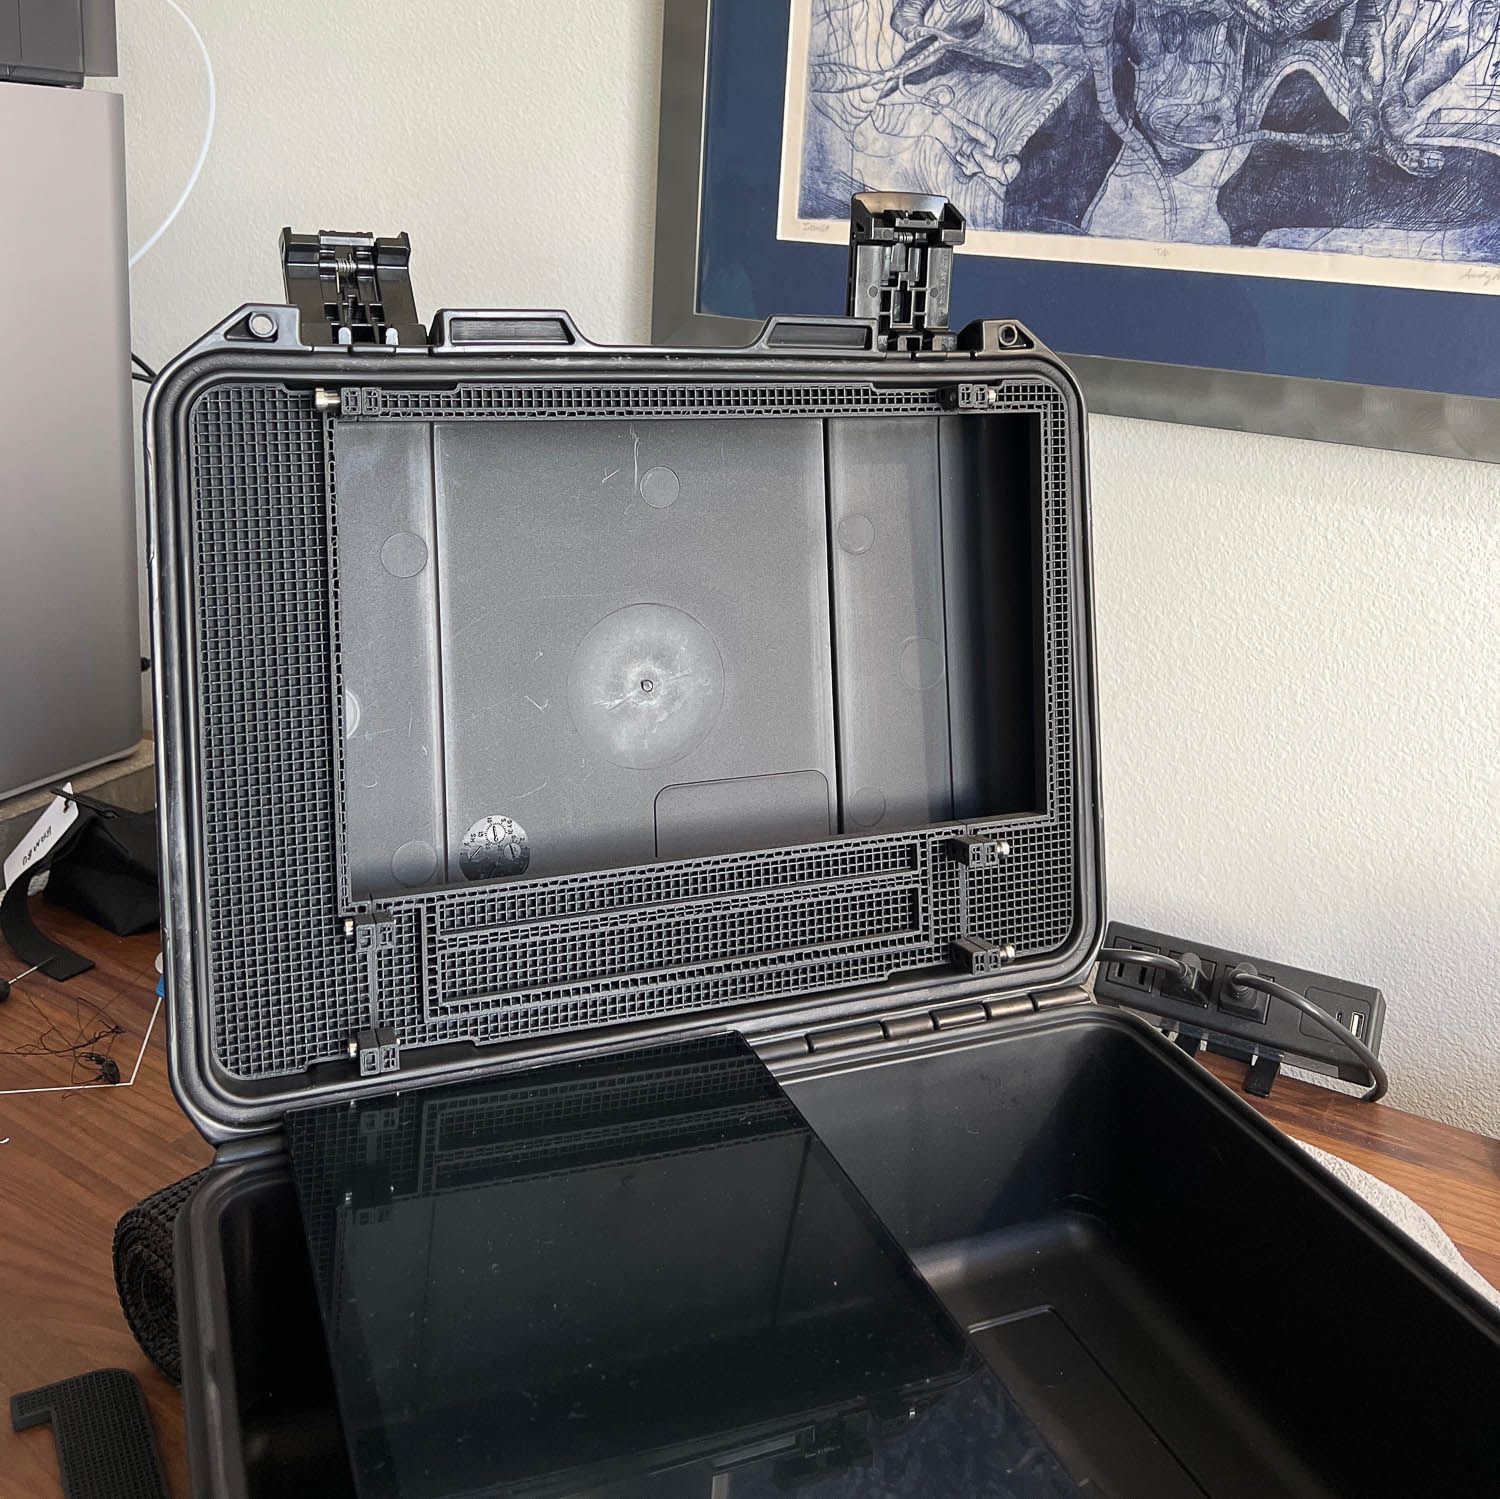
I'm planning on using the Pelican Storm iM2200 case this time- it's big enough, but unlike the 1150 case used for the Quick Kit or the 1300 case for the Recovery Kit, this case doesn't lay open- so I will be doing it the opposite way, with the display in the lid this time. You can see in the photo I already had started doing test fits right away to get the interior space measured. My Bambu Labs 3D printer doesn't have a large enough print bed to do it all in one go, so I made parts that would screw together. You can also see the display peeking in the bottom of the photo.
Lid
The difference from other builder's approaches to the lid is that I am fitting the entire PC in the upper lid, behind the display. That gives me a ton of room in the lower area for whatever comes next. I don't actually know for sure what I will put in the main part of the case- but it's going to be modular, and it will have a keyboard.
CAD
I'm still using Tinkercad! I will probably eventually maybe move to Fusion at some point, but I am really comfortable with Tinkercad and still love to design visually. I have tricks for offsets, hole alignment, and many other quirks Tinkercad is missing, but I do want to do more chamfers and bevels. Here's a shot of where things stand right now:

The green are laser cut parts, the grey are 3D printed. This is still rapidly changing as I go.
Laser cut
I will be doing more laser cut, and I am doing most of the prototyping with aluminum. I may end up with carbon fiber or even titanium, but CF is about 3x the price of aluminum, and titanium is about 10x the price of aluminum. But titanium would be cool, right? Let me know what you think in the comments.
Hinges
I want to do some work with hinges this time, something that is common on the Cyberdeck Cafe (Discord) where hinges have their own channel. I plan to have the main board for the deck pivot in a partial hinge, and I have the parts printed, waiting on the laser cut metal to come back. This may or make not work though, as it's still in active development.
Rough Prototype and Mainboard
Here's a quick photo of the mainboard and the 3D printed test print:
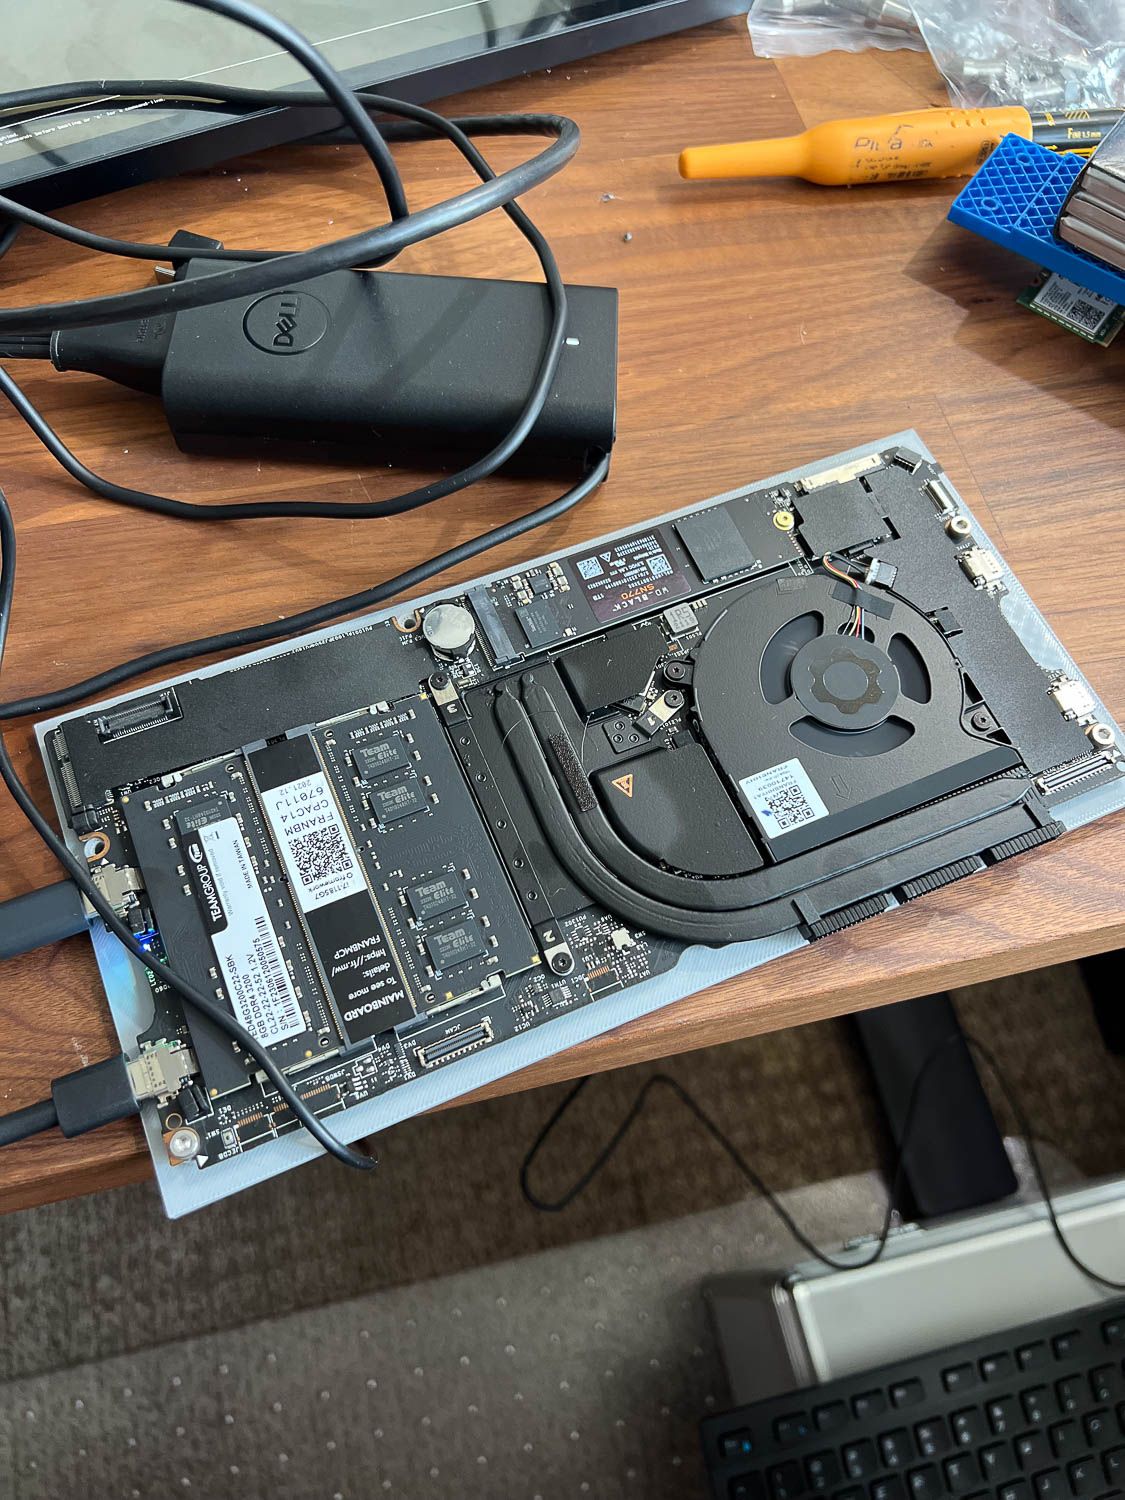
I'll admit that was an early photo, with it now looking like this!
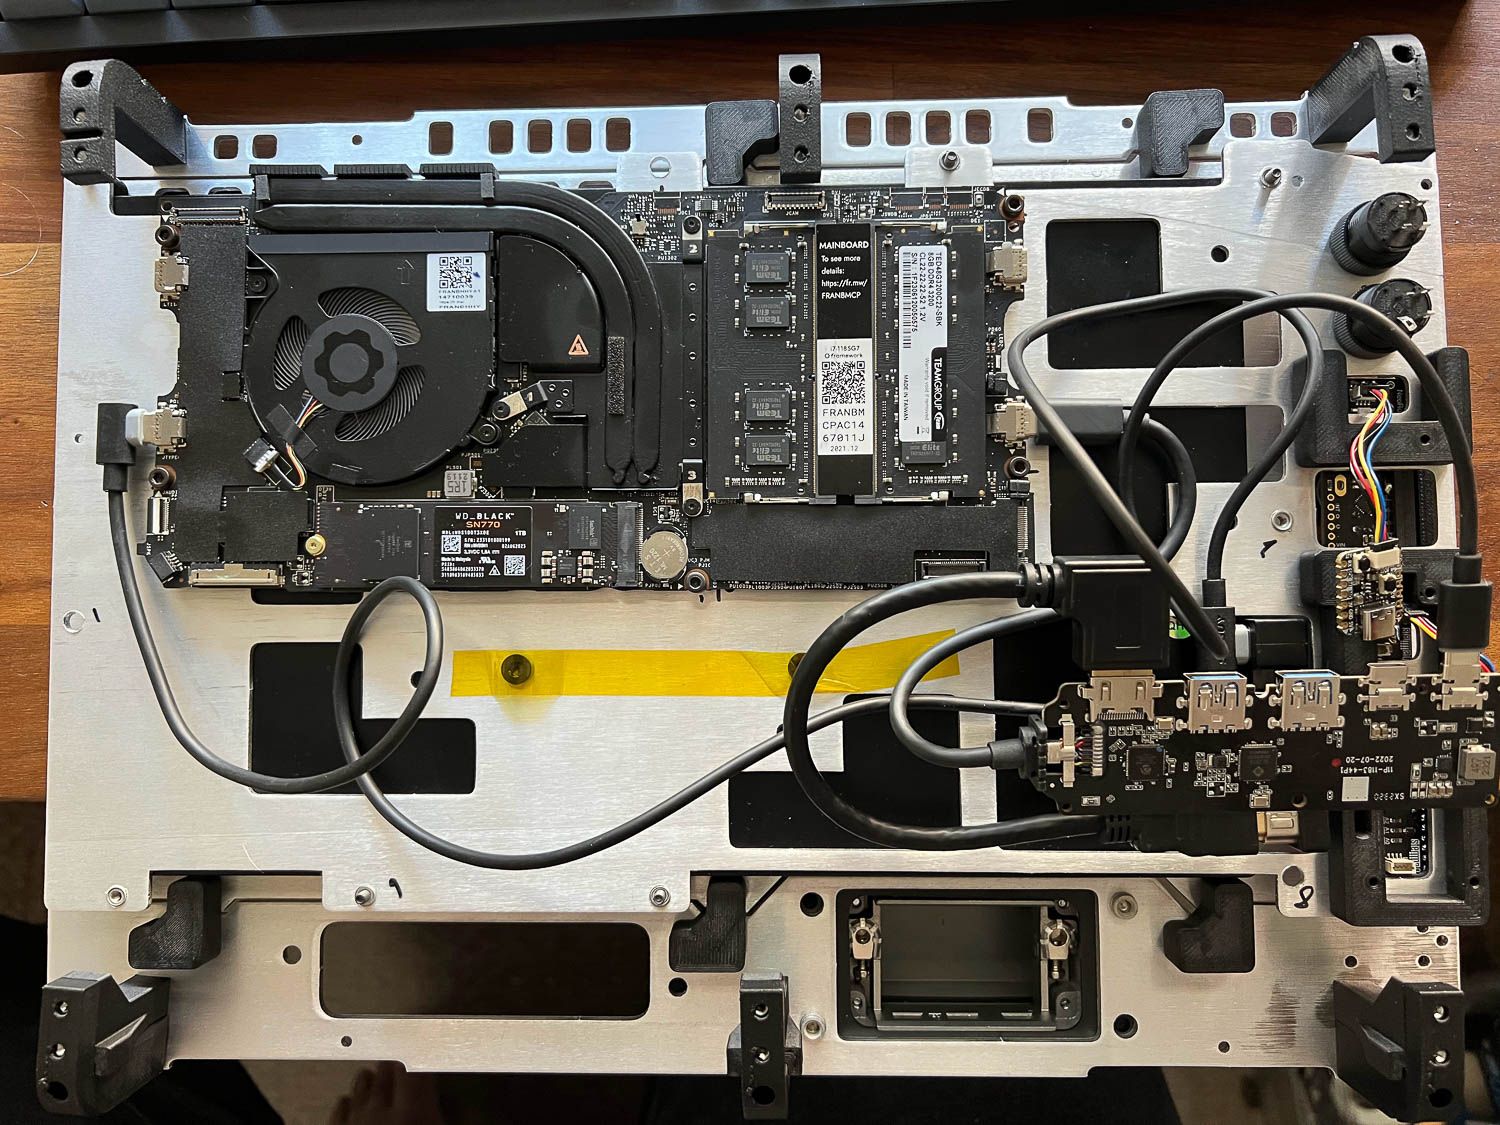
I do plan to add some options in the future for other board types, so stay tuned there. I still want to add a battery as well- we're not done yet!
Side Panel
The one area that has all the hardware in place but will need more attention later is the side bar- this is a photo of the back of the panel- rather than have a bunch of nuts rolling around in the case, I opted for a single part with heat set inserts:
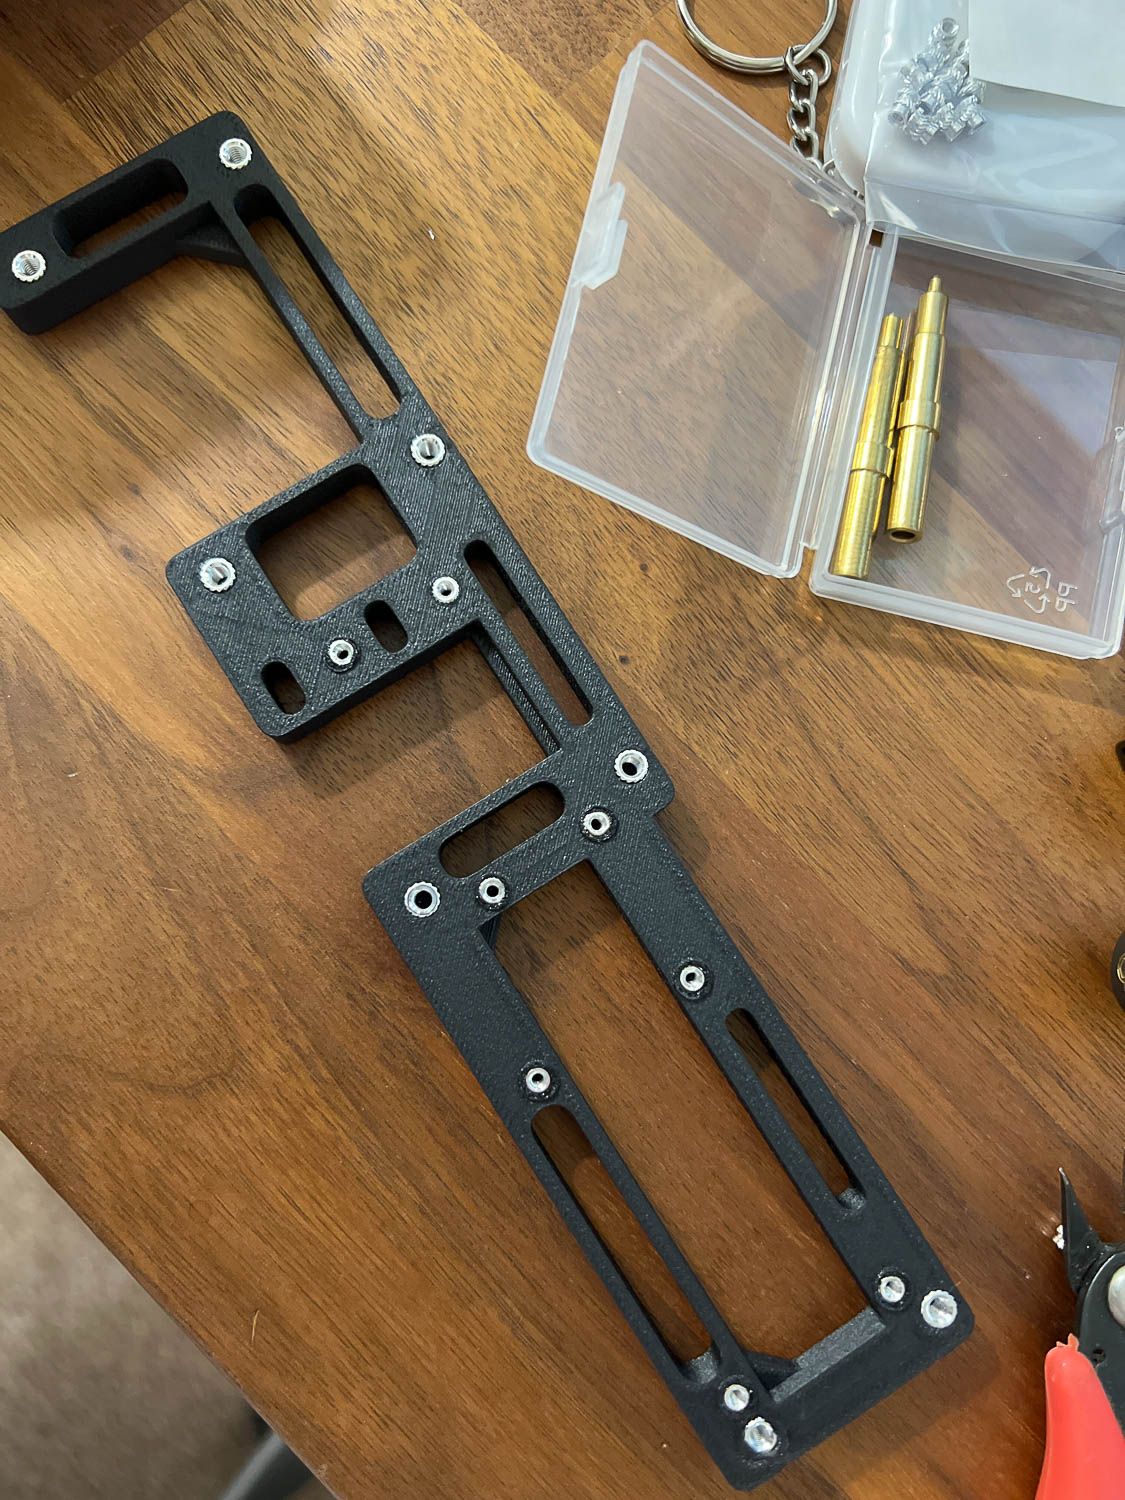
Here's part of the alphanumeric display mounted to the backing:
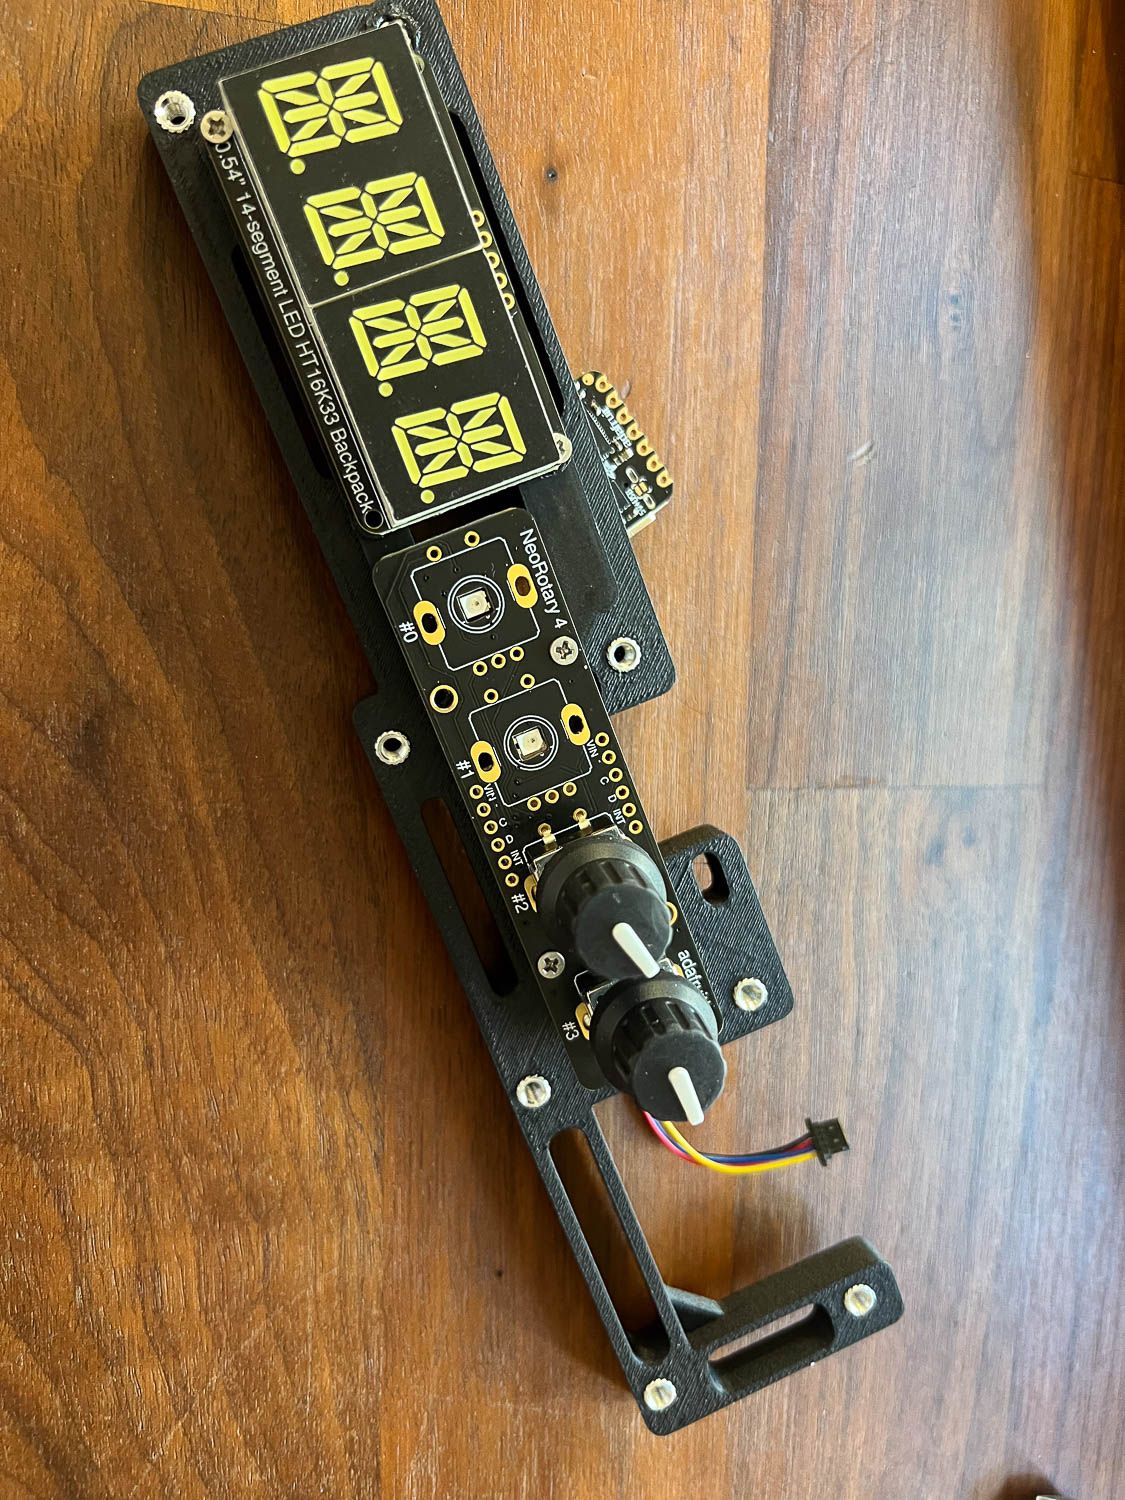
Here is the display mounted with the main frame and the side panel.
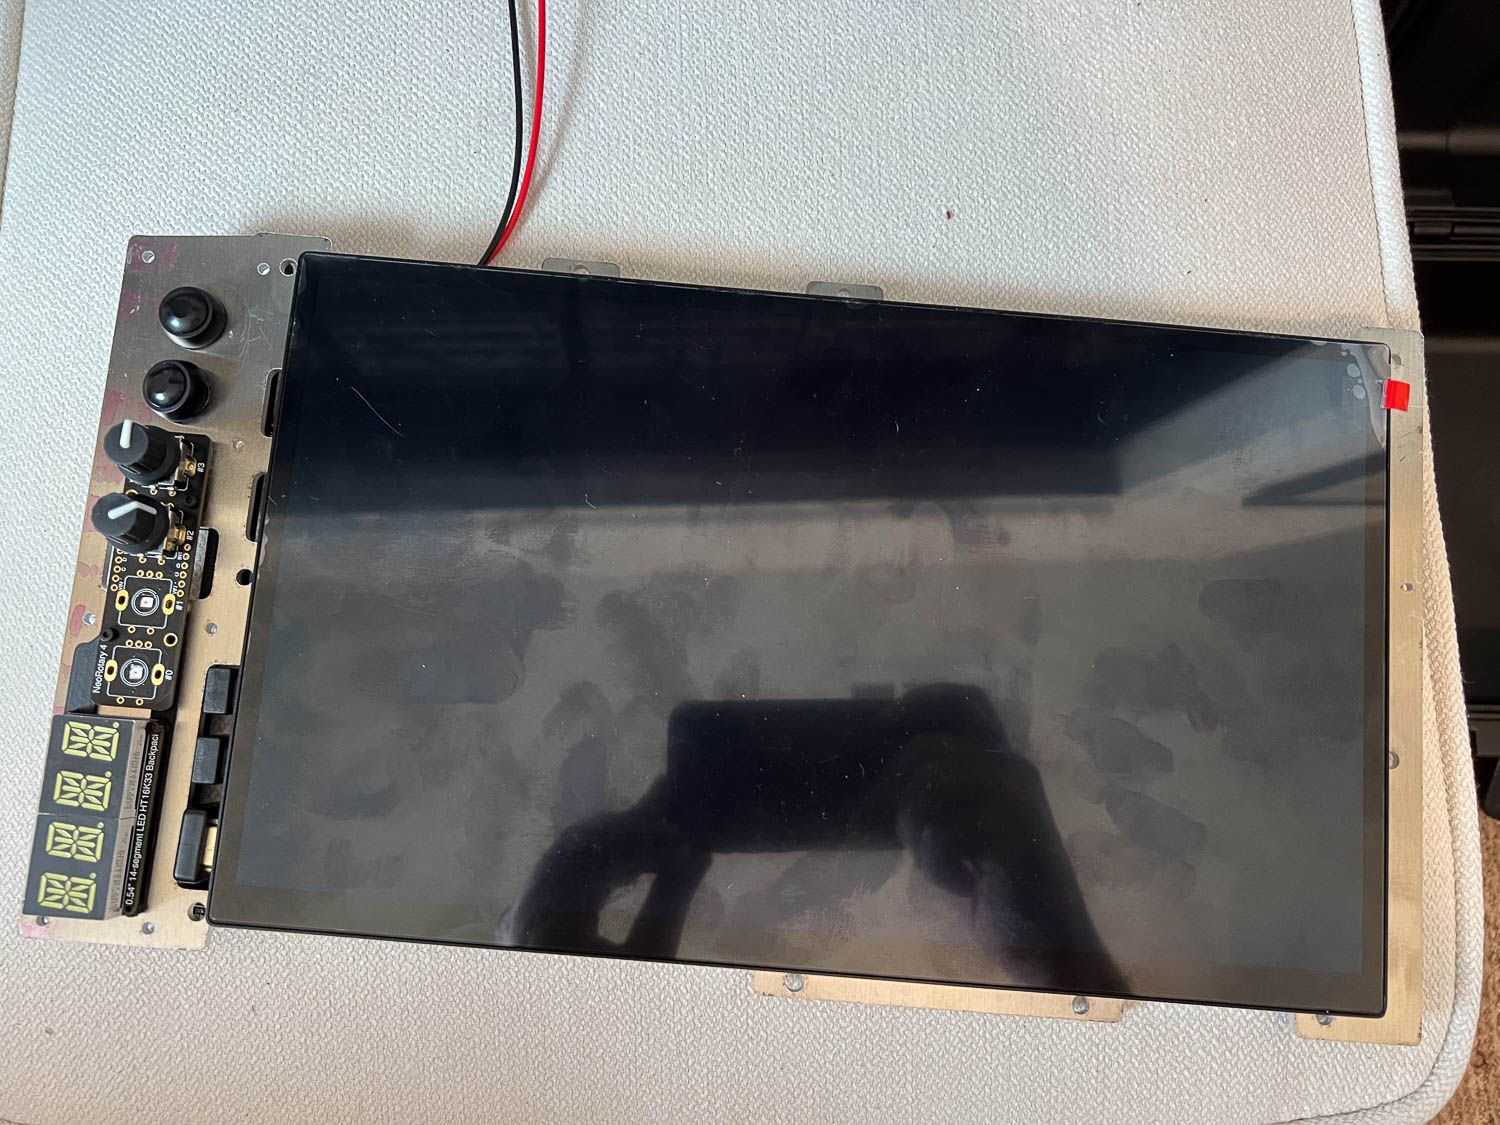
Here you can see me doing a test print to verify clearances for the different parts. This helps me get very precise with unusual shapes without too many mistakes or re-orders of parts.
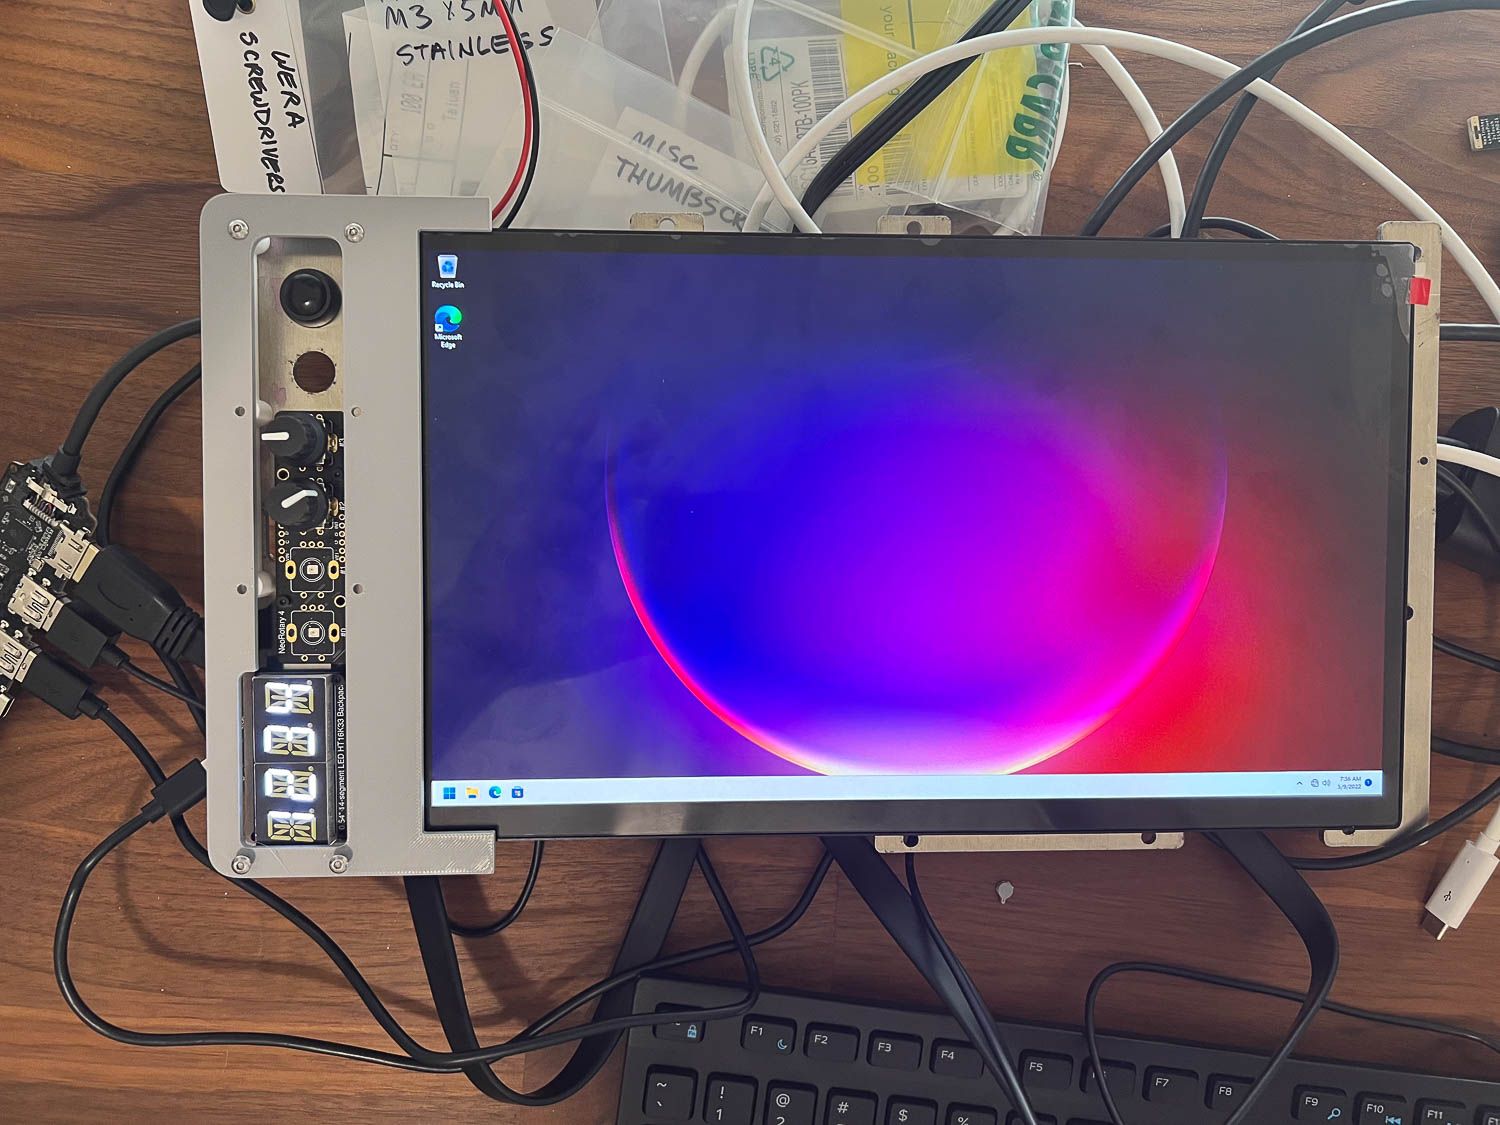
Below is a slightly newer design, where you can see the switch from rounded to more hexagonal shapes.
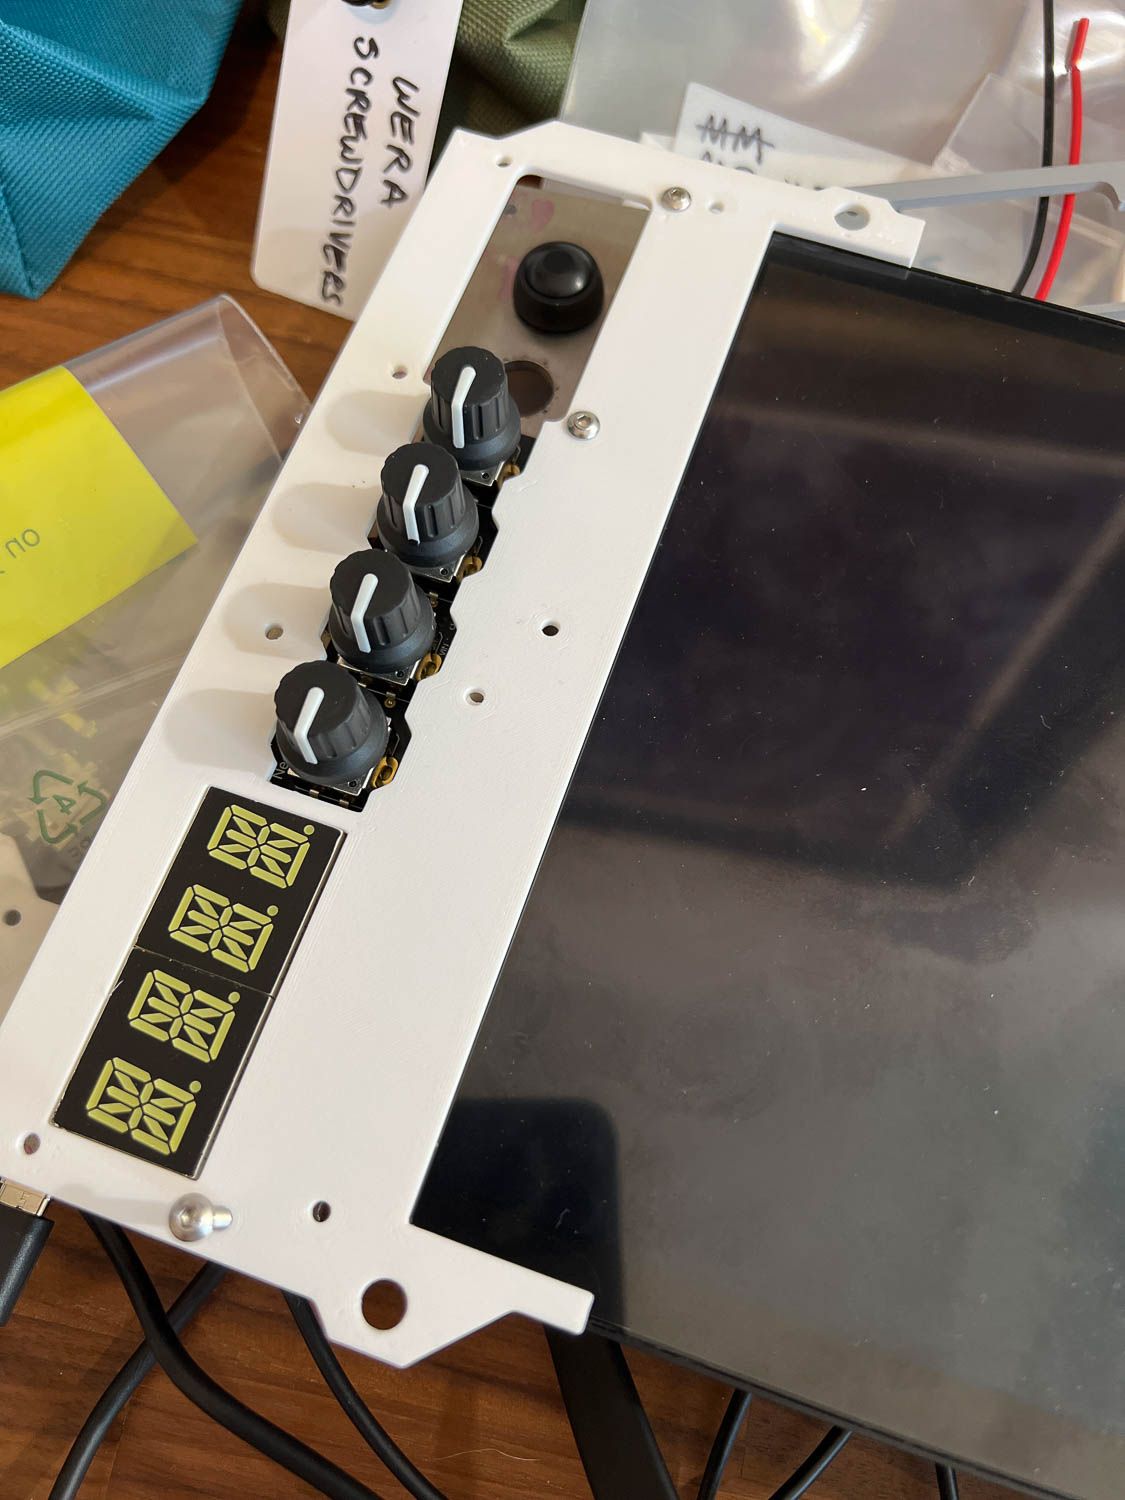
First Fit Test
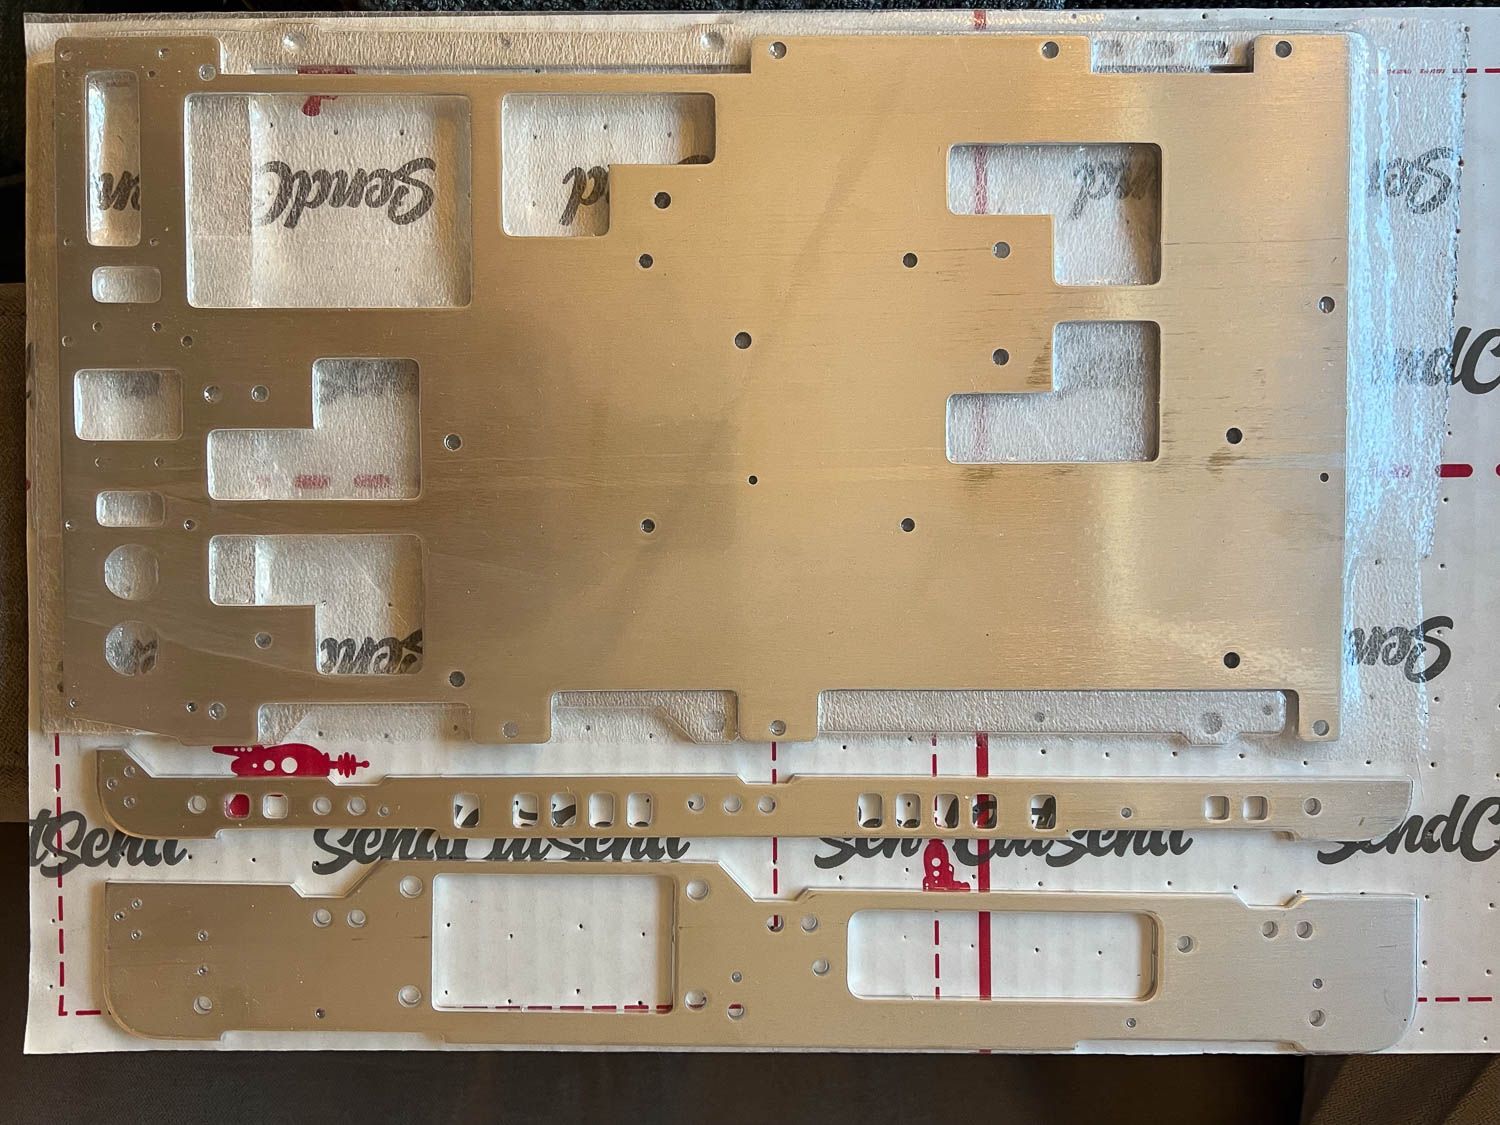
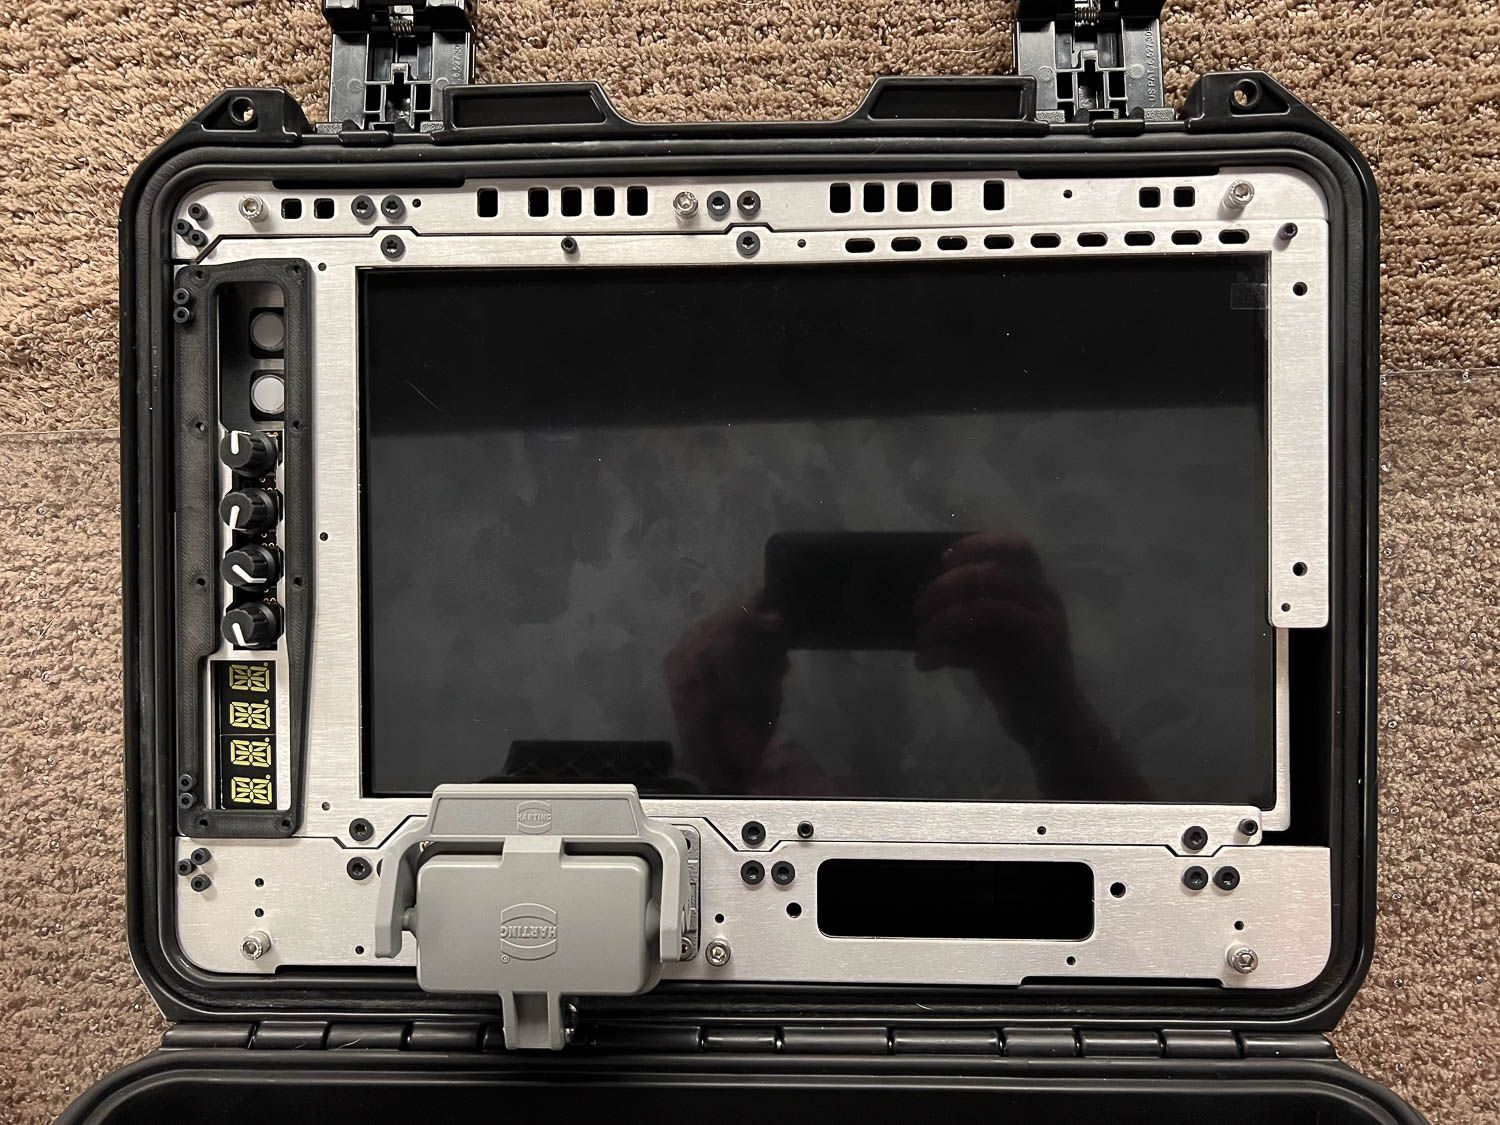
Just the other day I got in the latest batch of parts from Send Cut Send! These came out great, but I have not settled on a final color scheme. There were quite a few errors in hole spacing, but they have all been corrected. I had to do some tweaking to make the frame a little stronger, but the next update should have more info with some neat pics.
Finally, here's the latest photo with the rig partially assembled. There are some clearance issues that I just mentioned, but I really like where this is headed. Finally, I'd love to hear from you- would videos or audio be helpful? Thank you again to all of you!
Comments ()