Recovery Kit Case Replacement
Starting with my first Raspberry Pi project with the Recovery Kit in 2019, I often hear feedback of how expensive the Pelican case is globally. While I really like the Pelican 1300 and 1150 cases, they are often subject to import and export duties and taxes, and while they started out around $40 a few years ago, some of them are $80+ domestically, and from what I hear, as close to $200 overseas.
I've been toying with the idea of doing a case in CAD, but let me be clear- the designs I am sharing here are no where near dust, water, or any kind of weatherproof. Hopefully they are going to look cool as something on your desk.
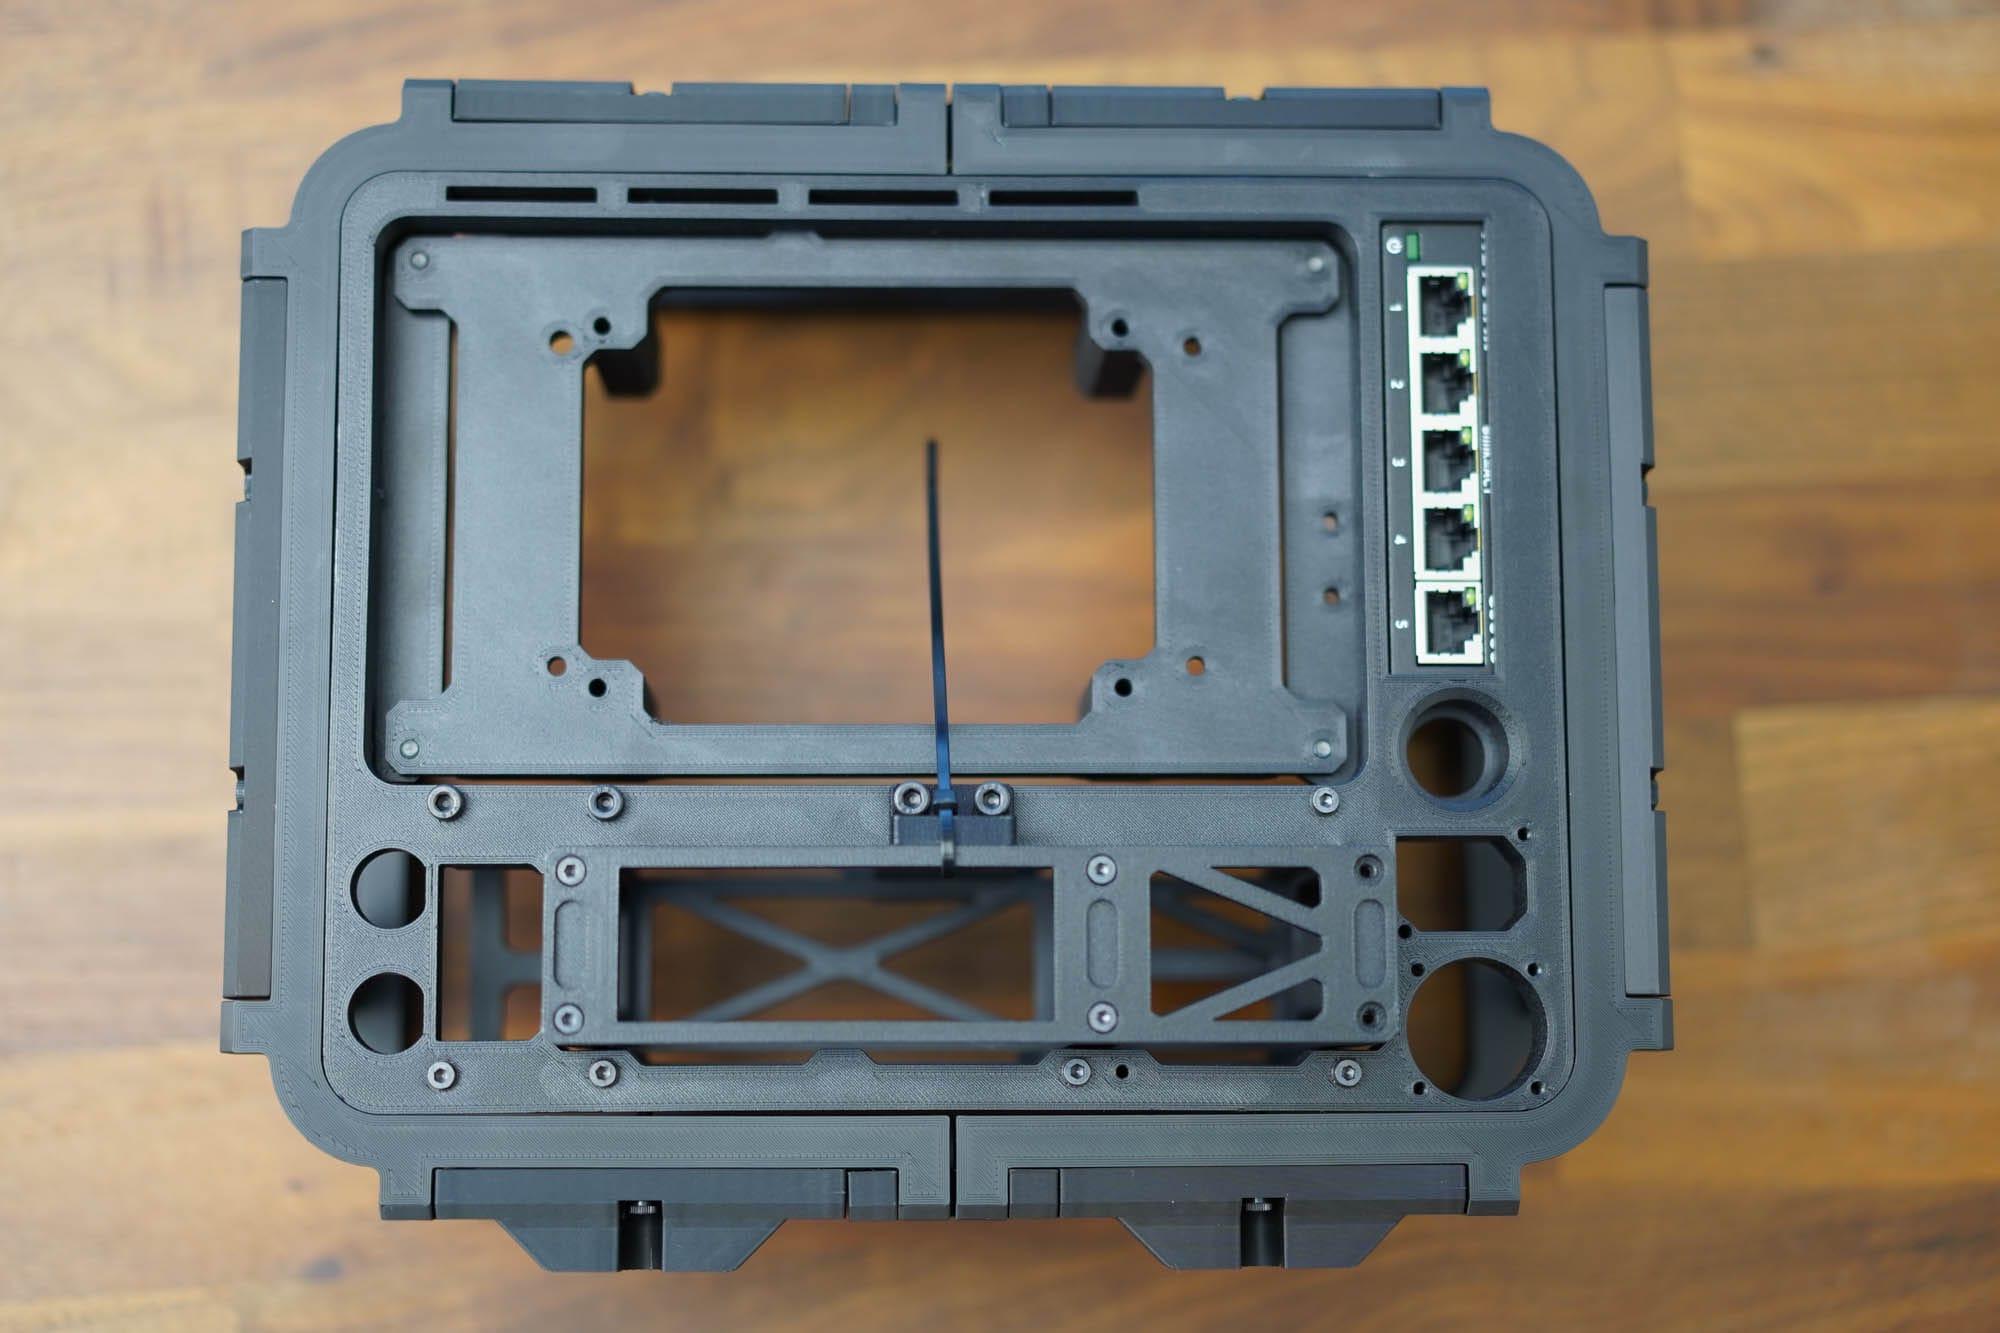
This design is hopefully fairly simple- I am releasing modified files that include the updated Recovery Kit 2 and 2B face frames, now with a few mounting holes. You can keep your existing one if you just want to pressure fit into this new case, or if you want to drill some small holes at your own peril (gasp!). The parts breakdown is as follows:
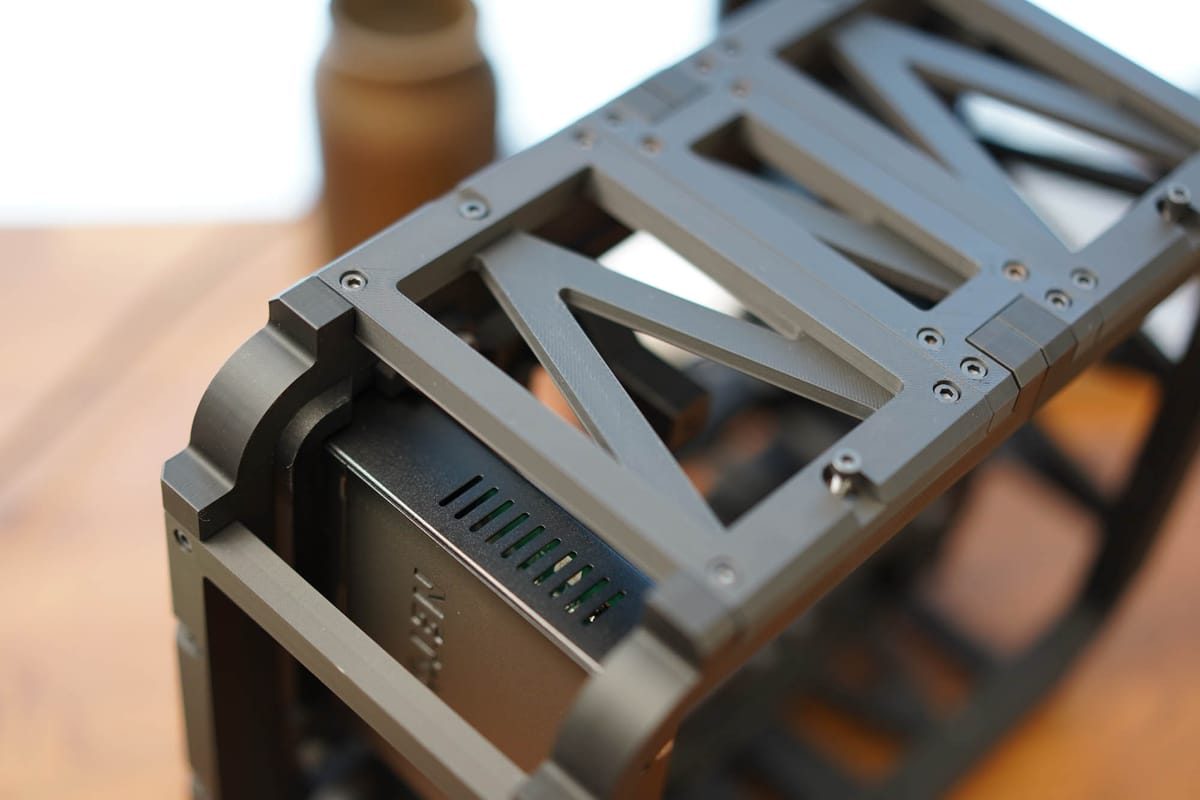
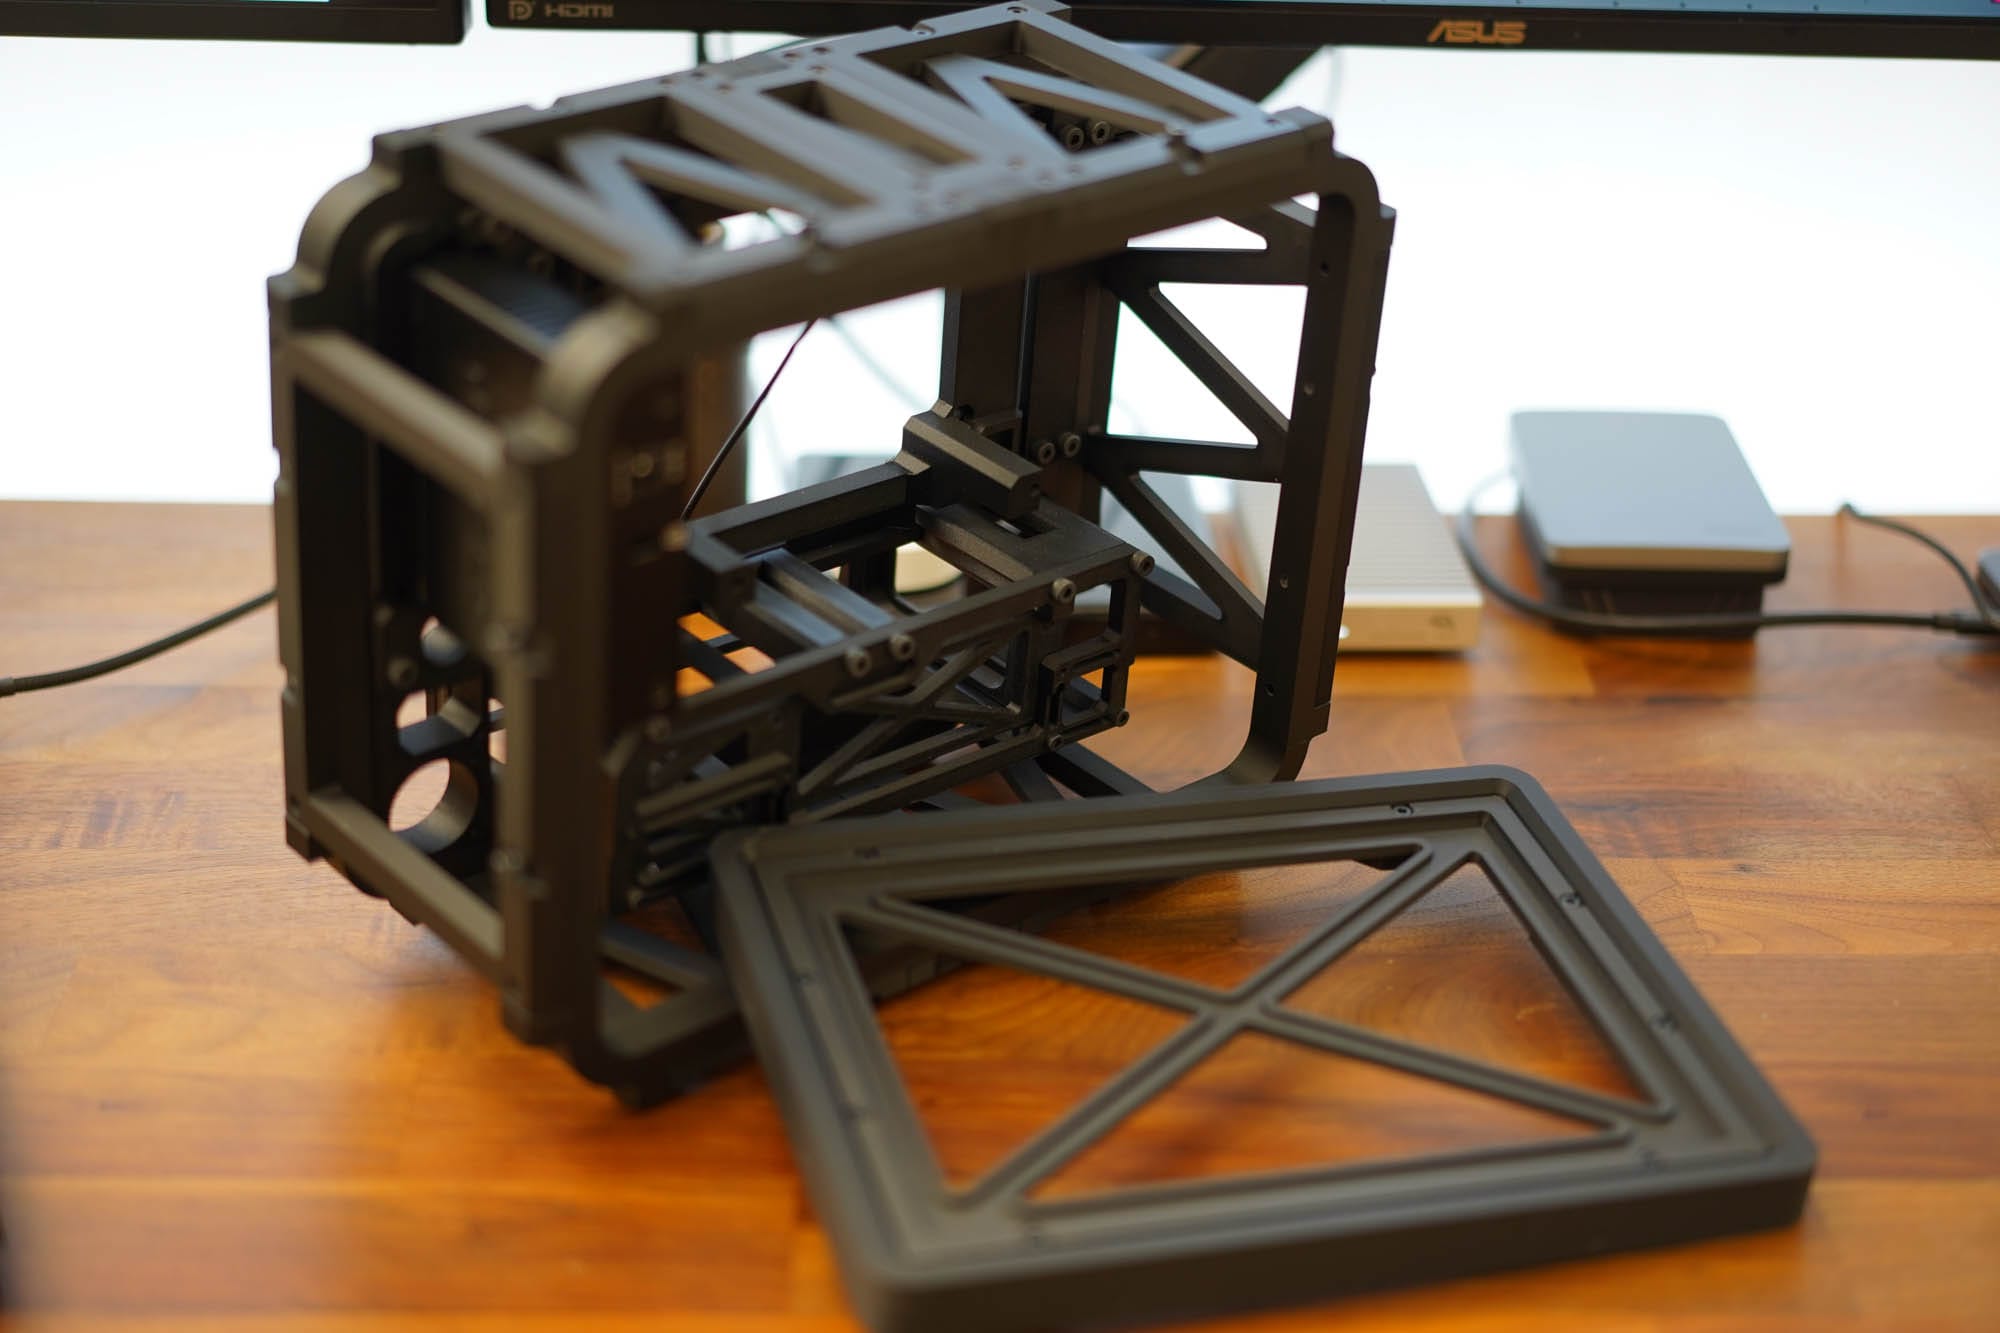
- Front and Rear Frame Parts - This is a single frame part you will need to print a quantity of four. Two are the front half, two are for the rear. Each front and rear could be combined, but I doubt they would fit on most print beds in 2025. The front and rear will be connected to each other with side, top, and bottom panels. Sorry to owners of small printers, this project isn't going to work for you- the parts are simply too big.
- Joiner Panel - For the open frame variants like the Skeleton, the joiner holds the front and rear frame parts together. I highly recommend wall thickness of 4 or more, and an infill of 20% or more to make this part especially beefy. It's a smaller part, so the filament cost should stay reasonable.
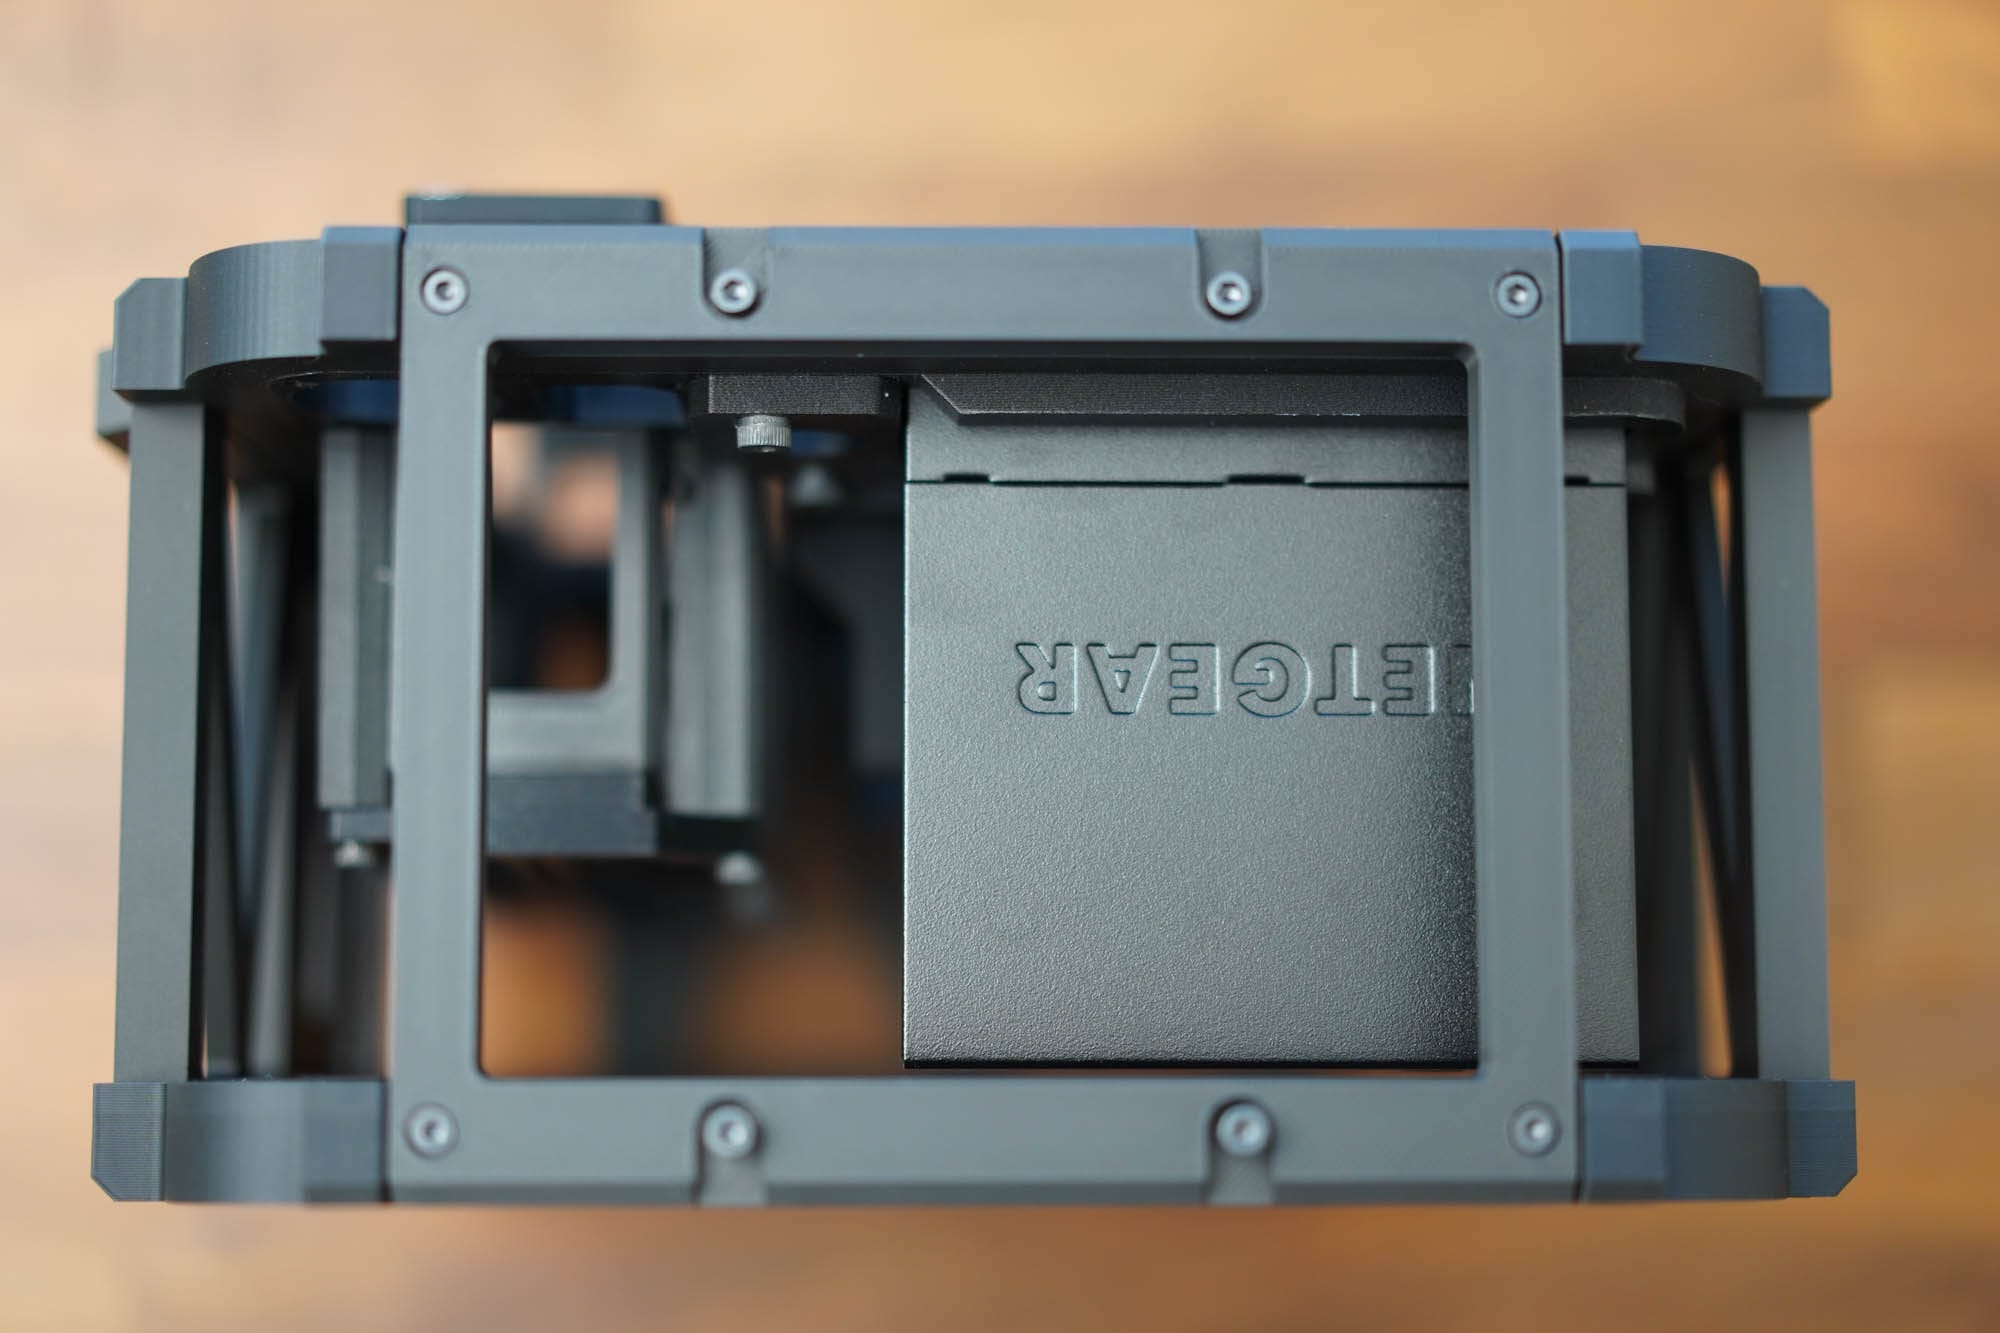
- Top Panel - This is available in a few variants below, but generally this is either a large solid panel, or two panels with a couple designs.
- Bottom Panel - The same general shape as the top panel, but with some slight extrusions to act as feet to tilt the front of the case/screen up to eye level a bit more. If you don't want that, you can just reuse the top panel part from any of the variants.
- Side Panel - This part is as described, a side panel in a minimalist, skeleton, and solid part option.
A few words of warning- the solid variants are going to use much more filament than other options, and they hide the internals of the Recovery Kit, not to mention you will need to have a nearly perfect print due to the footprint on the print bed. As you can see from the photos, the Skeleton Build is my favorite. I do recommend good print maintenance between prints, so clean that print bed between prints. On my oft-maligned Bambu X1C, that just meant some mild soap and water, then washing off with a microfiber towel.
A good reason this design isn't anywhere near weather tight is the corners- all four corners have gaps- a design update in the future may address this, but for now they make great handles.
As for filament, I noticed that the matte PLA matches pretty closely with the existing black carbon fiber prints, and I have been enjoying matte PLA quite a bit lately. The good news is that while the matte PLA from Bambu is quite good, the Orchestra Matte Black PLA from Amazon is a few bucks less and has much faster shipping. I had to jump over from Bambu to Orchestra mid print, and I can't even find the layer where it switched. All of this to say this print should do just fine with either PLA or PETG, but I would stick to matte PLA's as seem to be higher quality, especially with Bambu (I avoid PLA basic from them now). Beware though, the spacing between parts in the model is only 0.5mm, so if parts are not fitting you should consider tweaking the design or your prints just a tad- and the front frame pressure fit is TIGHT, and that's by design.
These designs are free to use non-commercially, and if you want to make variants feel free to post them online, but as per the terms, please reference the original design and this site, which helps me a ton! Supporting me with a small $3 monthly sub or an annual sub helps pay for filament and longer term projects. Thank you to all of you currently subscribed, every bit helps!
Please see the parts list below- each zip file contains both STL and Fusion CAD files. You can also find them on my Github here (starring my project helps too!). Of course, adding your own mods to my Github is welcome too.
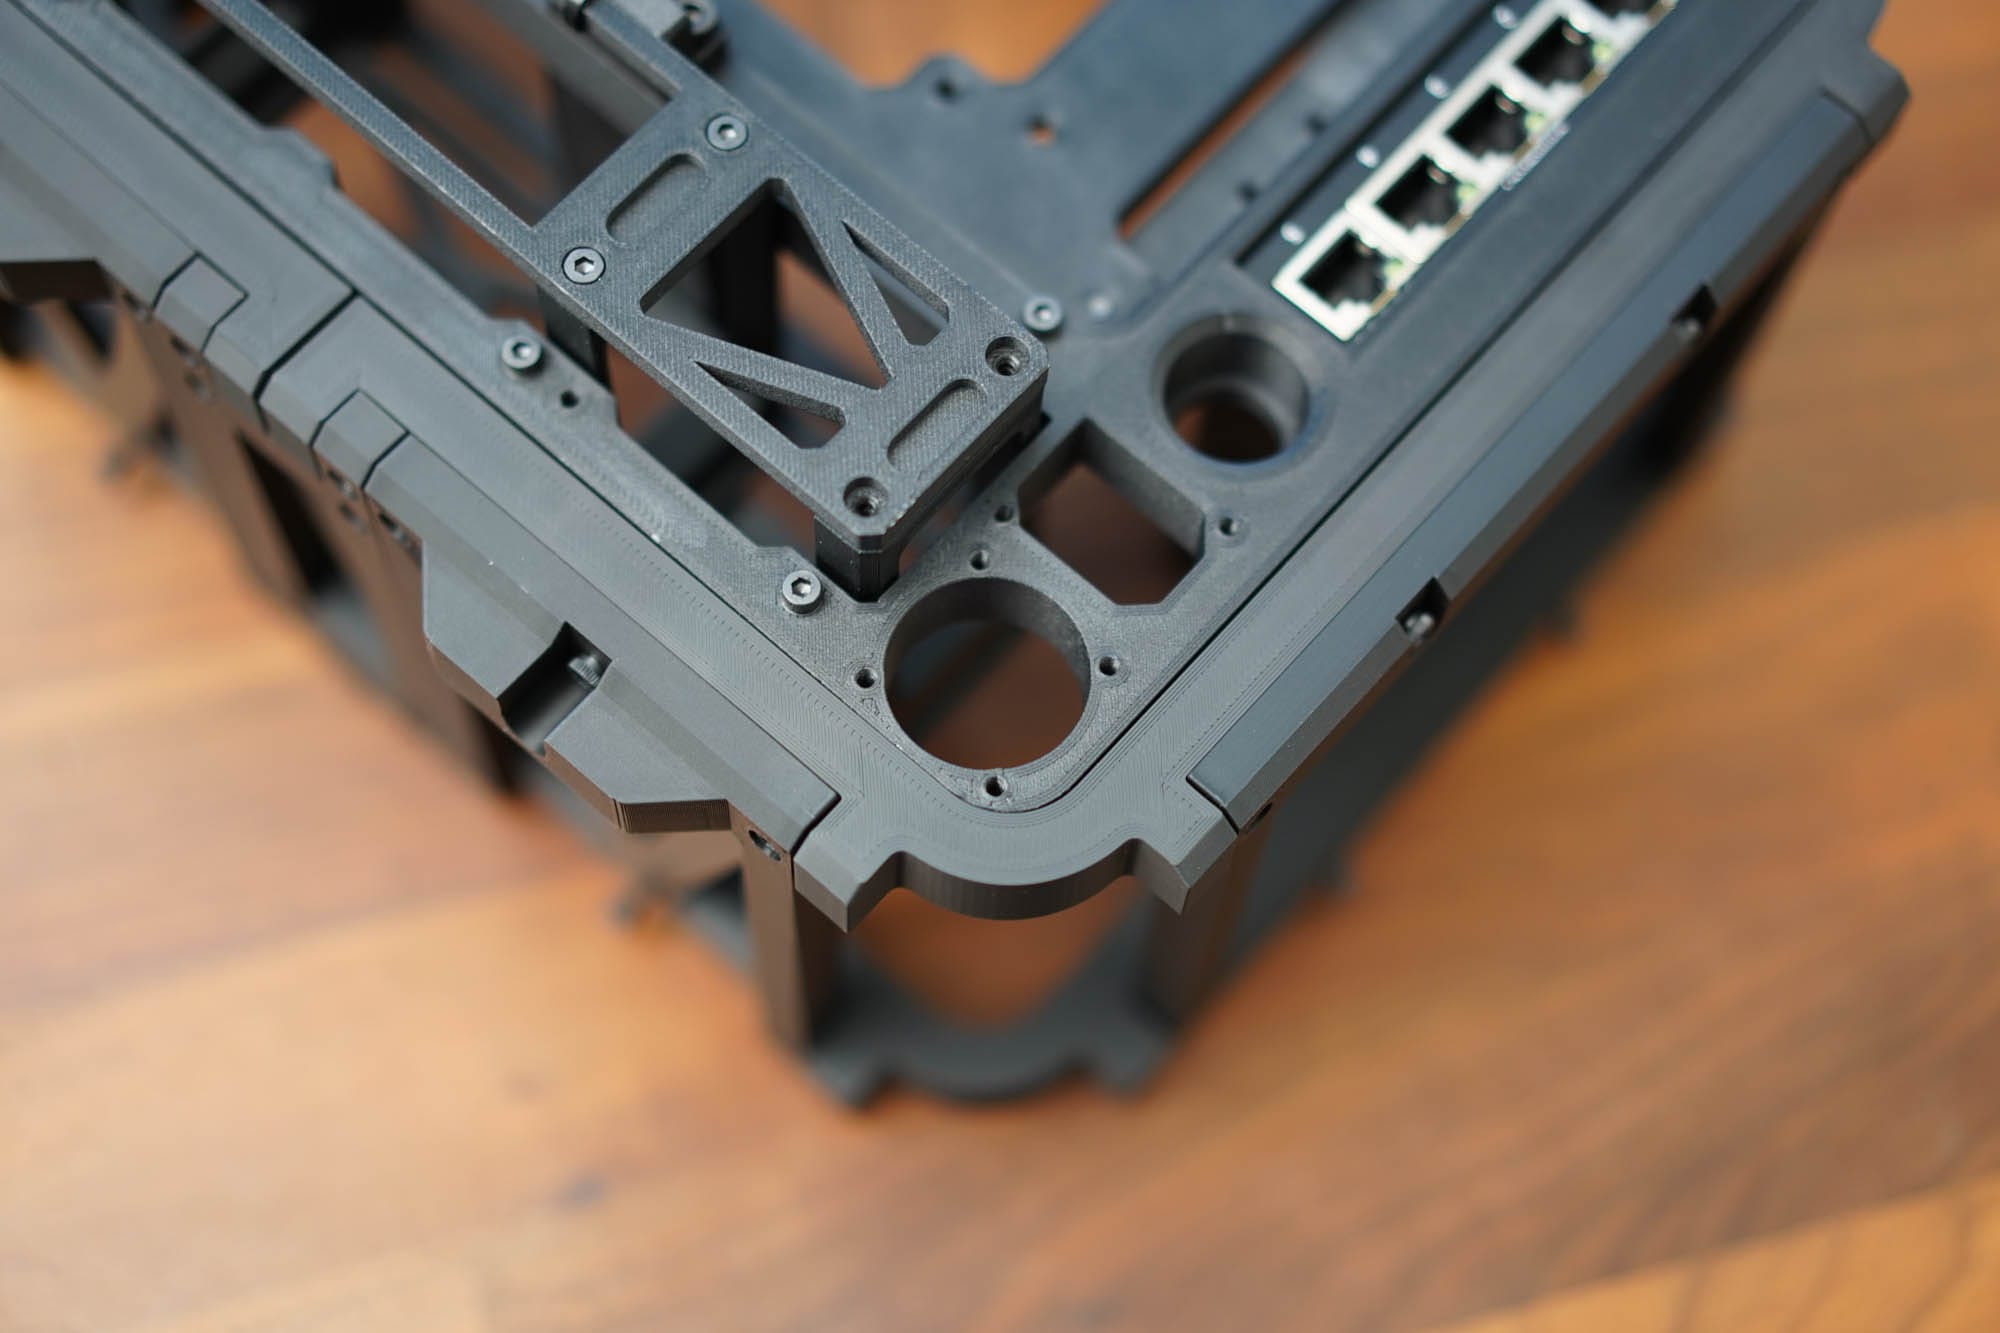
Update 2/27/2025: I saw in the comments that the case may be too shallow for some wiring configurations for the network switch. I've published below additional side panels that add 15mm of depth. Optionally, I have also added a main frame that pushes the center panel out an additional 15mm. You can print all these optional items to get an additional 30mm of space, or you can use just the rear frame mod or the side/top/bottom mods on their own as well. The Fusion file is included in the files below, as well as on my Github linked above.
Comments ()