doscher.com
Home
About
Sign in
Subscribe
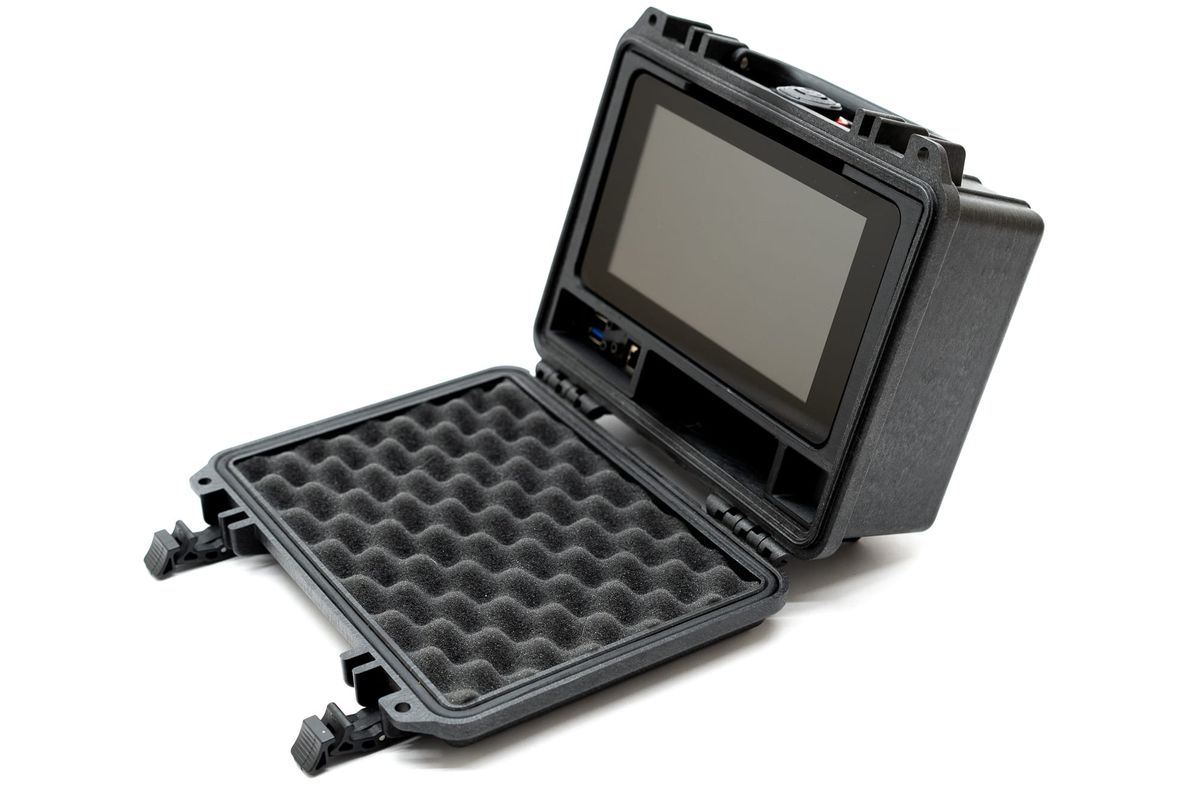
The NVME Quick Kit