the Camera Bracket

For those of us creating video content at home, webcams or full-fledged cameras are the norm. Getting your face on camera is pretty easy, even if lighting can be as hard as finding a good webcam. For those of us that create objects we want to share, getting those on camera can be much harder. I ran into this each time I joined Adafruit’s Show-and-Tell, which is easily some of the best weekly live Maker video around. They have a pretty direct approach, join their Discord and just before the weekly session starts, they share a link to join and share what you’ve made. It’s usually electronics-focused, but I’ve seen all kinds of stuff from room lighting to mermaid costumes to all kinds of cool 3D printed props.
The trouble isn’t with the Makers that join, it’s getting it on camera. In a pinch you can hold it up to your webcam, but what if you want to take it to the next level? Well, what you most likely want is an overhead camera.
The problem is that overhead cameras can get expensive. In a pinch you can use some wood and a webcam, but we want something that is adjustable, strong, and well… looks cool too. You can buy full-blown camera “jibs” but they are huge, and frankly pretty expensive. I’ve seen all kinds of clever camera stands that look down on the entire desk, but they take over your desk pretty quickly- so unless you’re a full time YouTube person that’s not really great either.
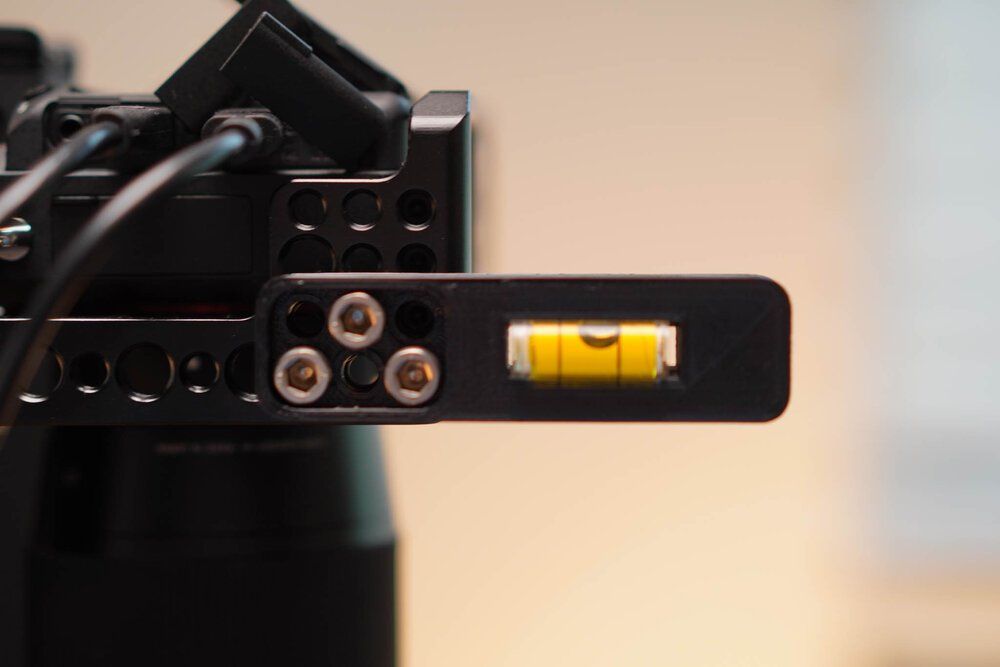
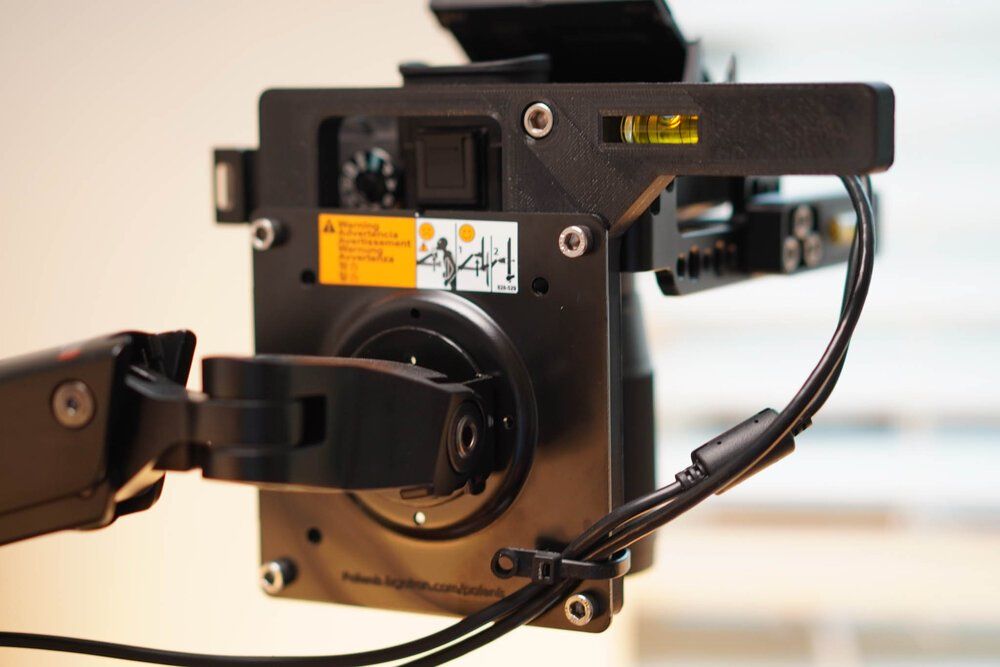
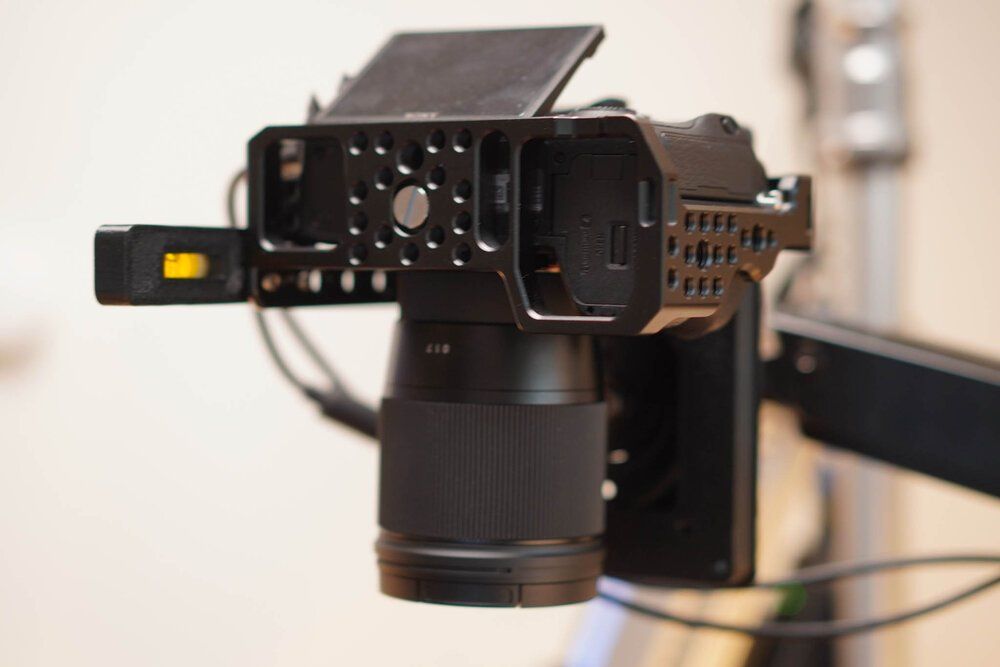
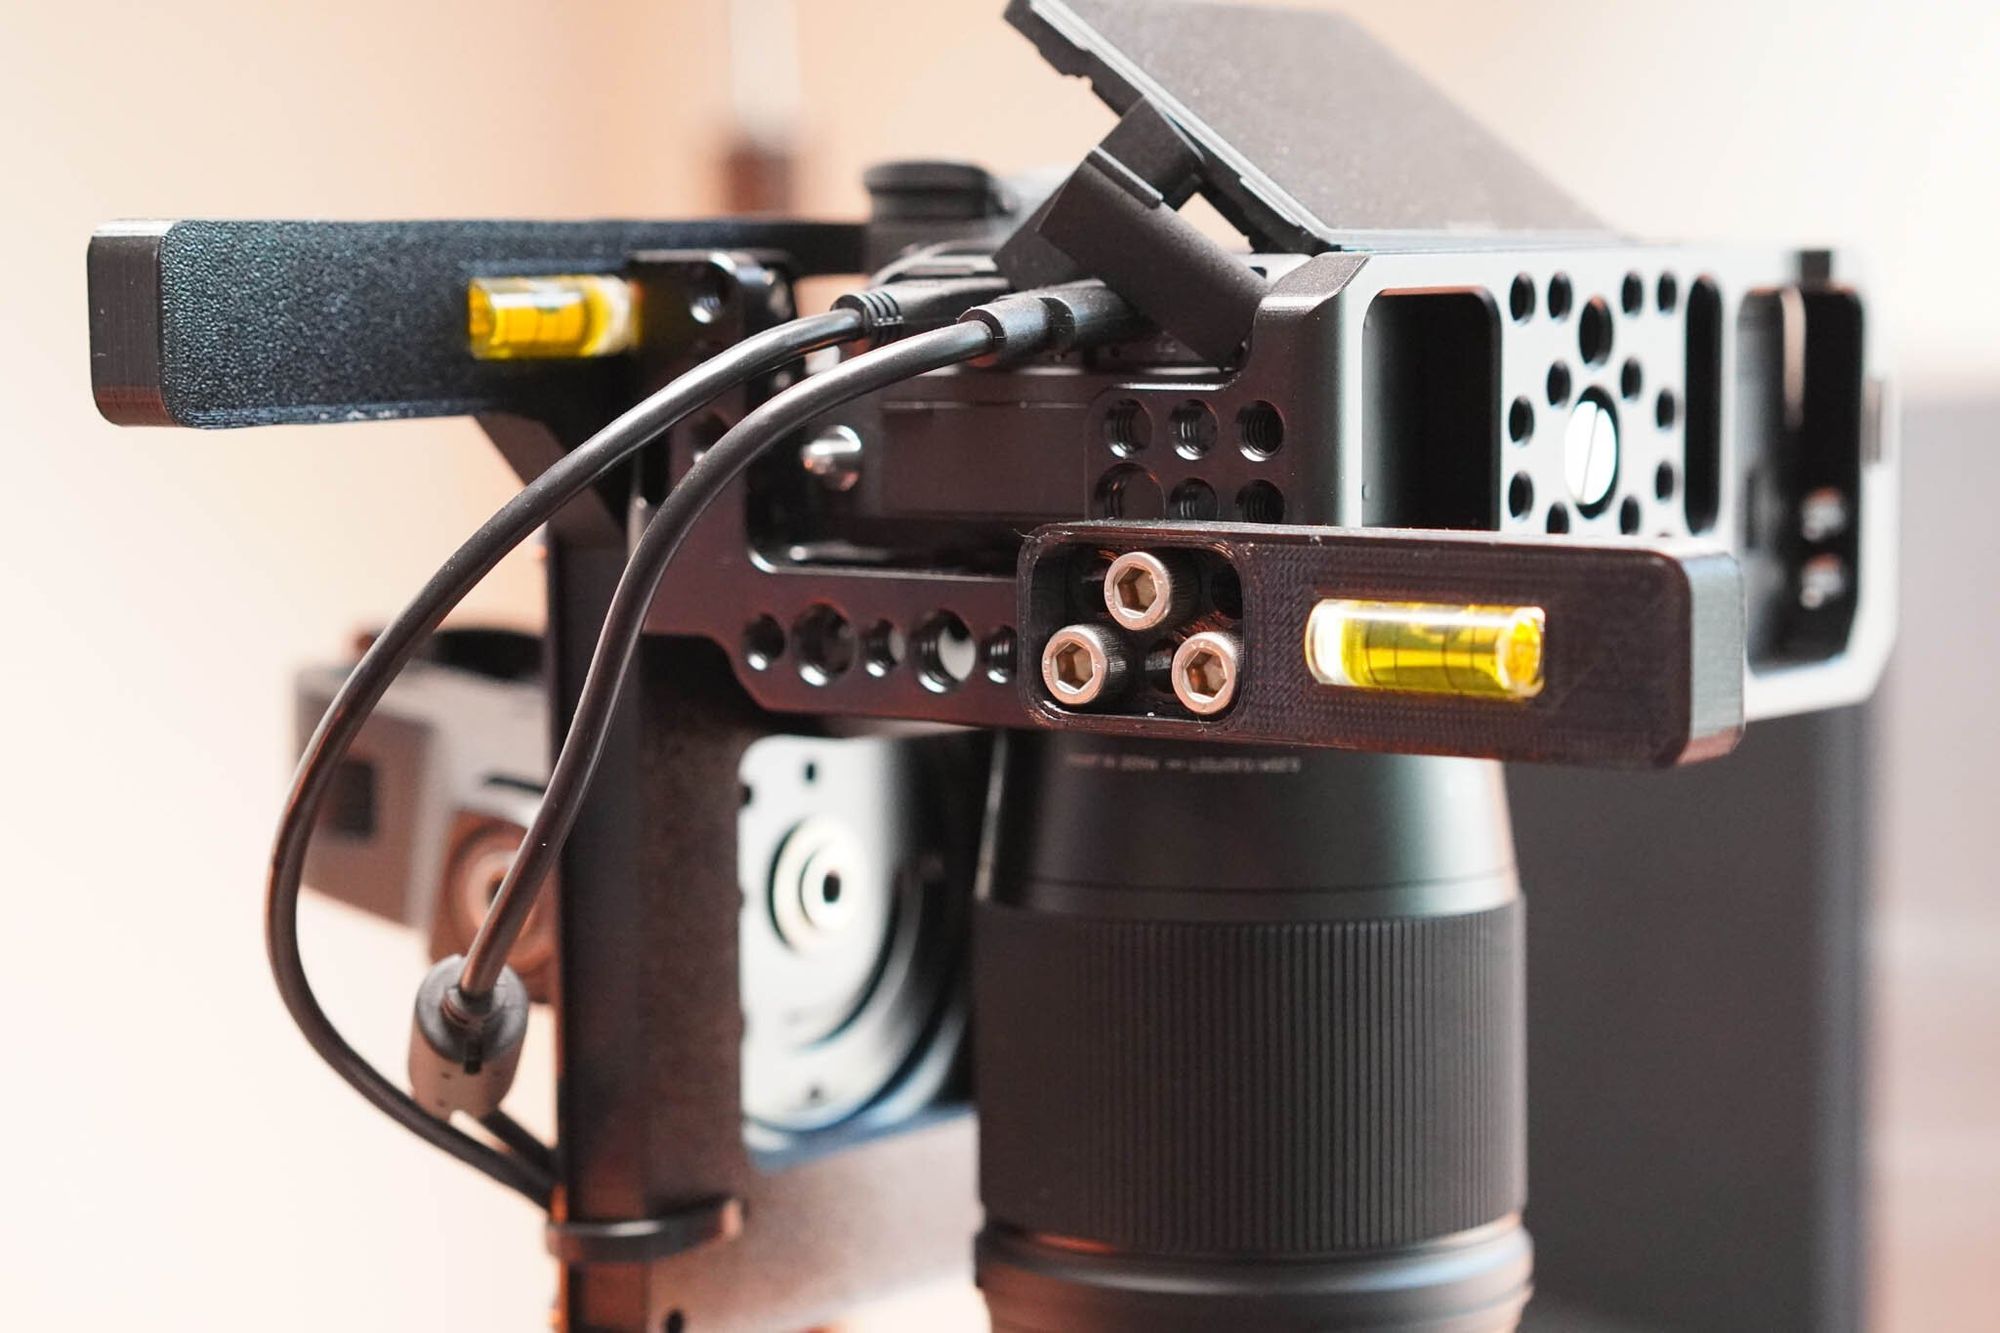
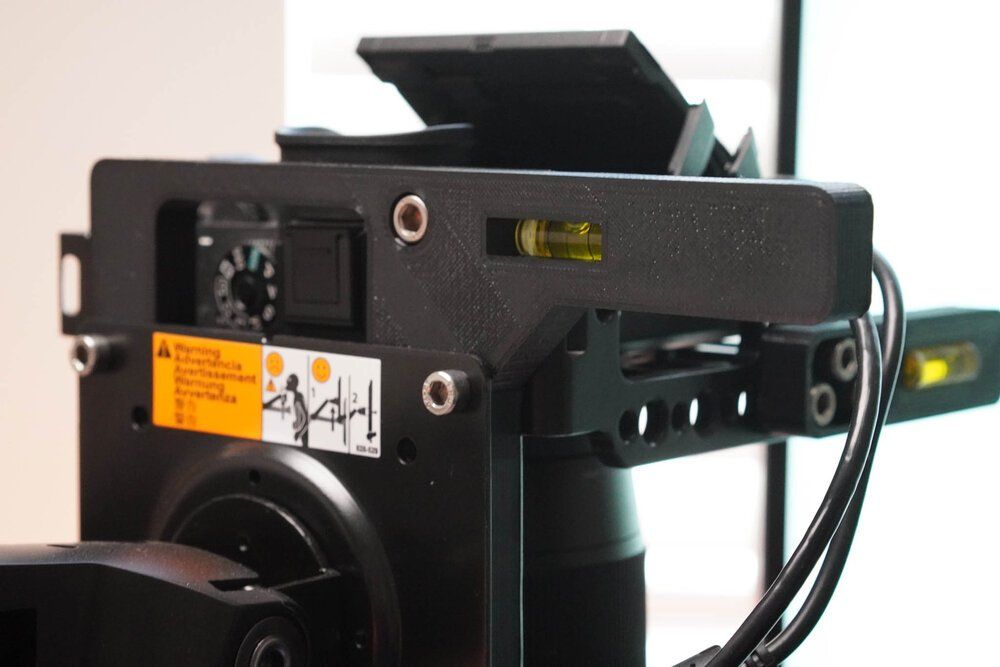
Enter the OCB- the Overhead Camera Bracket. The idea is pretty simple- a 3D printed mount that attaches to a heavy duty PC monitor arm. My design supports a full size Sony mirrorless camera, but you could easily design your own to do the same thing. Given how many different cameras there are I could only design for what I have, so you will need to either invest in the same gear I did, or simply make your own design too. Here’s my parts list:
My Camera Specific Parts:
The “Universal” Parts that should work with your design
- Heavy Duty Monitor Arm - Amazon
- M5x10mm Socket head screws to attach the monitor arm to the 3D printed base plate - 91292A124 on McMaster Carr
- 1/4” Socket head screws to attach the “plastic parts to the camera frame - 92196A537 on McMaster Carr
- Two bubble levels to snap-fit into the project, one into the base plate and one into the handle. 2148A66 on McMaster Carr
As you can see it’s a pretty simple project, and the two files are here:
The files are specific to this camera frame and camera, but the bolt pattern for the VESA mount is the same. I hope this inspires you to design your own- please share with me if you make your own- I love to see people’s projects!

Comments ()