the Field Unit 2

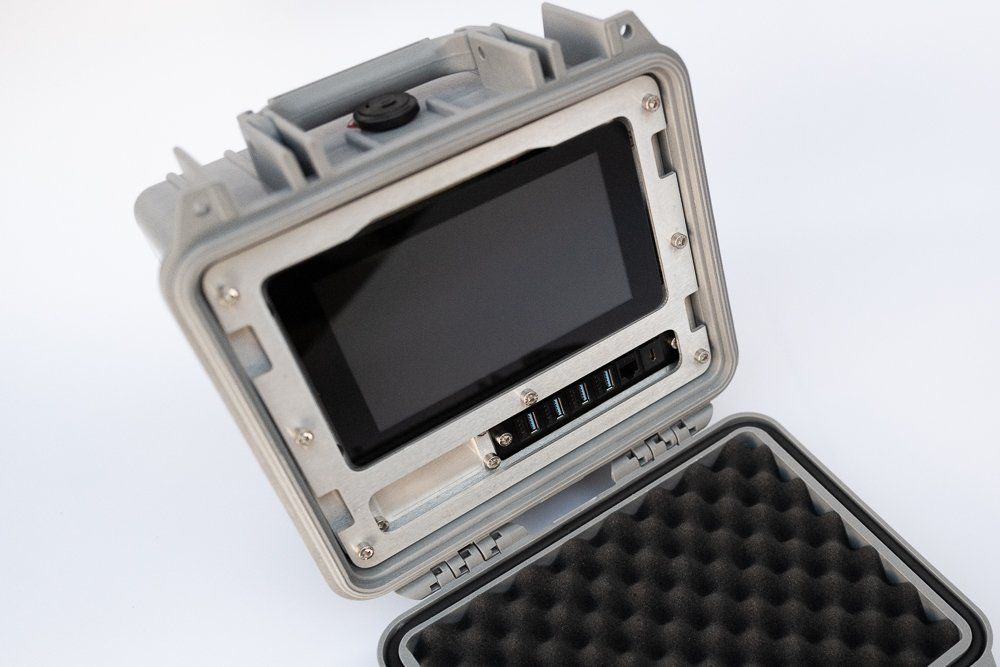
Based on feedback and nearly constant refinement over the last 2+ years, I am excited to present the Field Unit 2. The build process is simpler than ever, with several key improvements over previous builds around the Pelican case product line.
Return to the Pelican 1300
While the Quick Kit uses the smaller Pelican 1150, it doesn’t leave much room for extra modification or equipment. By using the larger (and considerably deeper) Pelican 1300, we have more room than ever for additional components in the back. We will continue to revolve these kinds of builds around the Pelican brand- not only because of impeccable quality, but consistent dimensions, durability, and availability. There are no plans to use other brands of cases, especially given the negligible difference in cost compared to lower quality cases. As always, this build requires no modification of the Pelican 1300 enclosure.
All-Metal Design
While 3D printing is an excellent approach to creating prototypes, we drive for the highest quality builds. To meet this challenge, the new designs are now based on 5052 Aluminum. Contact me if you’re interested in a different material for a custom commission. I can easily support stainless steel or carbon fiber, although I don’t recommend plastics for this design.
Metal also means easier and more consistent modification- you can easily paint your frame- either with some sandpaper & rattle can, or by sending it to a custom shop. This design also helps keep plastics out of the landfill- this design allows for all of the metal to be recycled, the case to be re-used, and the electronics to be easily upgraded or replaced.
Fully Modular, Non-Destructive Modifications
This design is friendlier than ever for modification, no crazy CAD skills required. There’s a plate with room for 1-2 switches, antenna connectors, or whatever custom add-on you want.
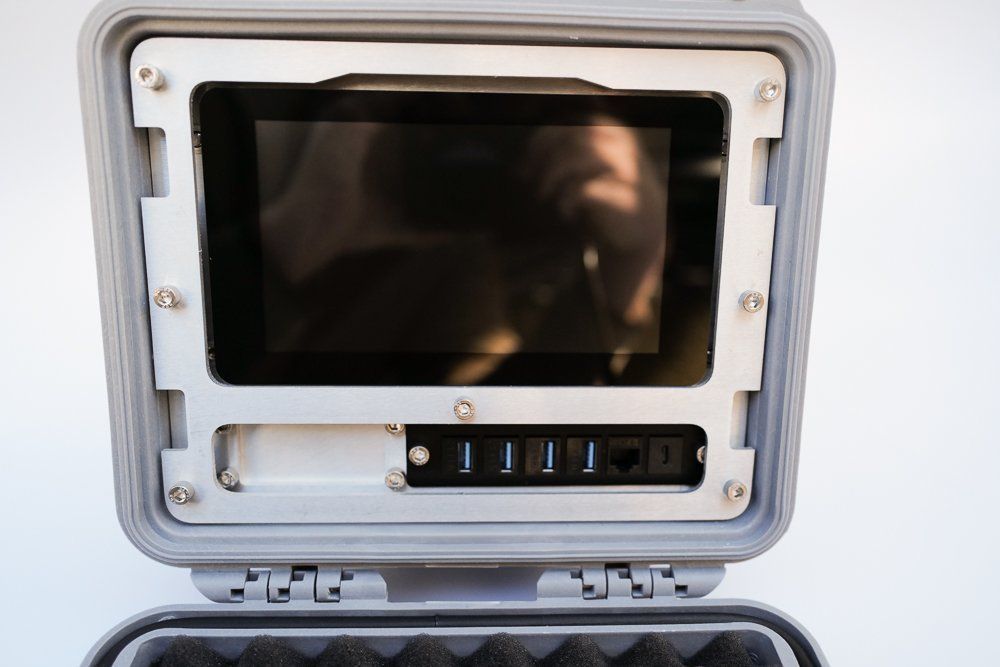
One of the big changes though in our modular approach is the implementation of keystone jacks. Each unit can support 6 keystone jacks. You can easily snap in and out the different ports you may want. Want an external HDMI port? Easy, you can simply snap one into the frame with no permanent modifications needed. Have a new Pi board with USB C? Great, you can easily snap in a new USB C port.
No solder is needed for the default build! Each cable is replaceable and no custom wiring or soldering required. No special tools either! You can disassemble and reassemble your unit with just a few common hand tools.
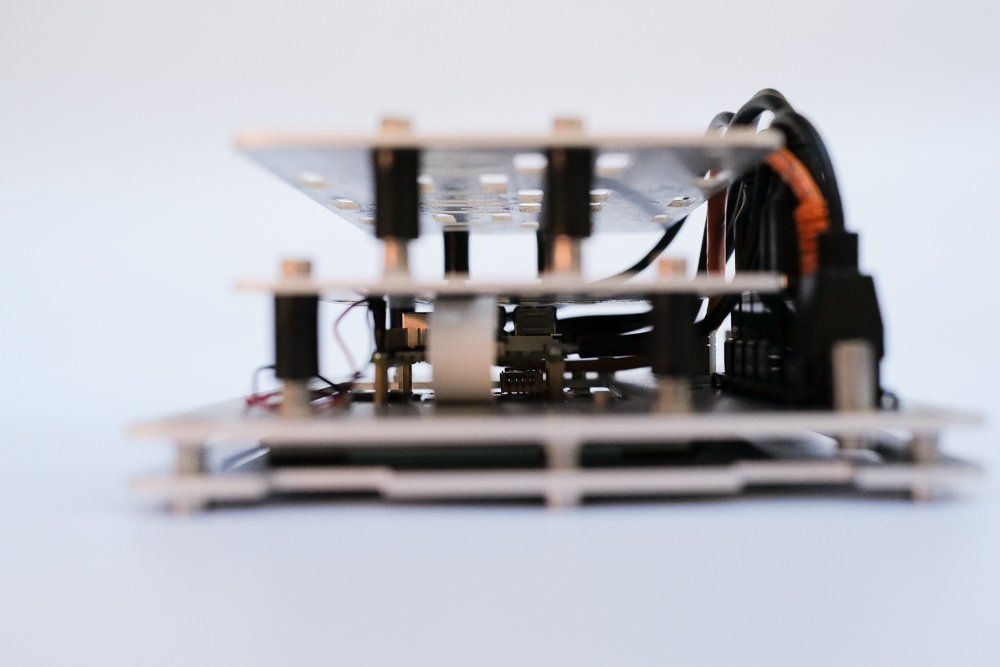
Stackable Re-Plates
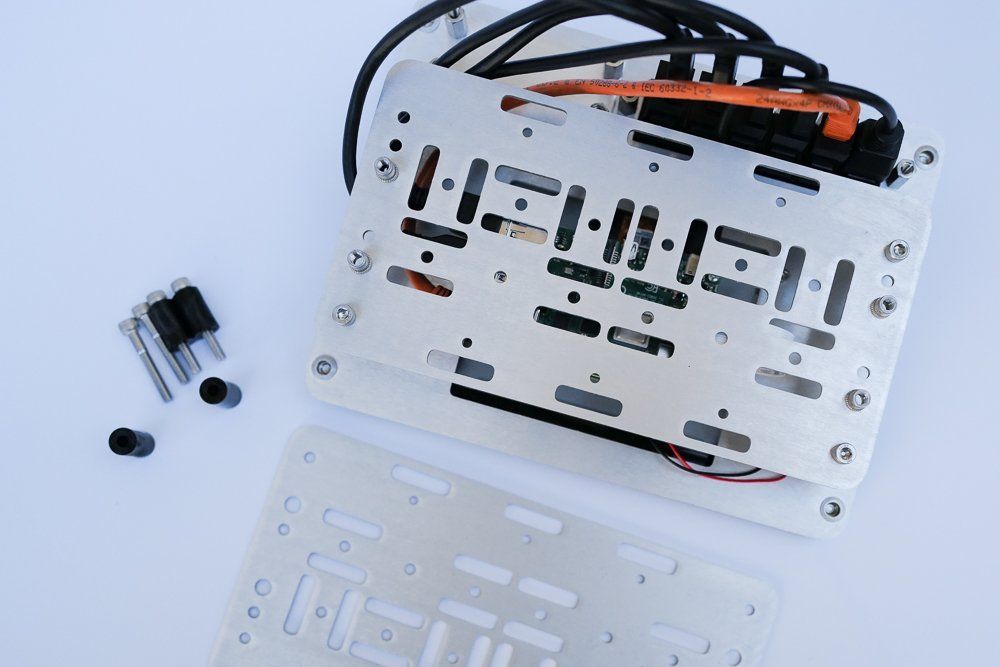
The stock design supports the standard Raspberry Pi 7” touchscreen with the Raspberry Pi 4 attached to the back. Right behind that is the build plate- with various M5 holes for your custom gear, slots for zip ties or velcro straps, etc. Each plate can vary in depth too- so you can simply add spacers to custom suit your design. You can easily make more on your 3D printer or even just stencil it onto wood in a pinch. You can also easily mount your custom 3D design to the Expansion Plates, letting you use custom boards, software defined radios, or internal batteries as you see fit.
Simplified Hardware
The overall design now uses M5 bolts for the entire chassis, with longer bolts in the rear for the stacking plates (plus spacers) and M5x10mm bolts for the main chassis.
How to Get It
Commissions are available on a limited basis, otherwise all design files are free on my Github here.


Comments ()